


Select the right range and testing option solution for your project or application.
If you are not sure what you need, check out our solutions page for quick guide.

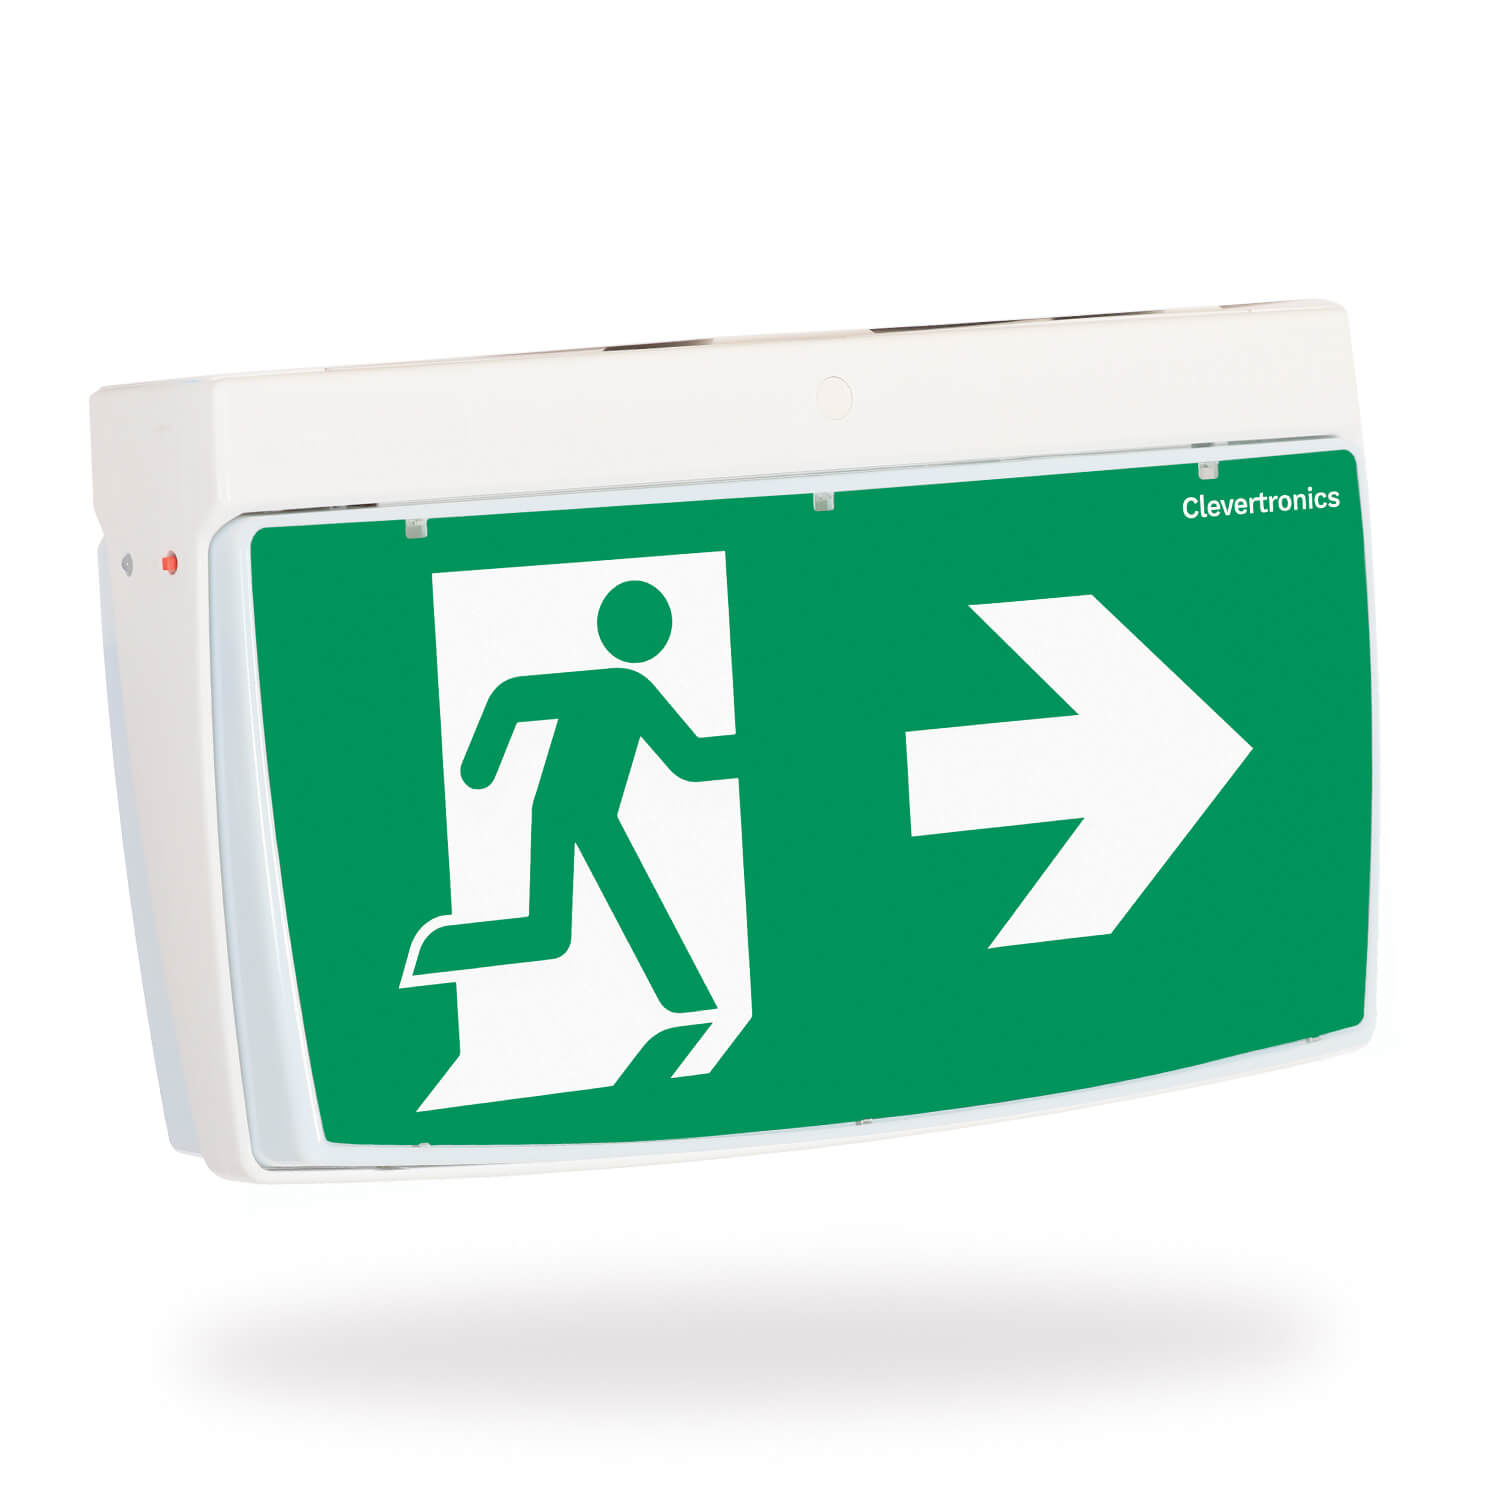
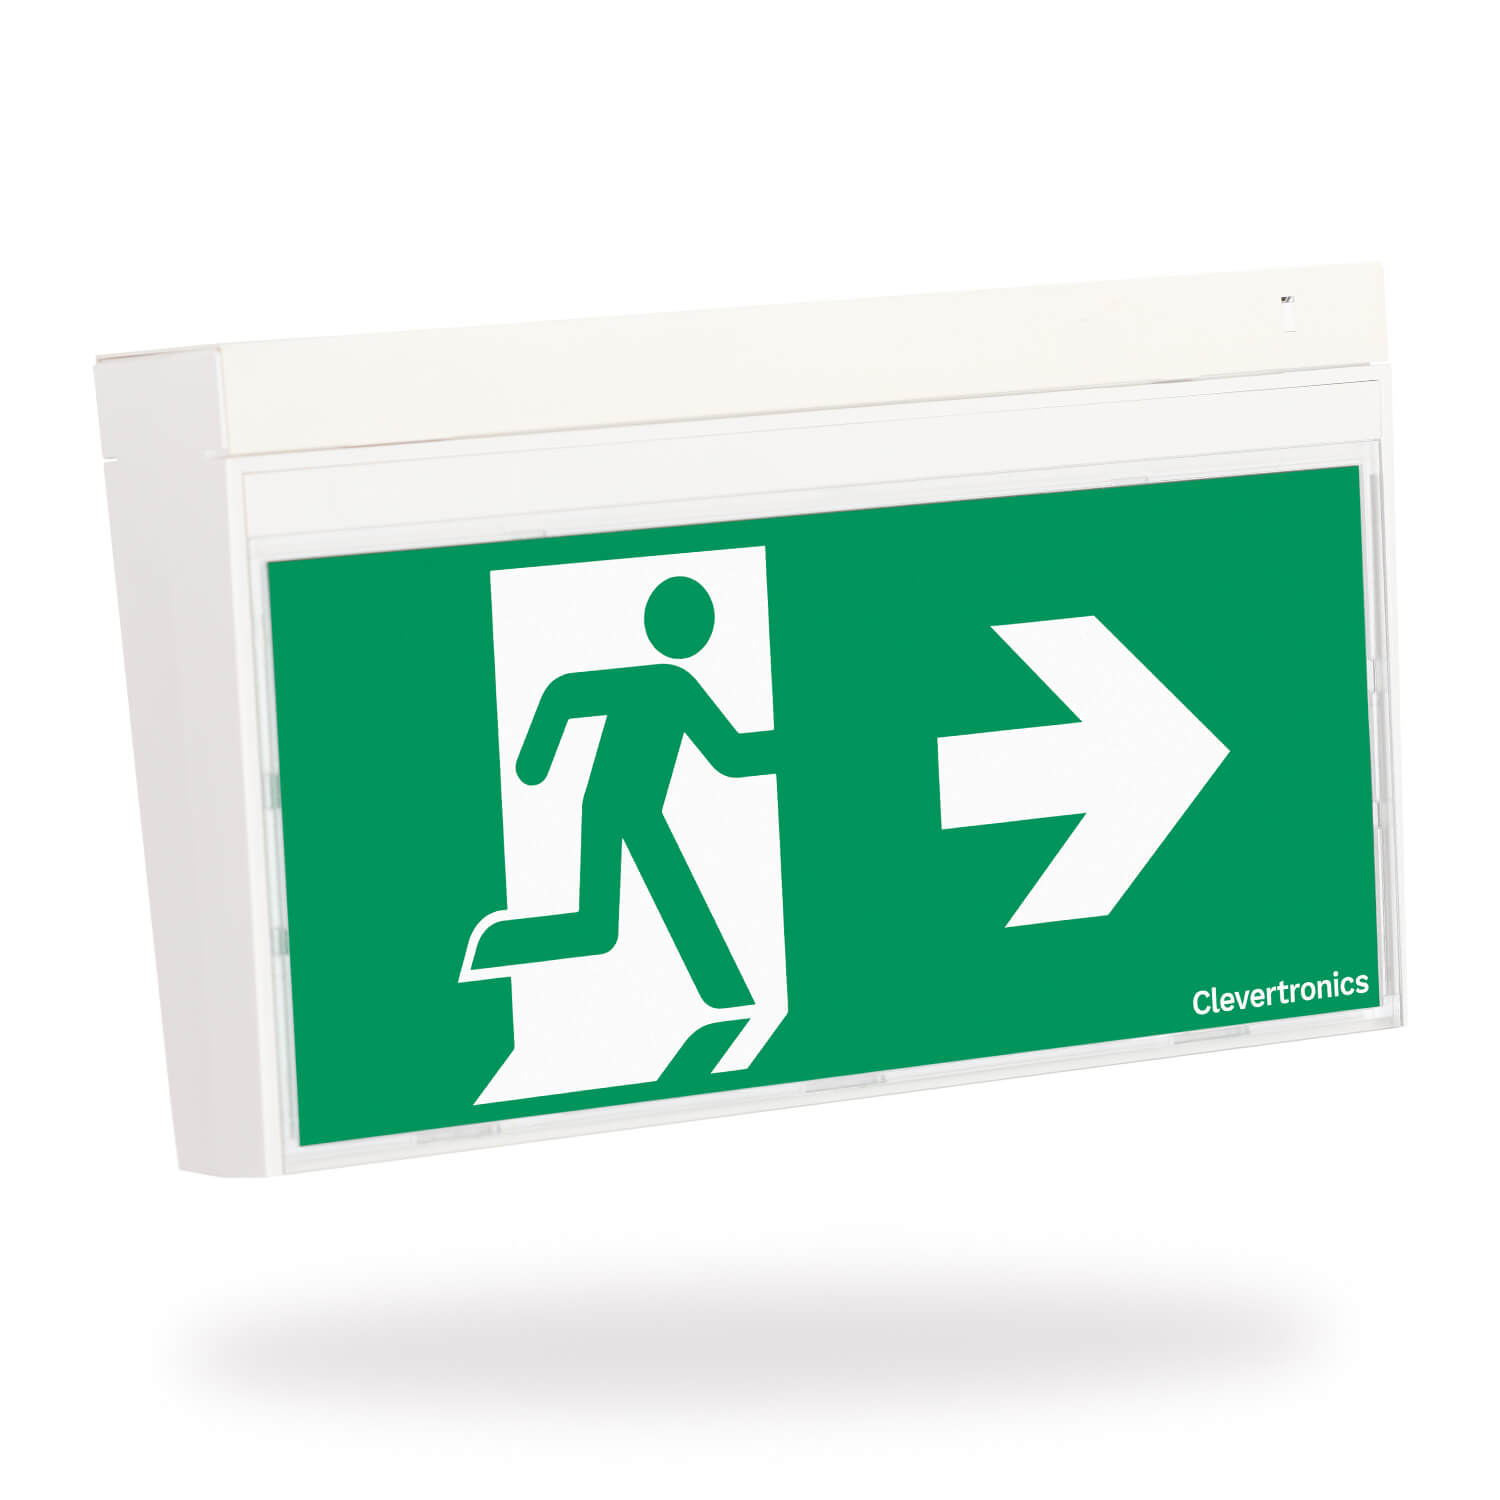
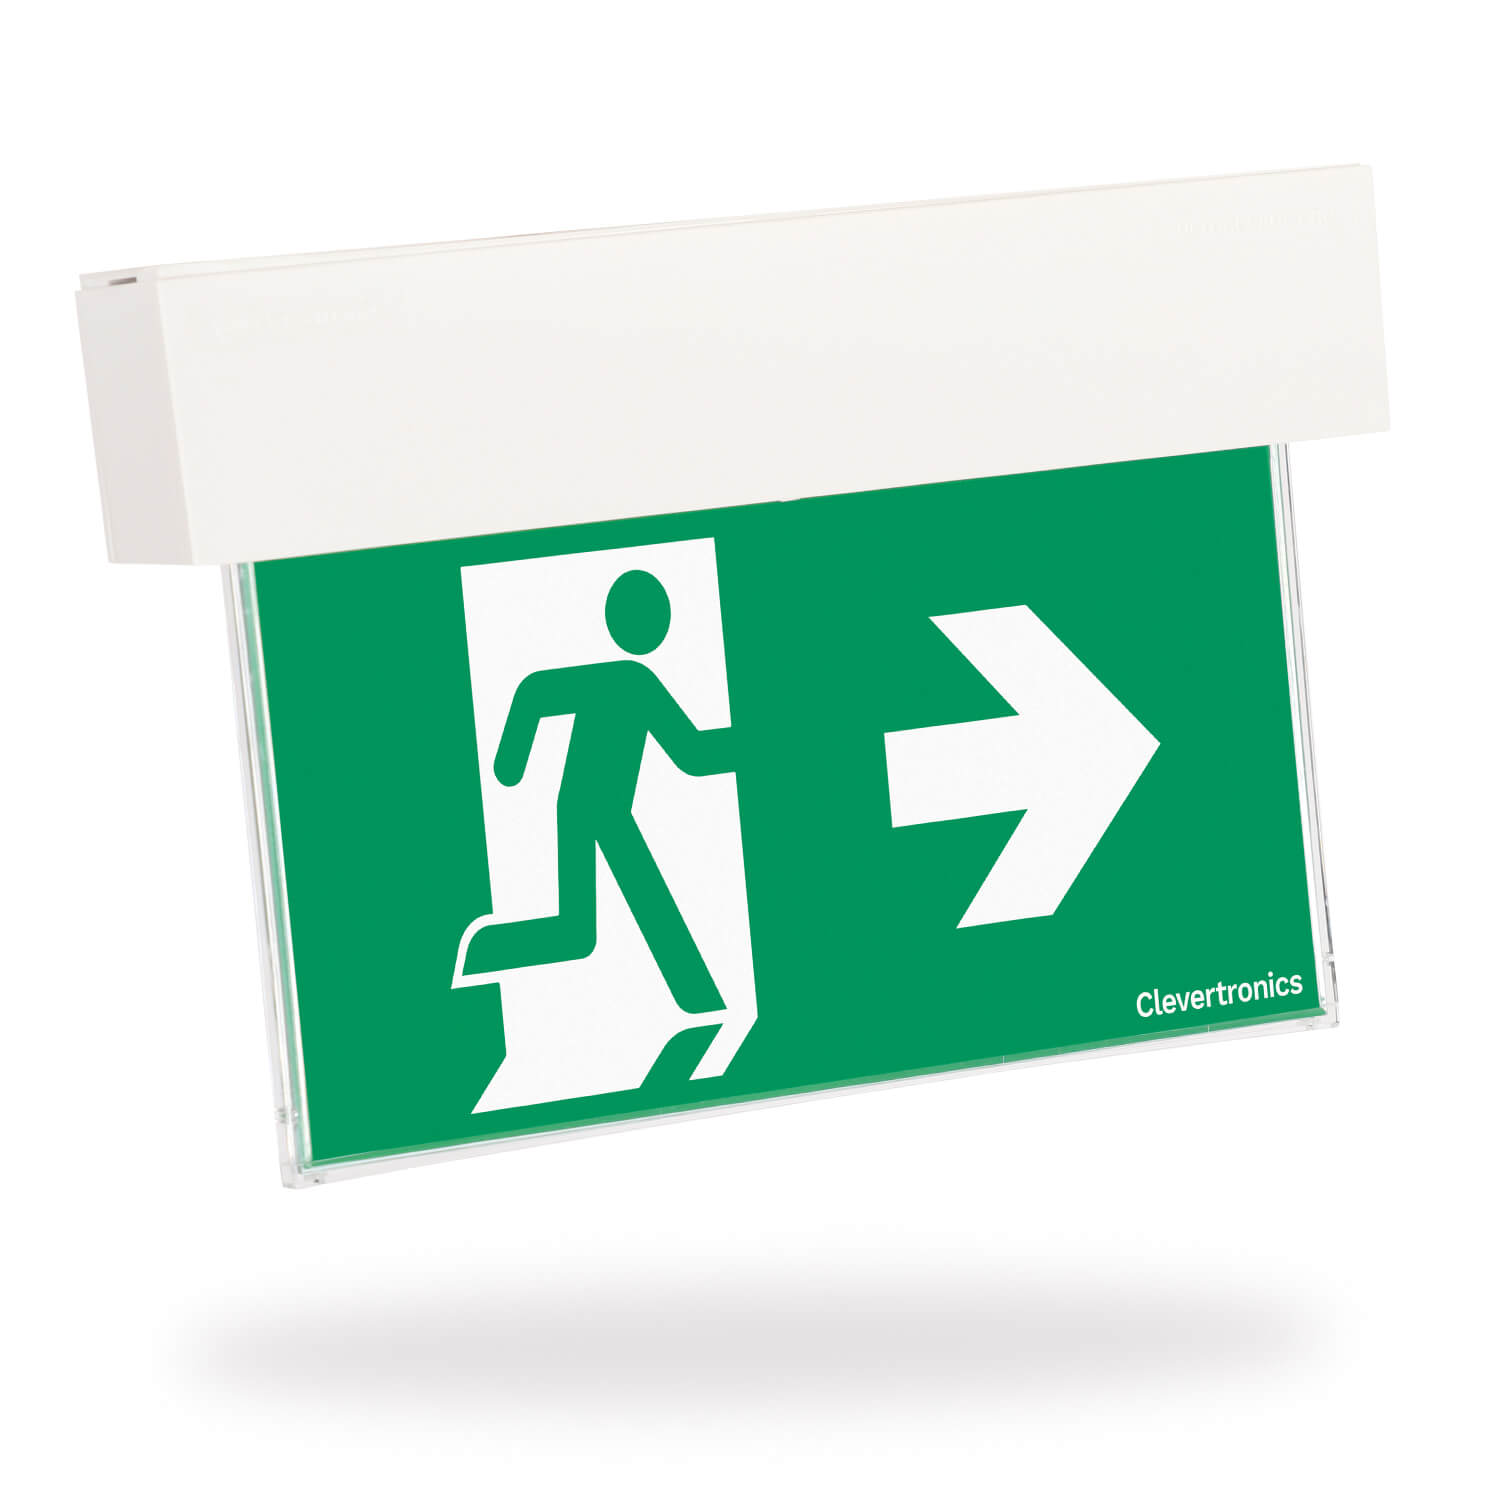
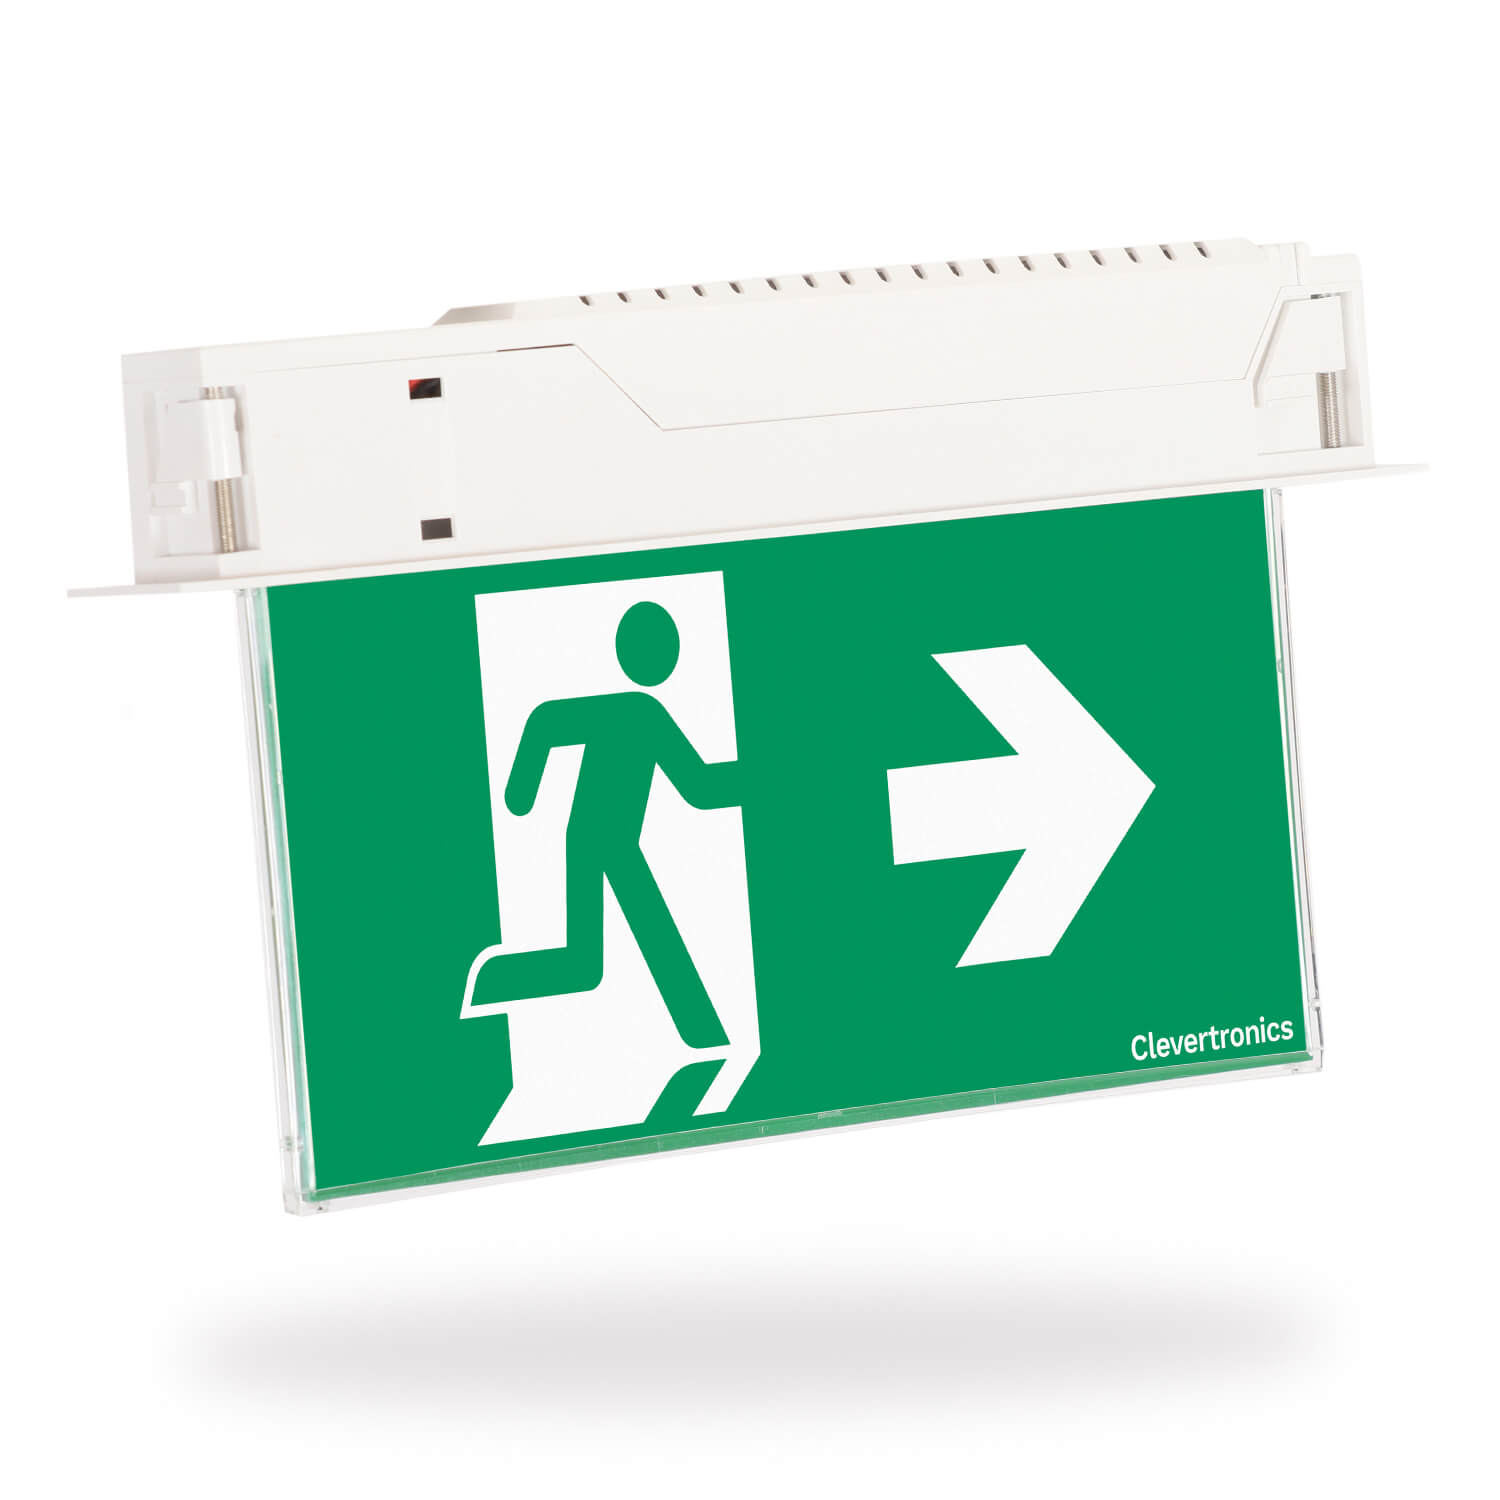
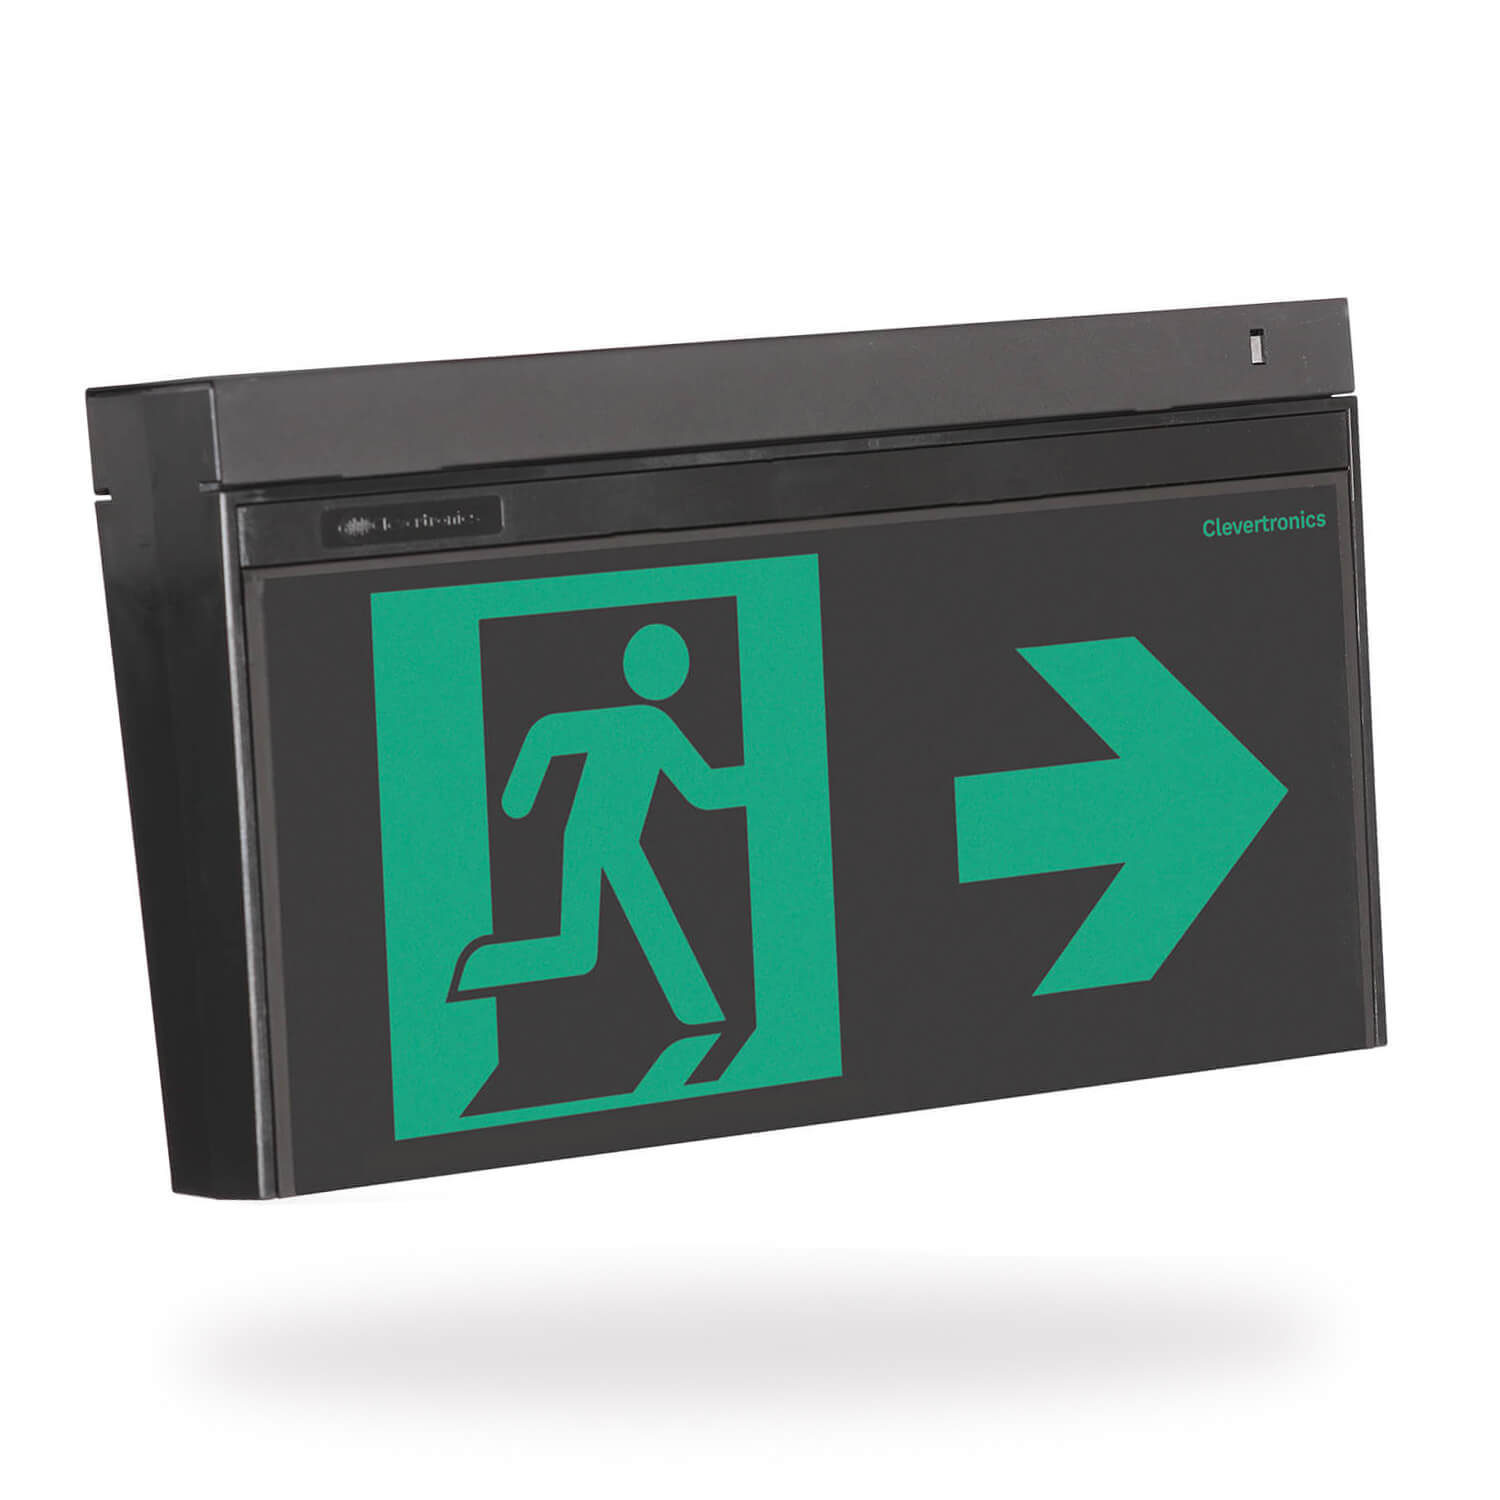
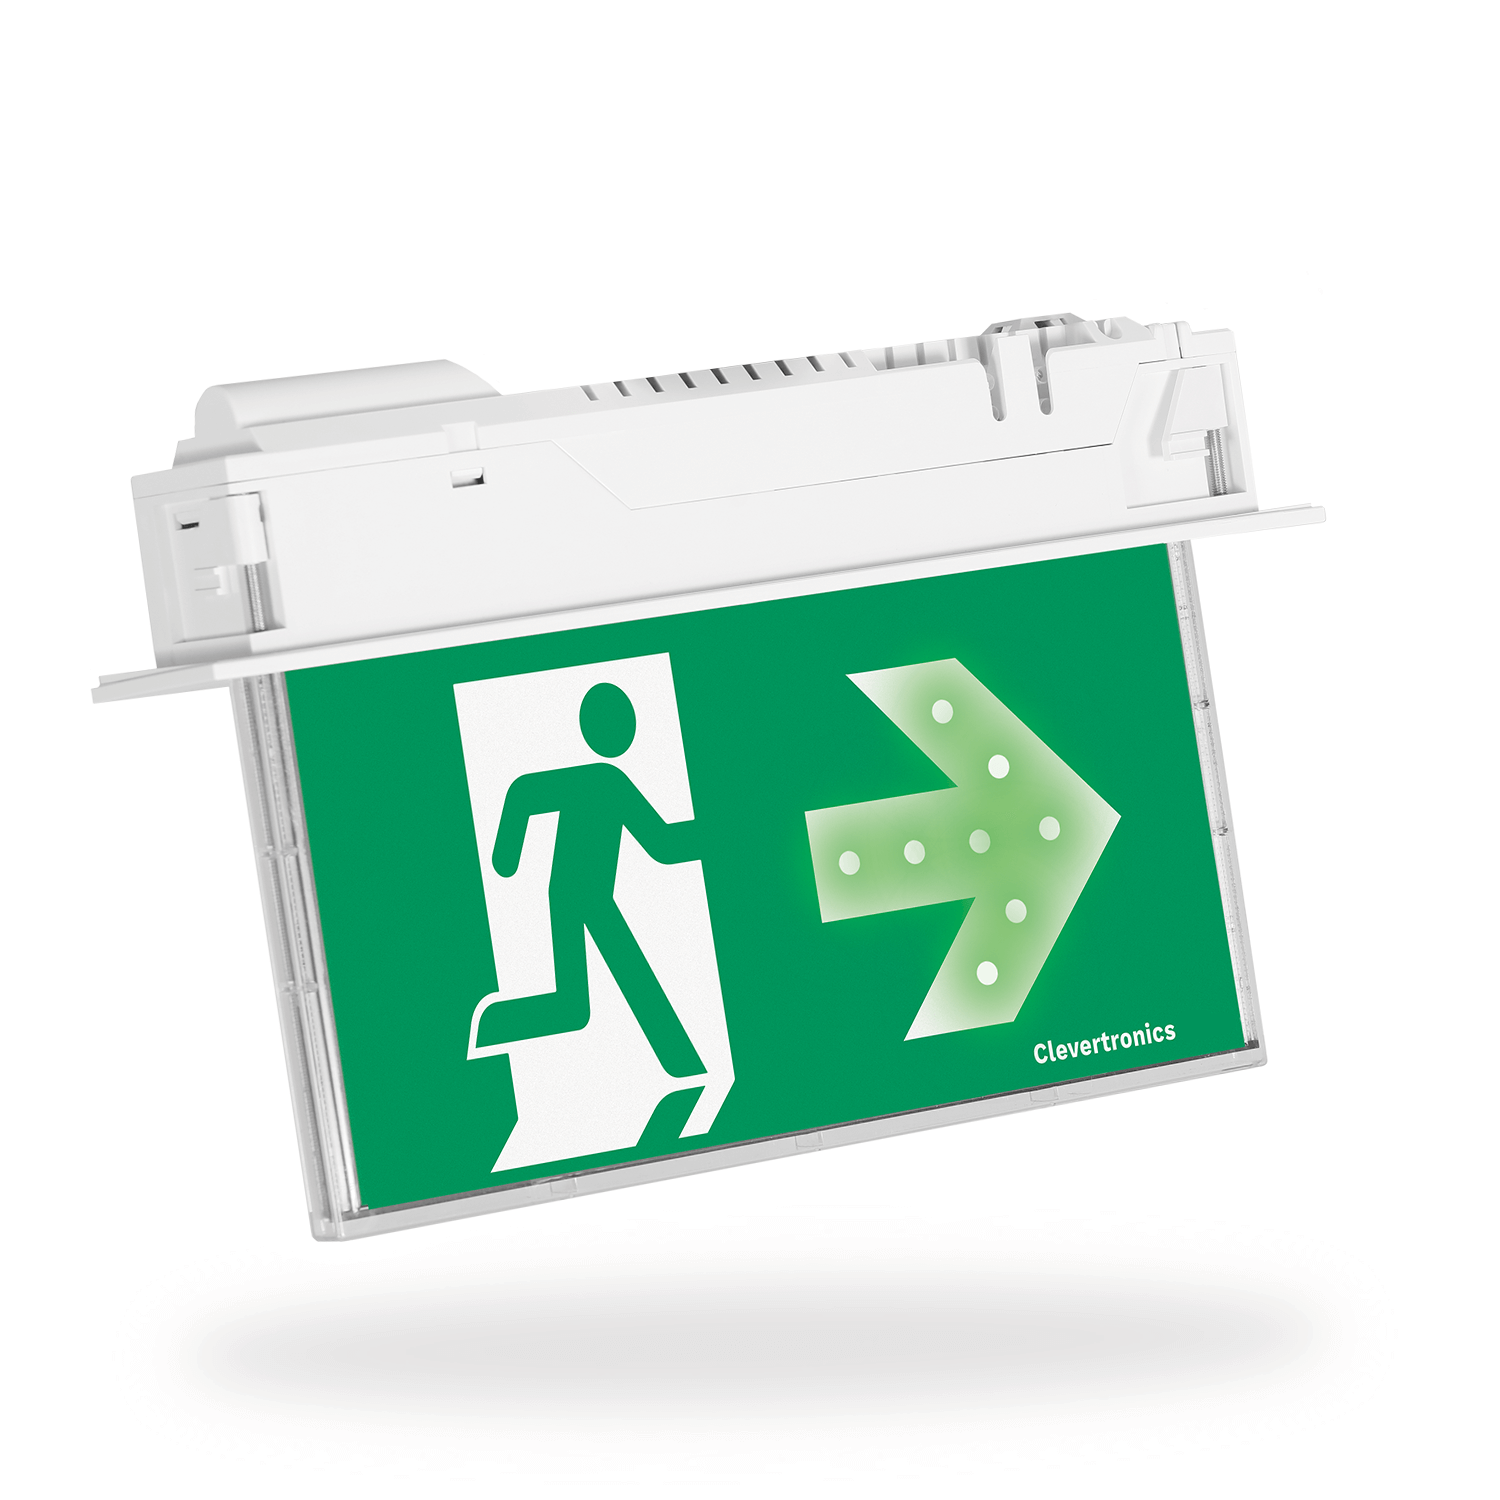
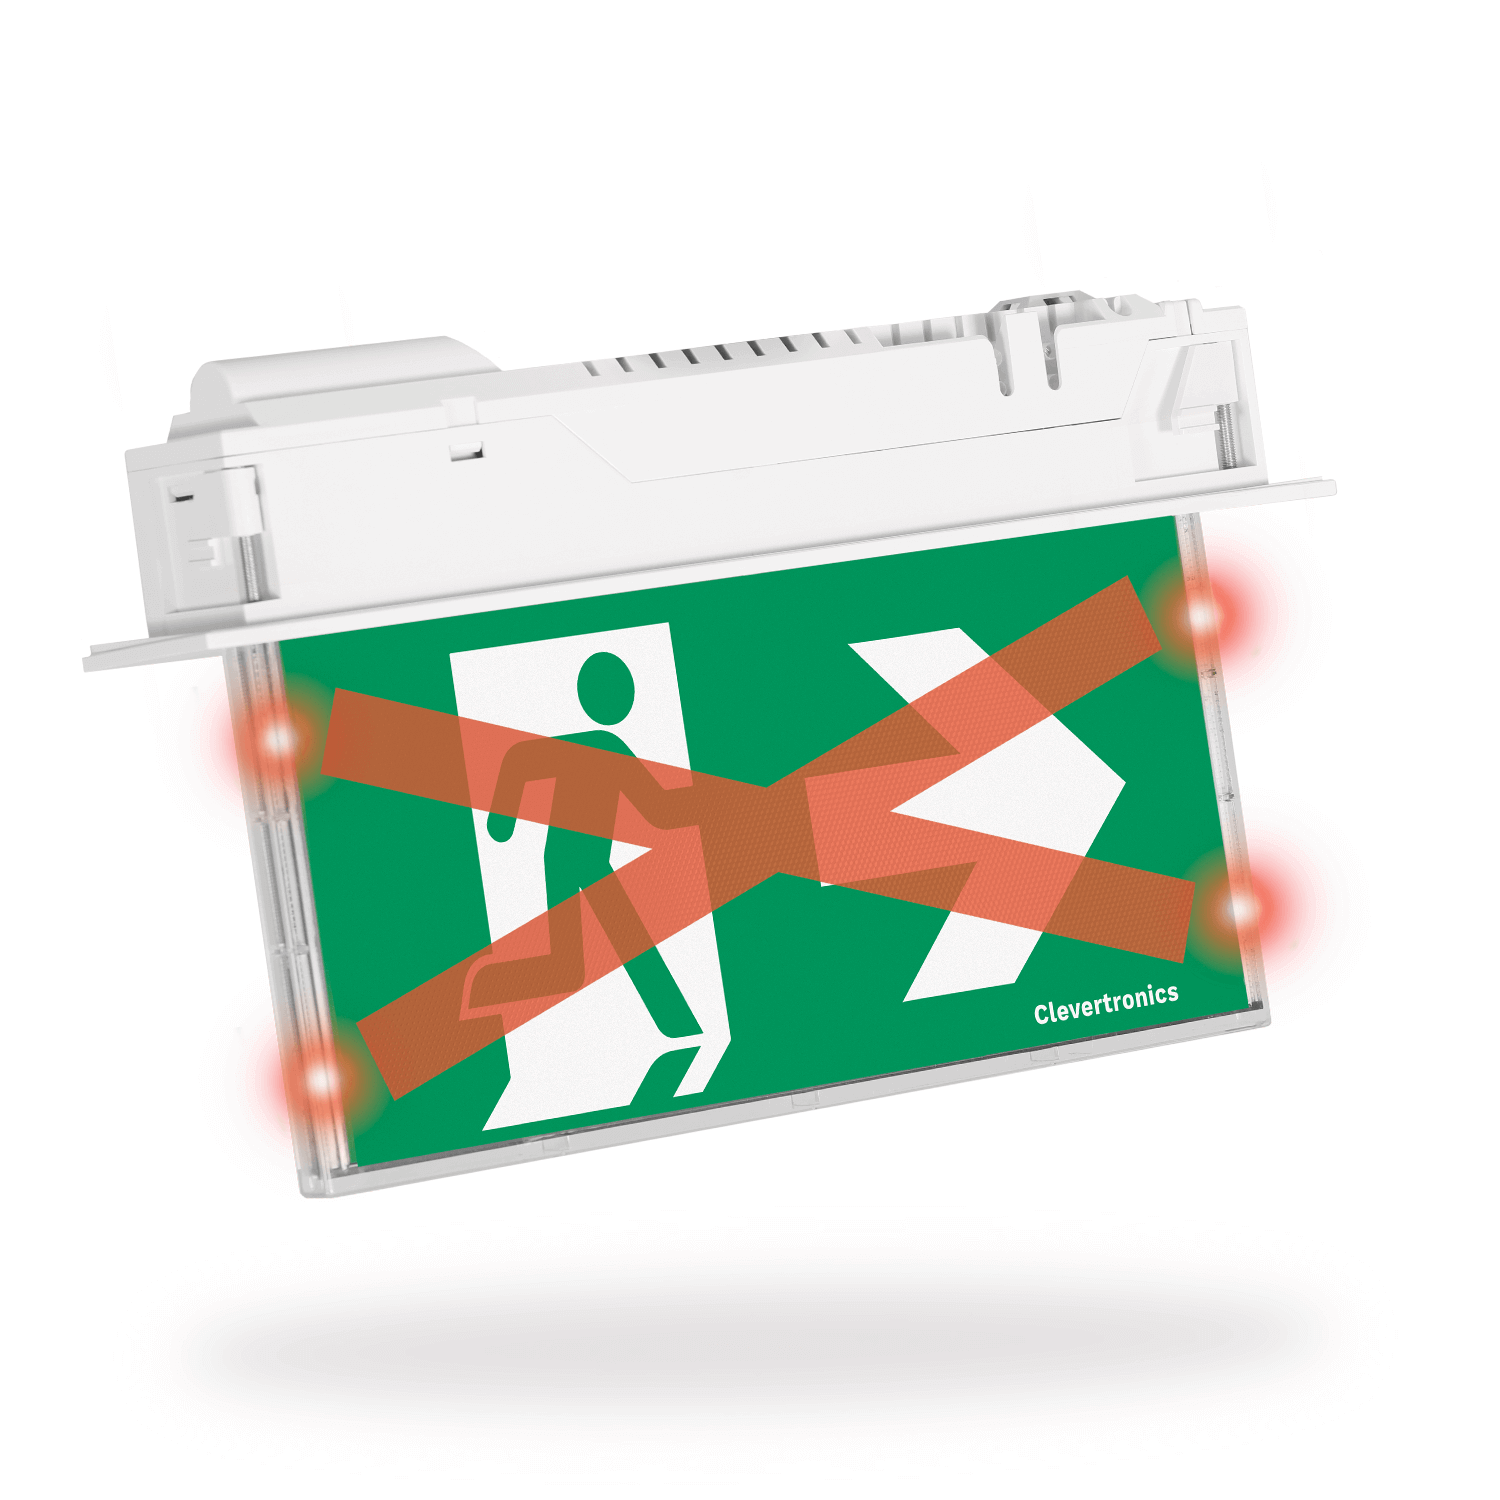
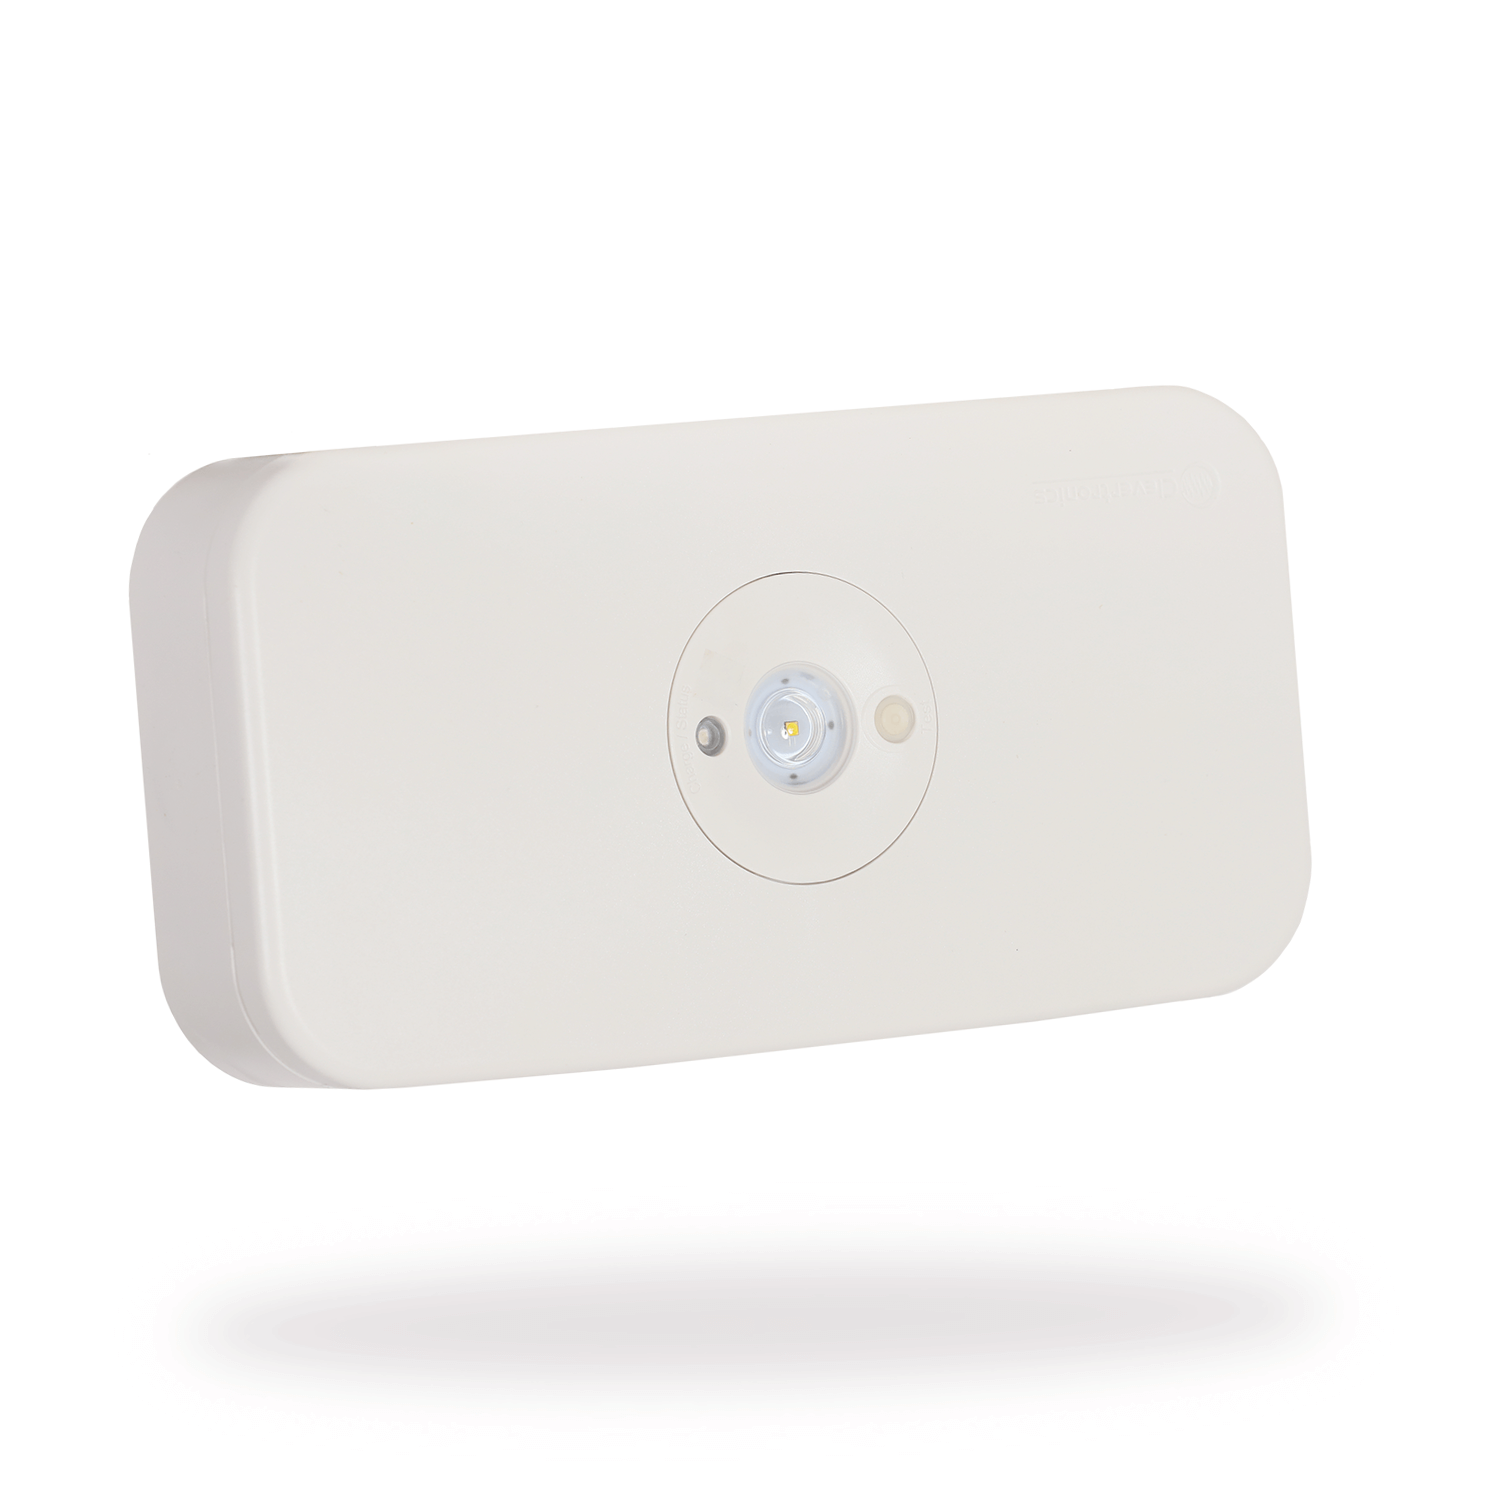
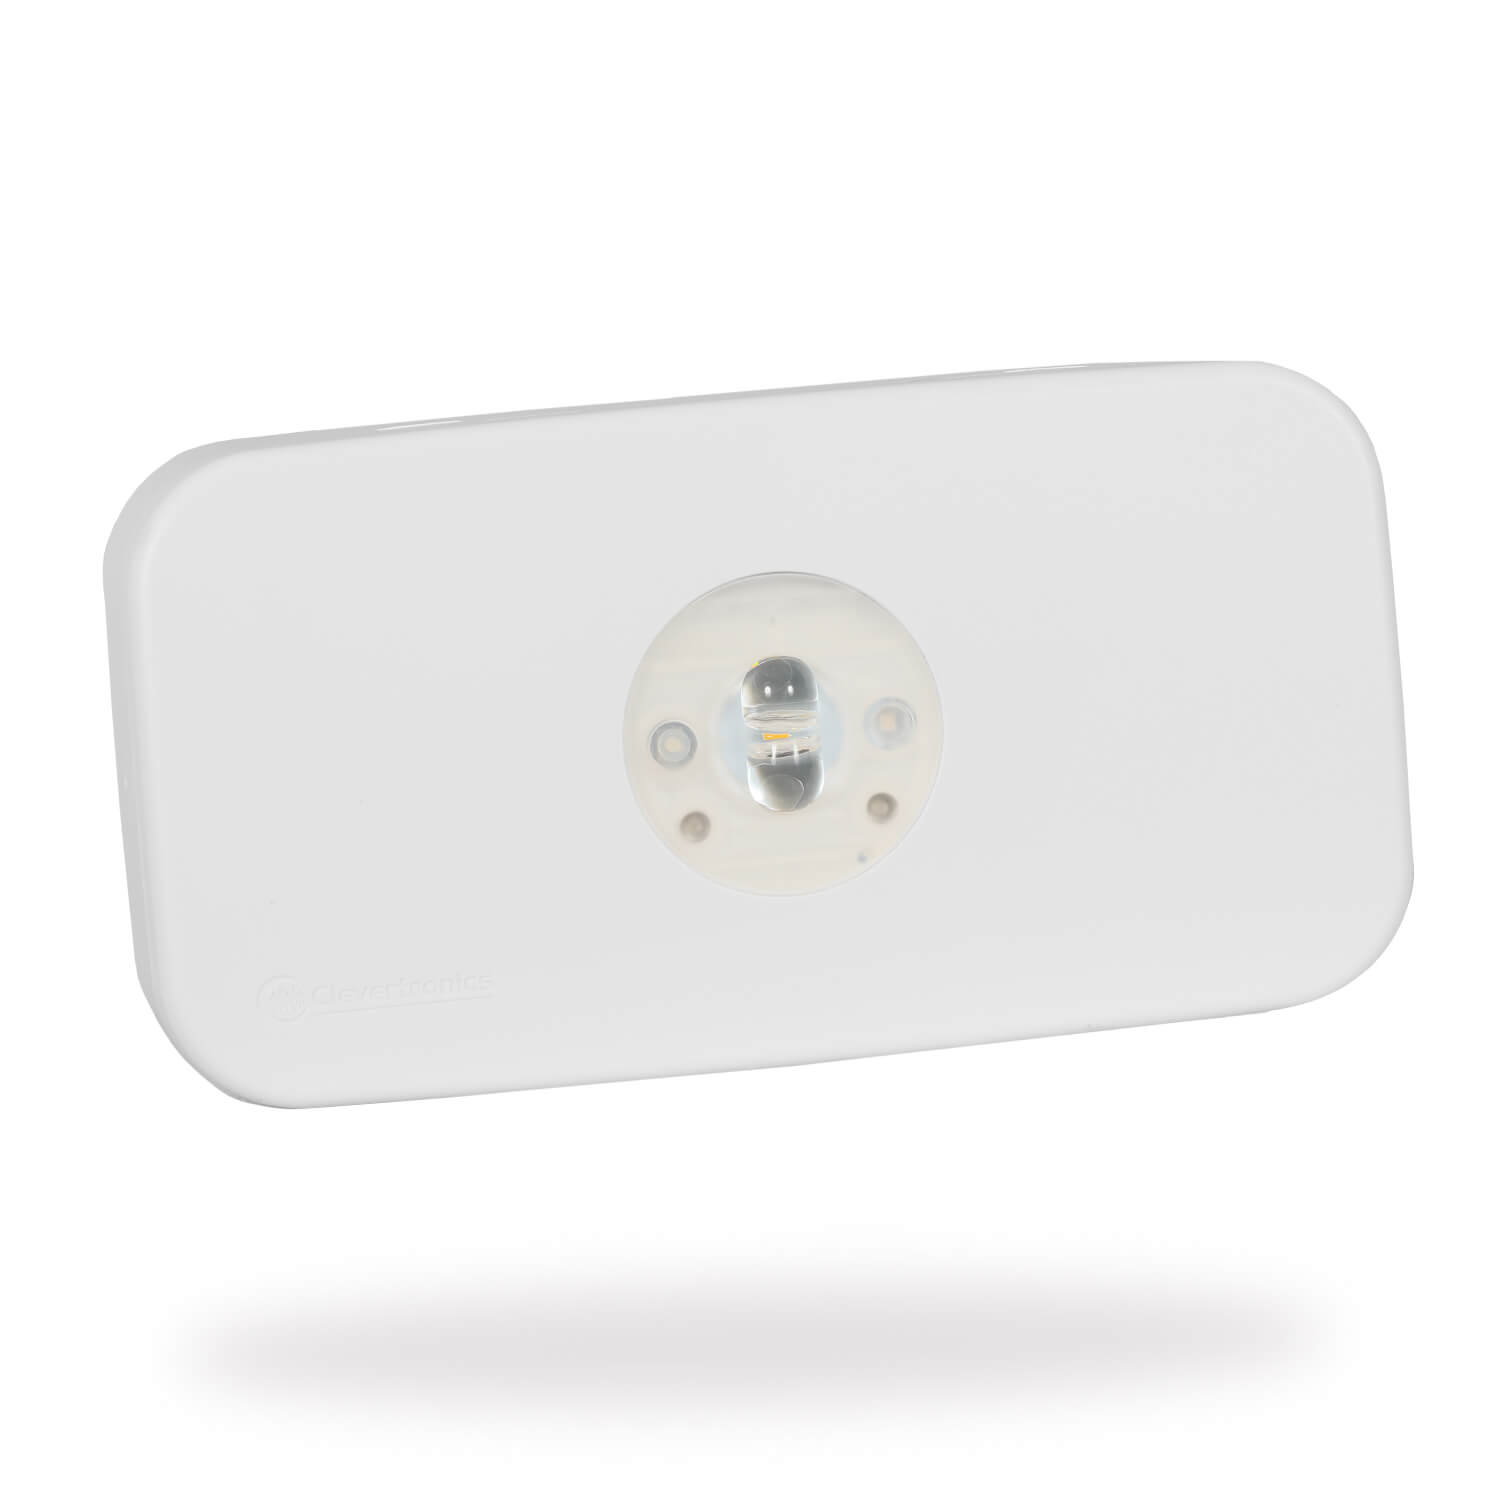
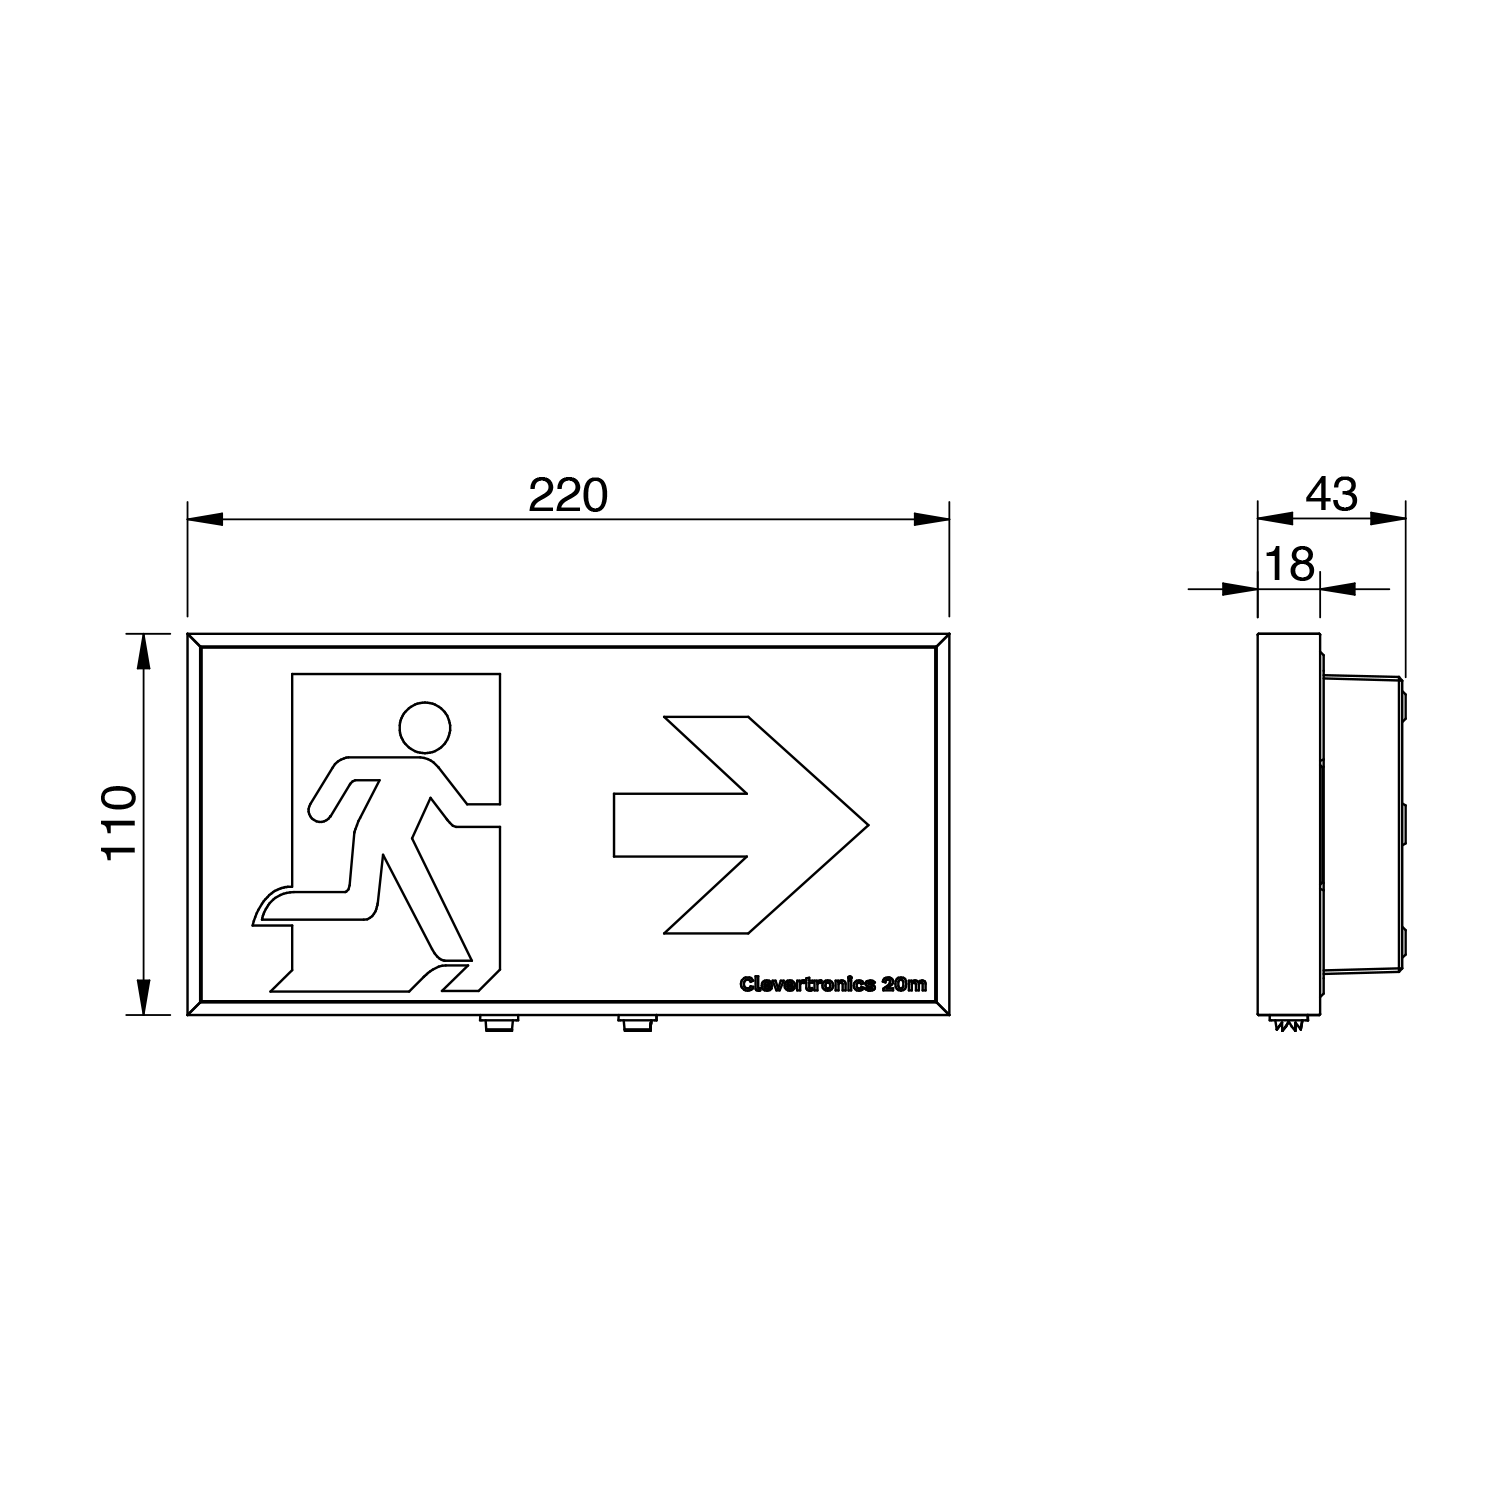
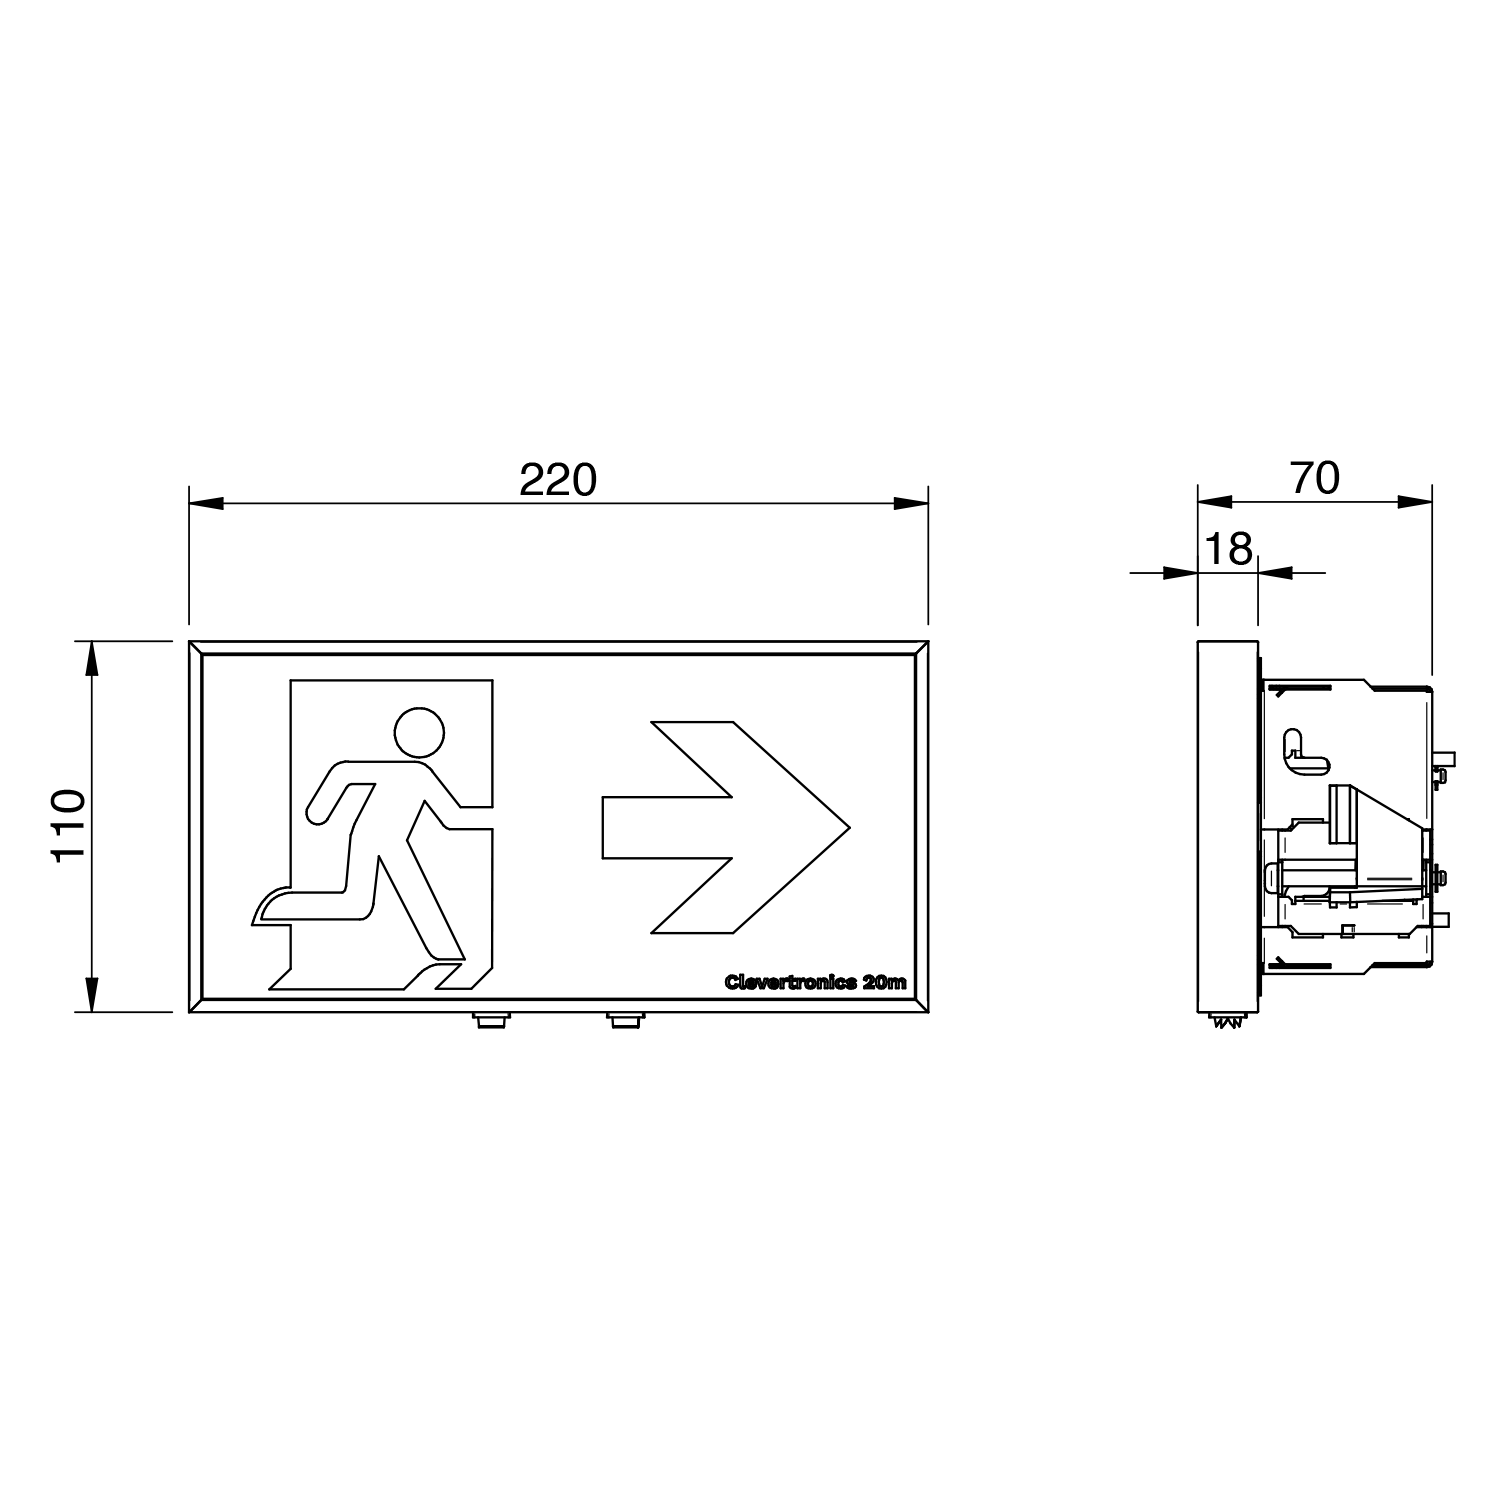
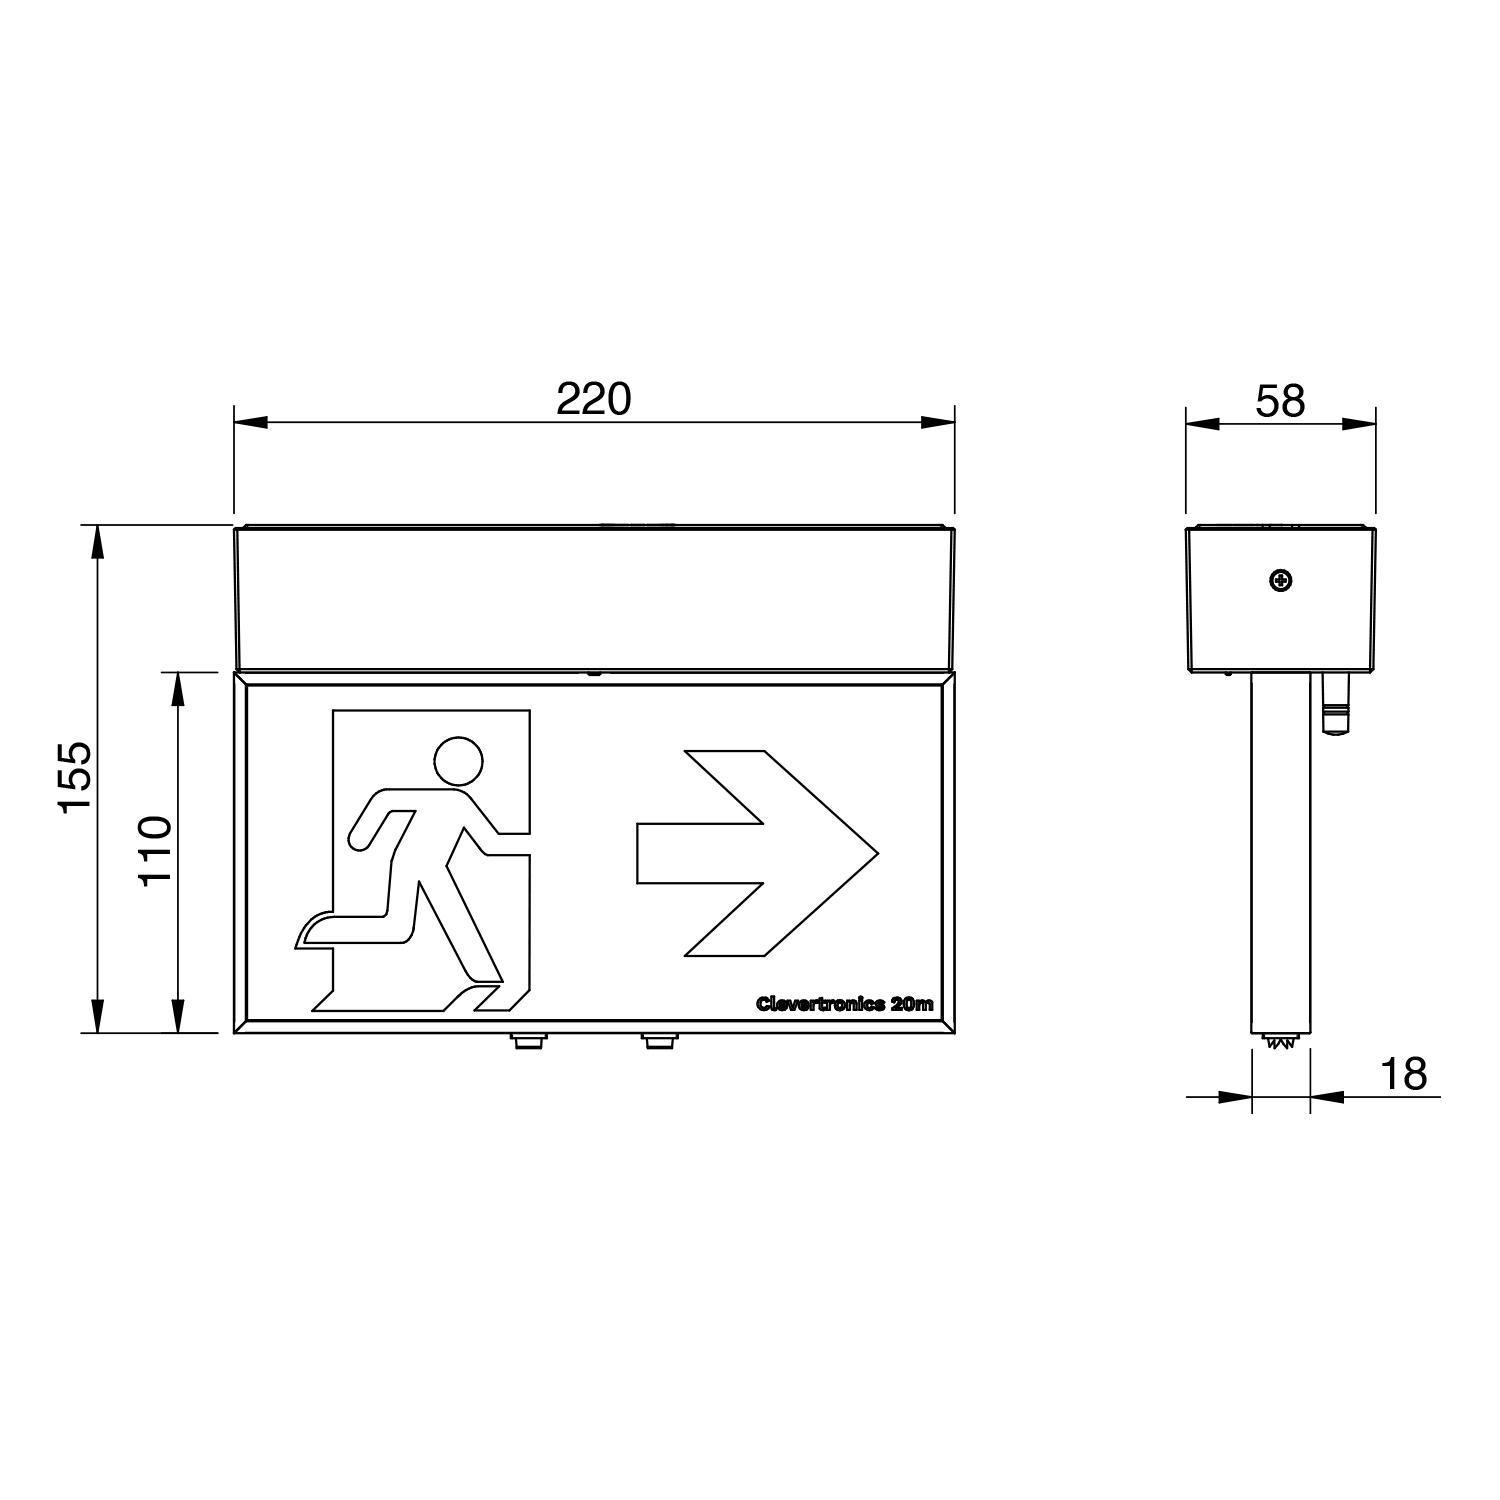
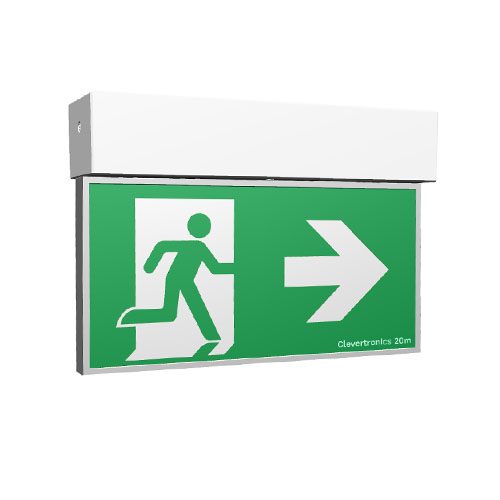
Form 20m Exit Light
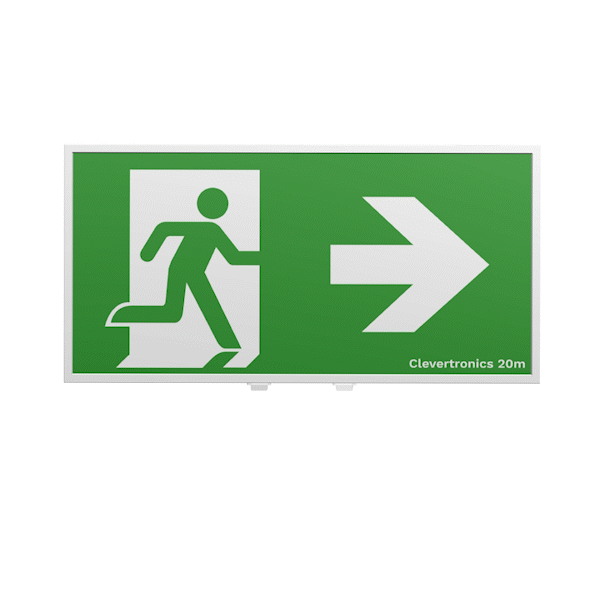
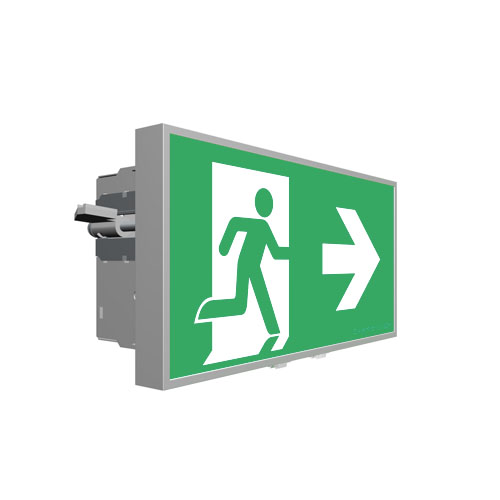
Form 20m Exit Light Surface Wall Mount with Escape Lens
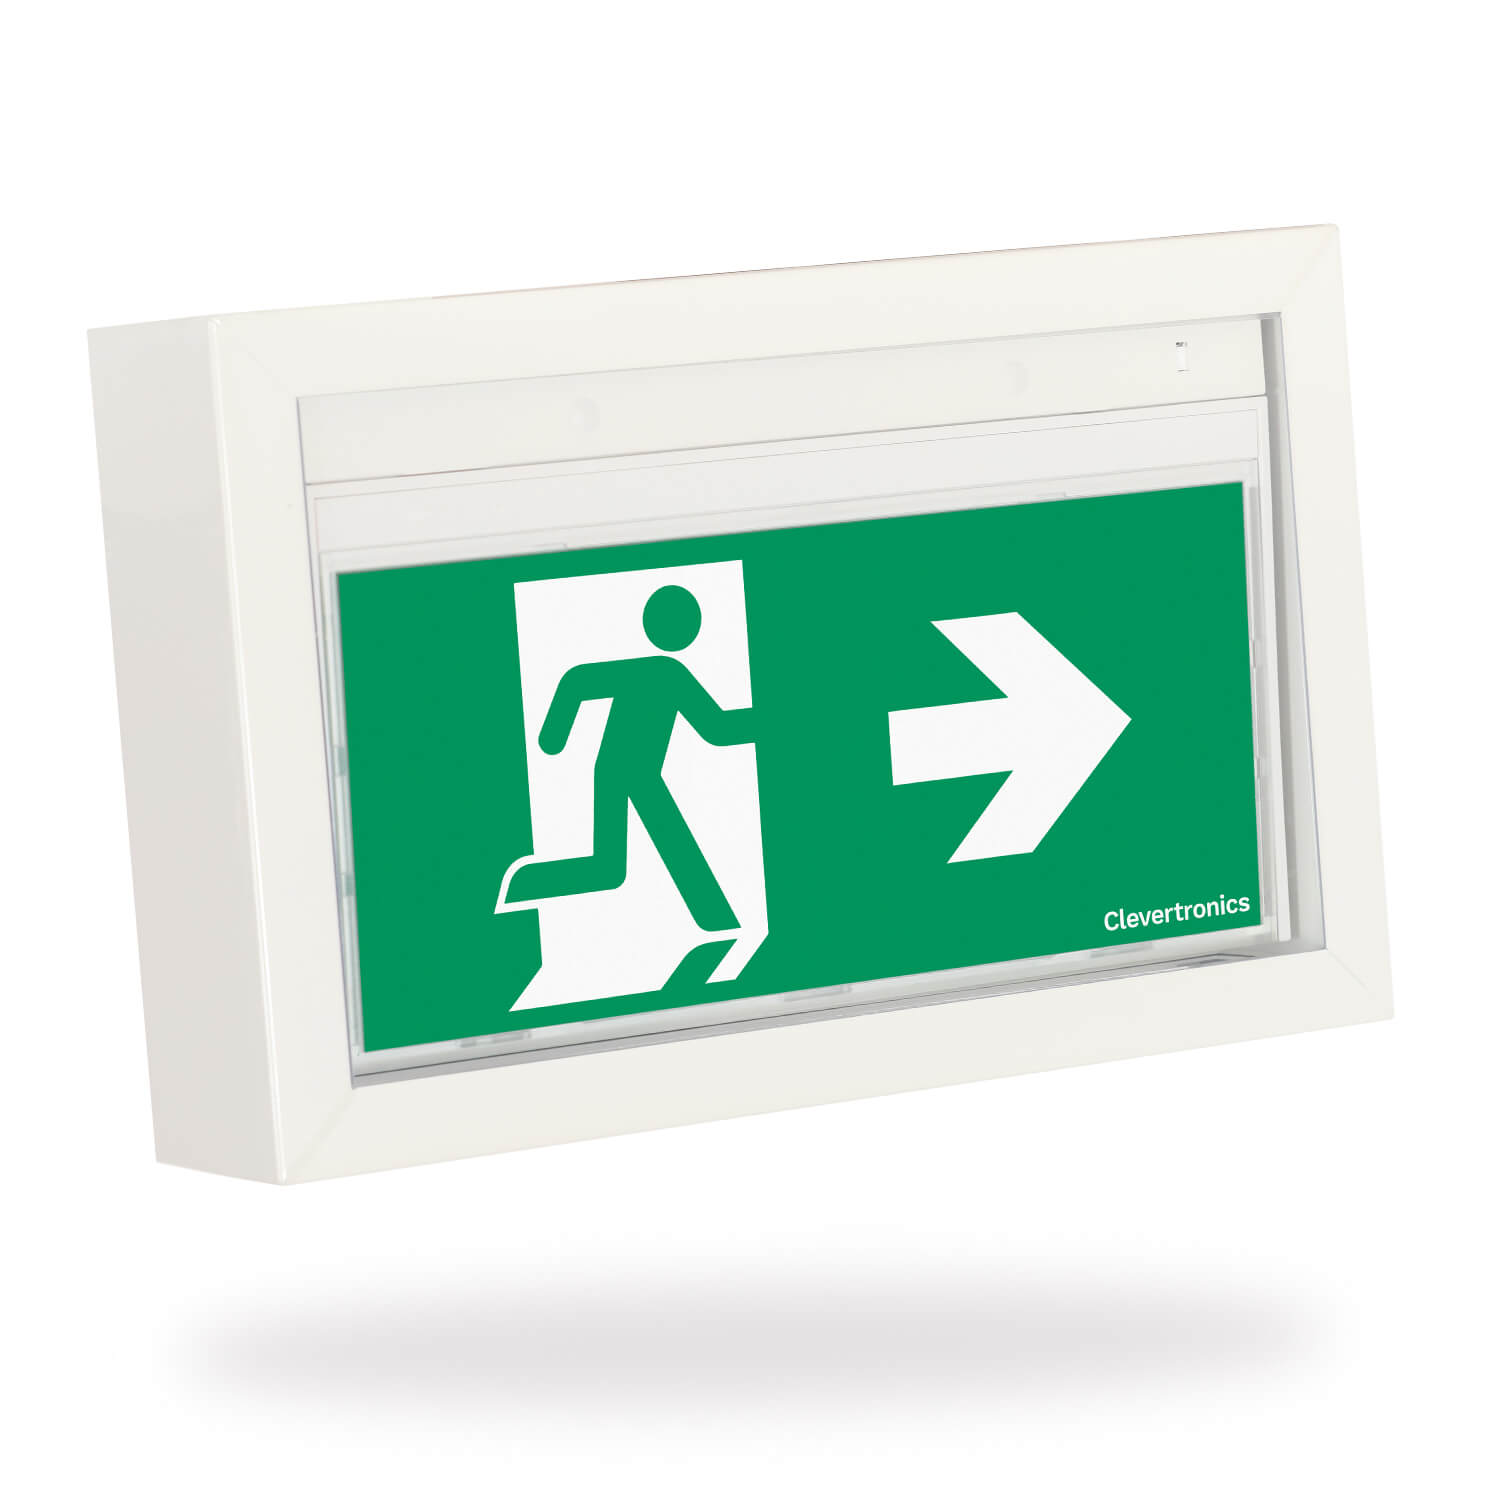
Form 20m Exit Light Recessed Wall Mount with Escape Lens
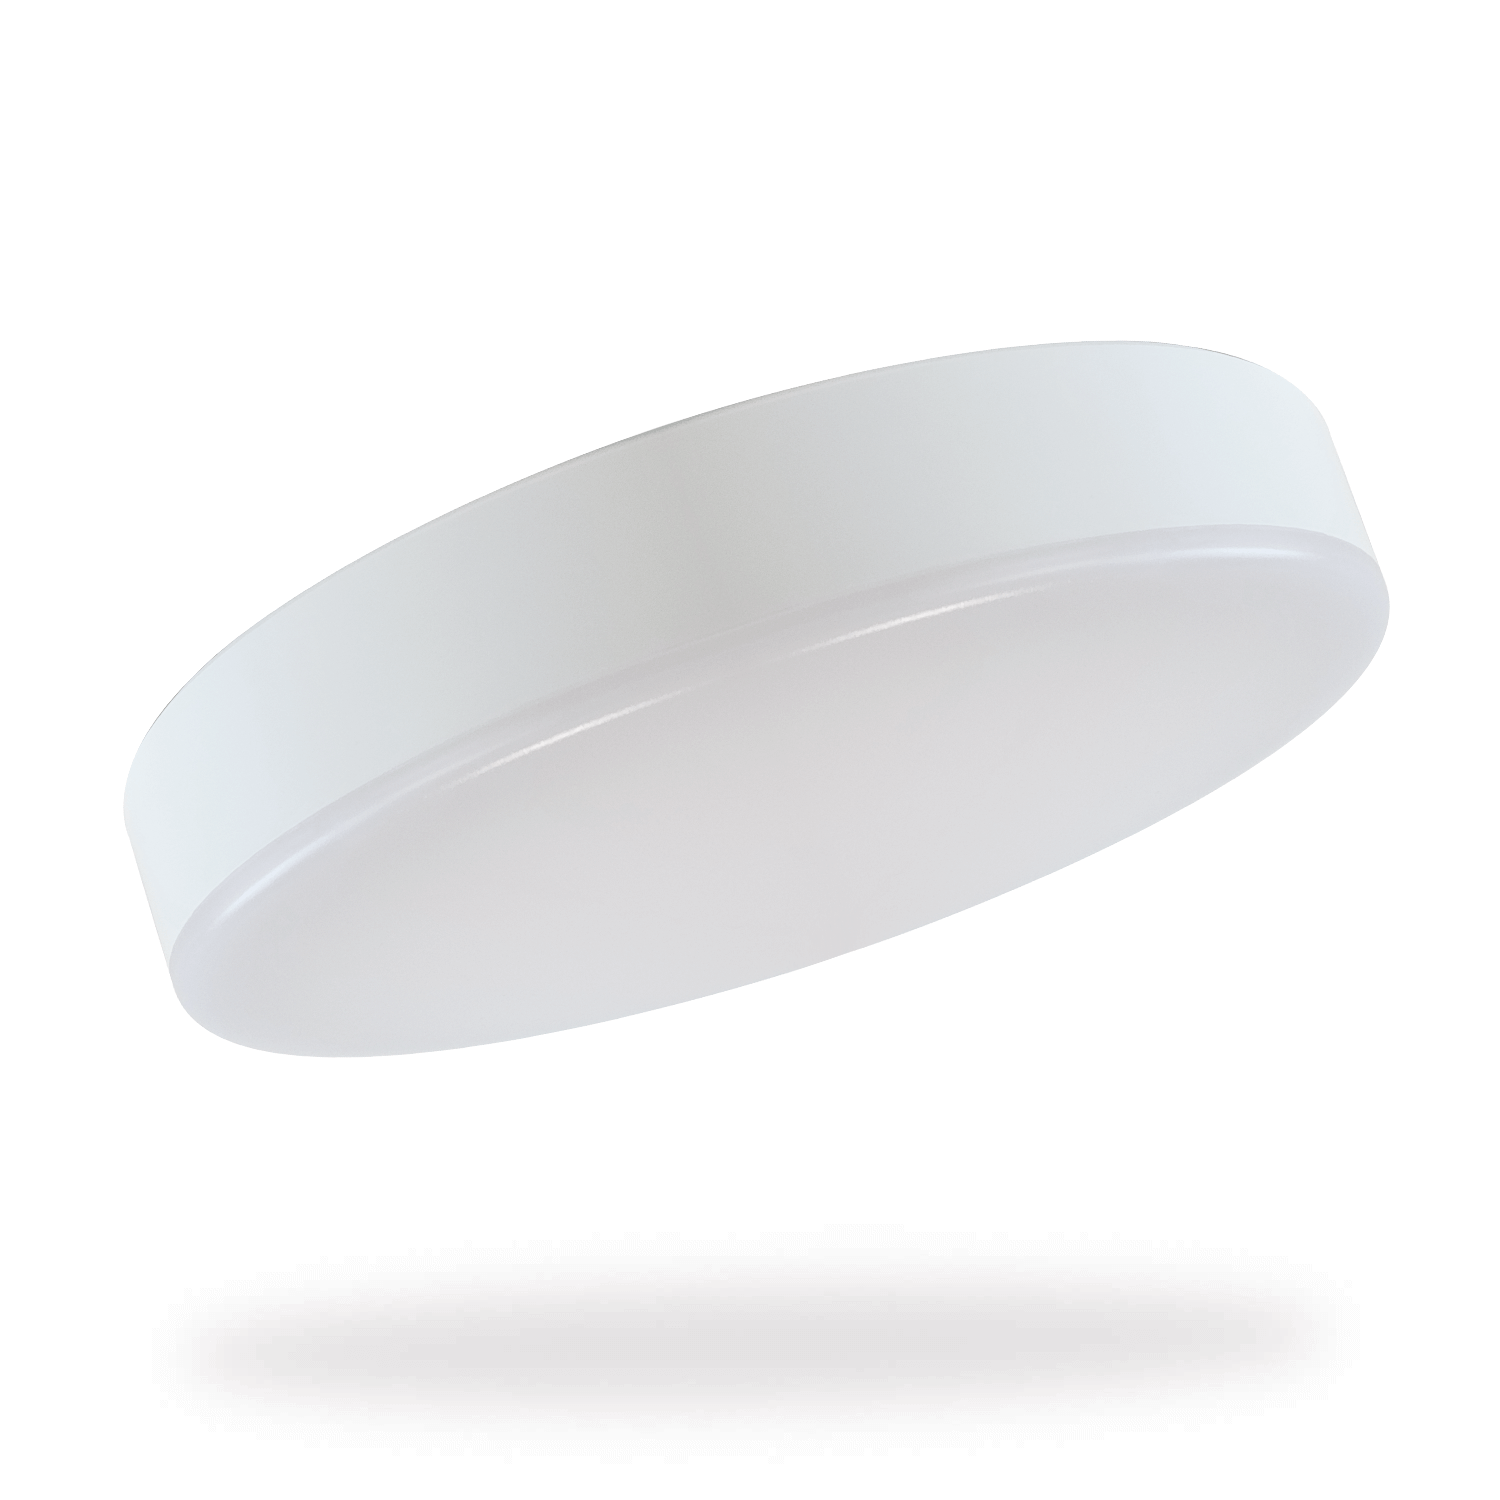
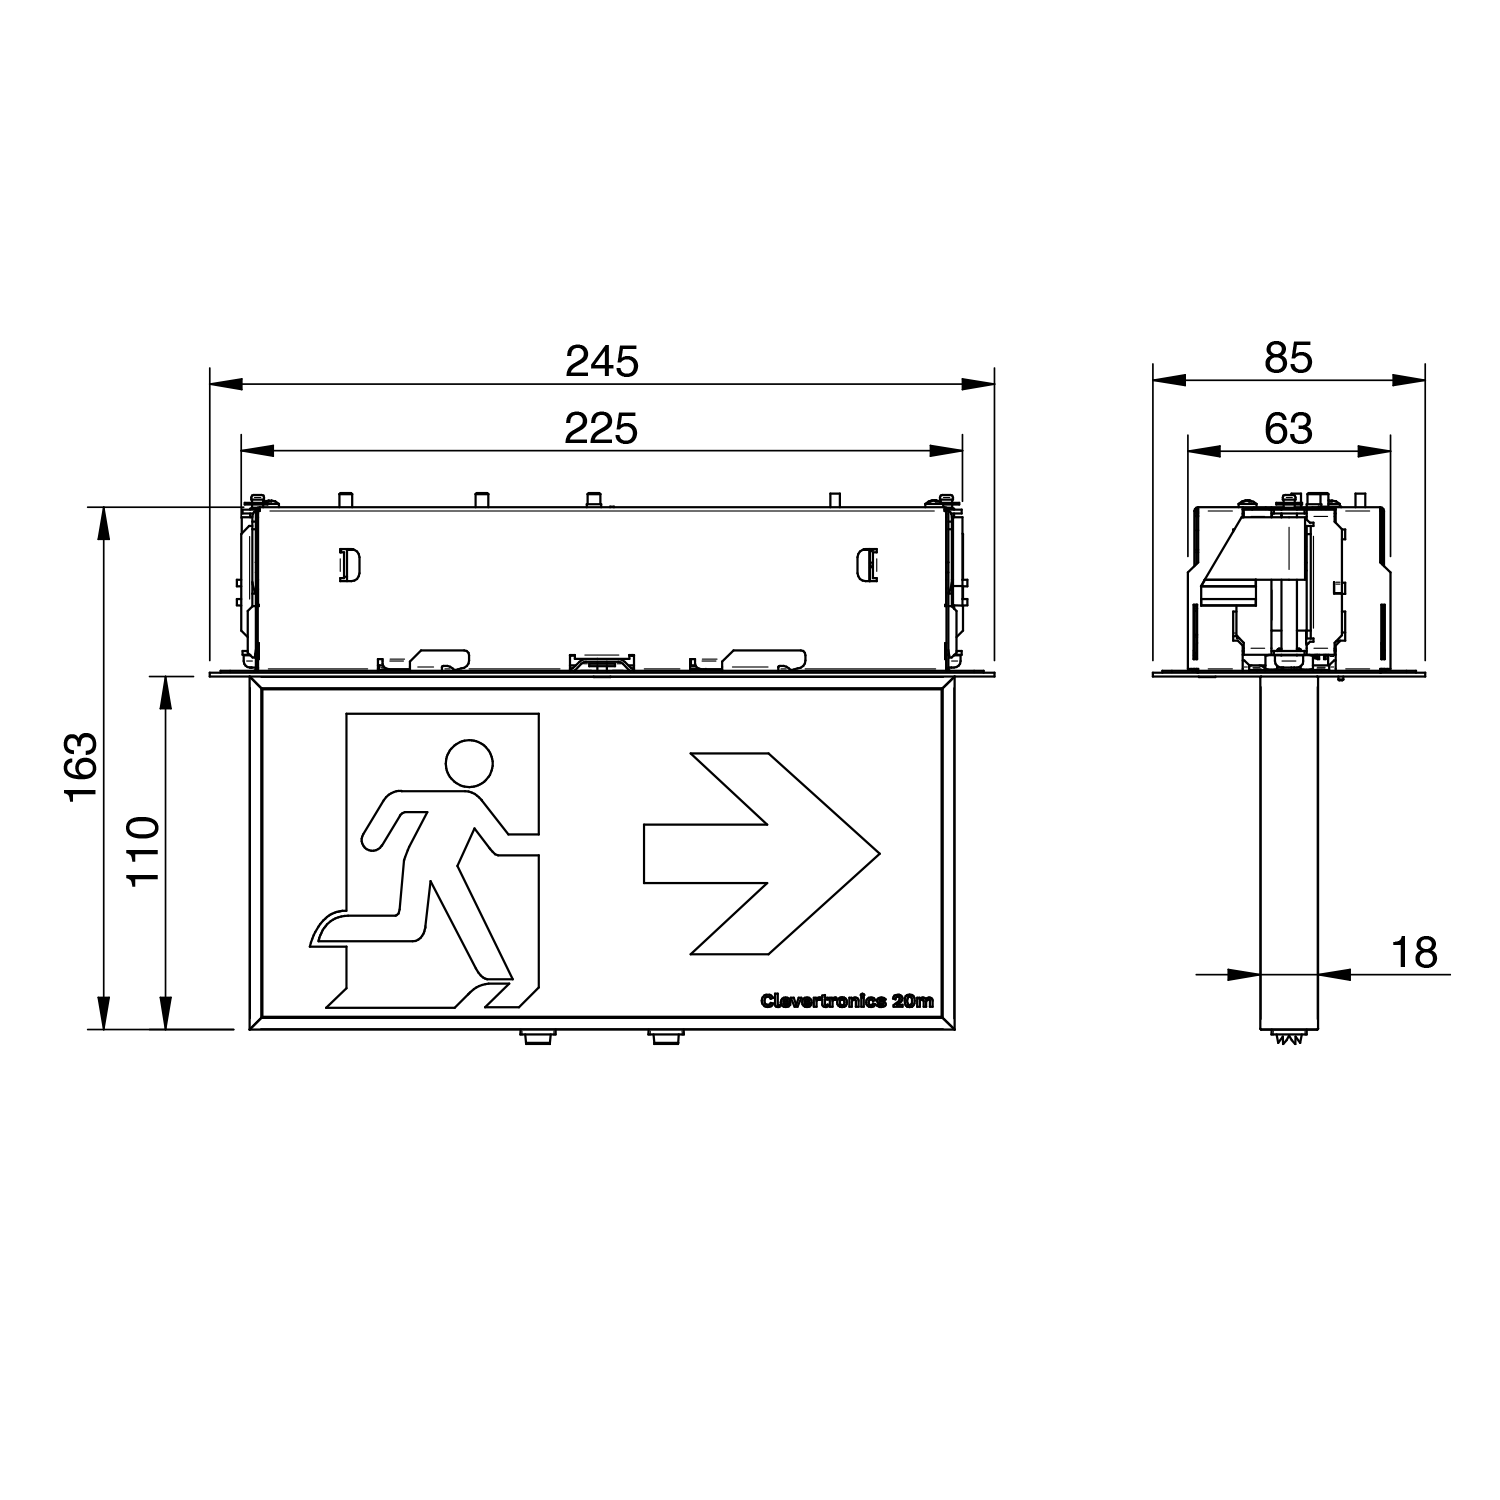
Form 20m Exit Light Recessed Ceiling Mount

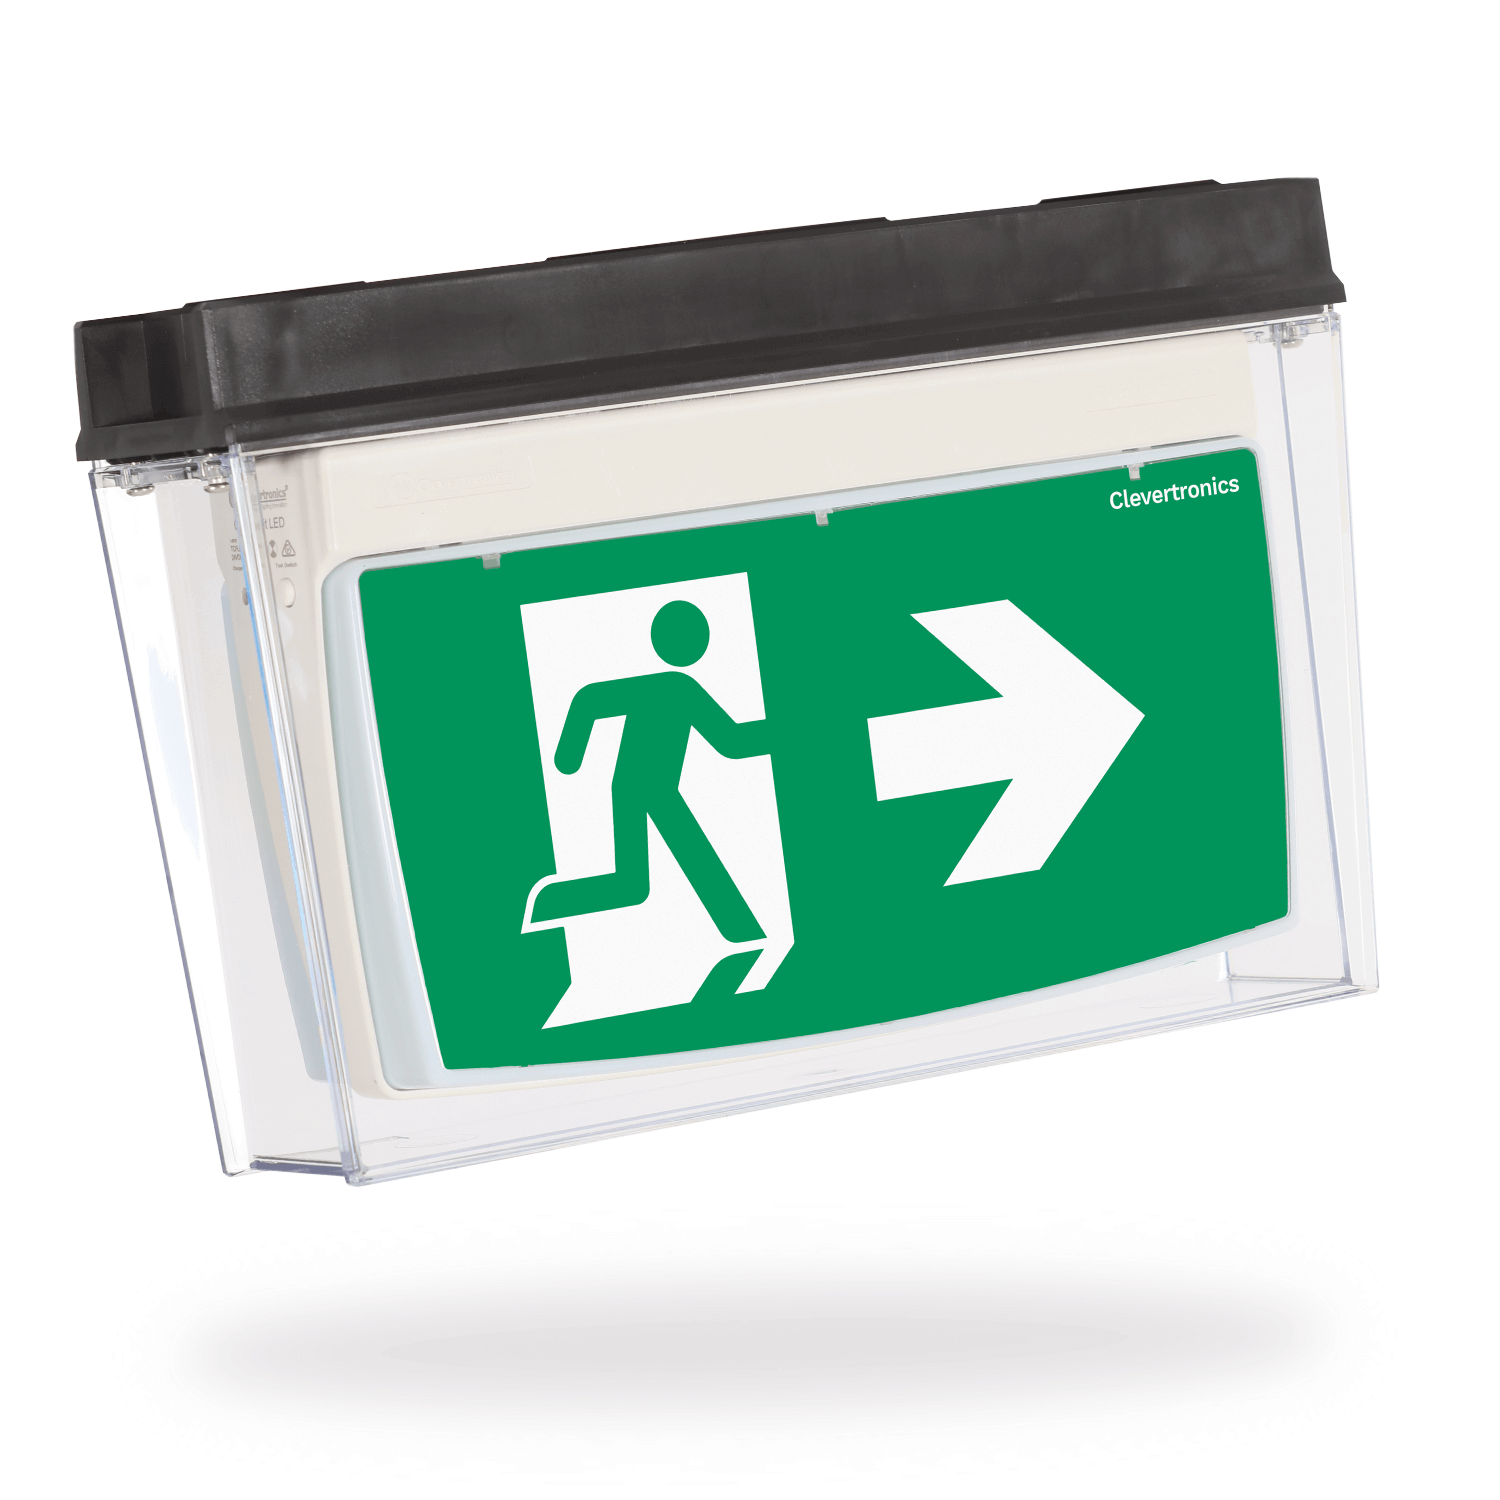
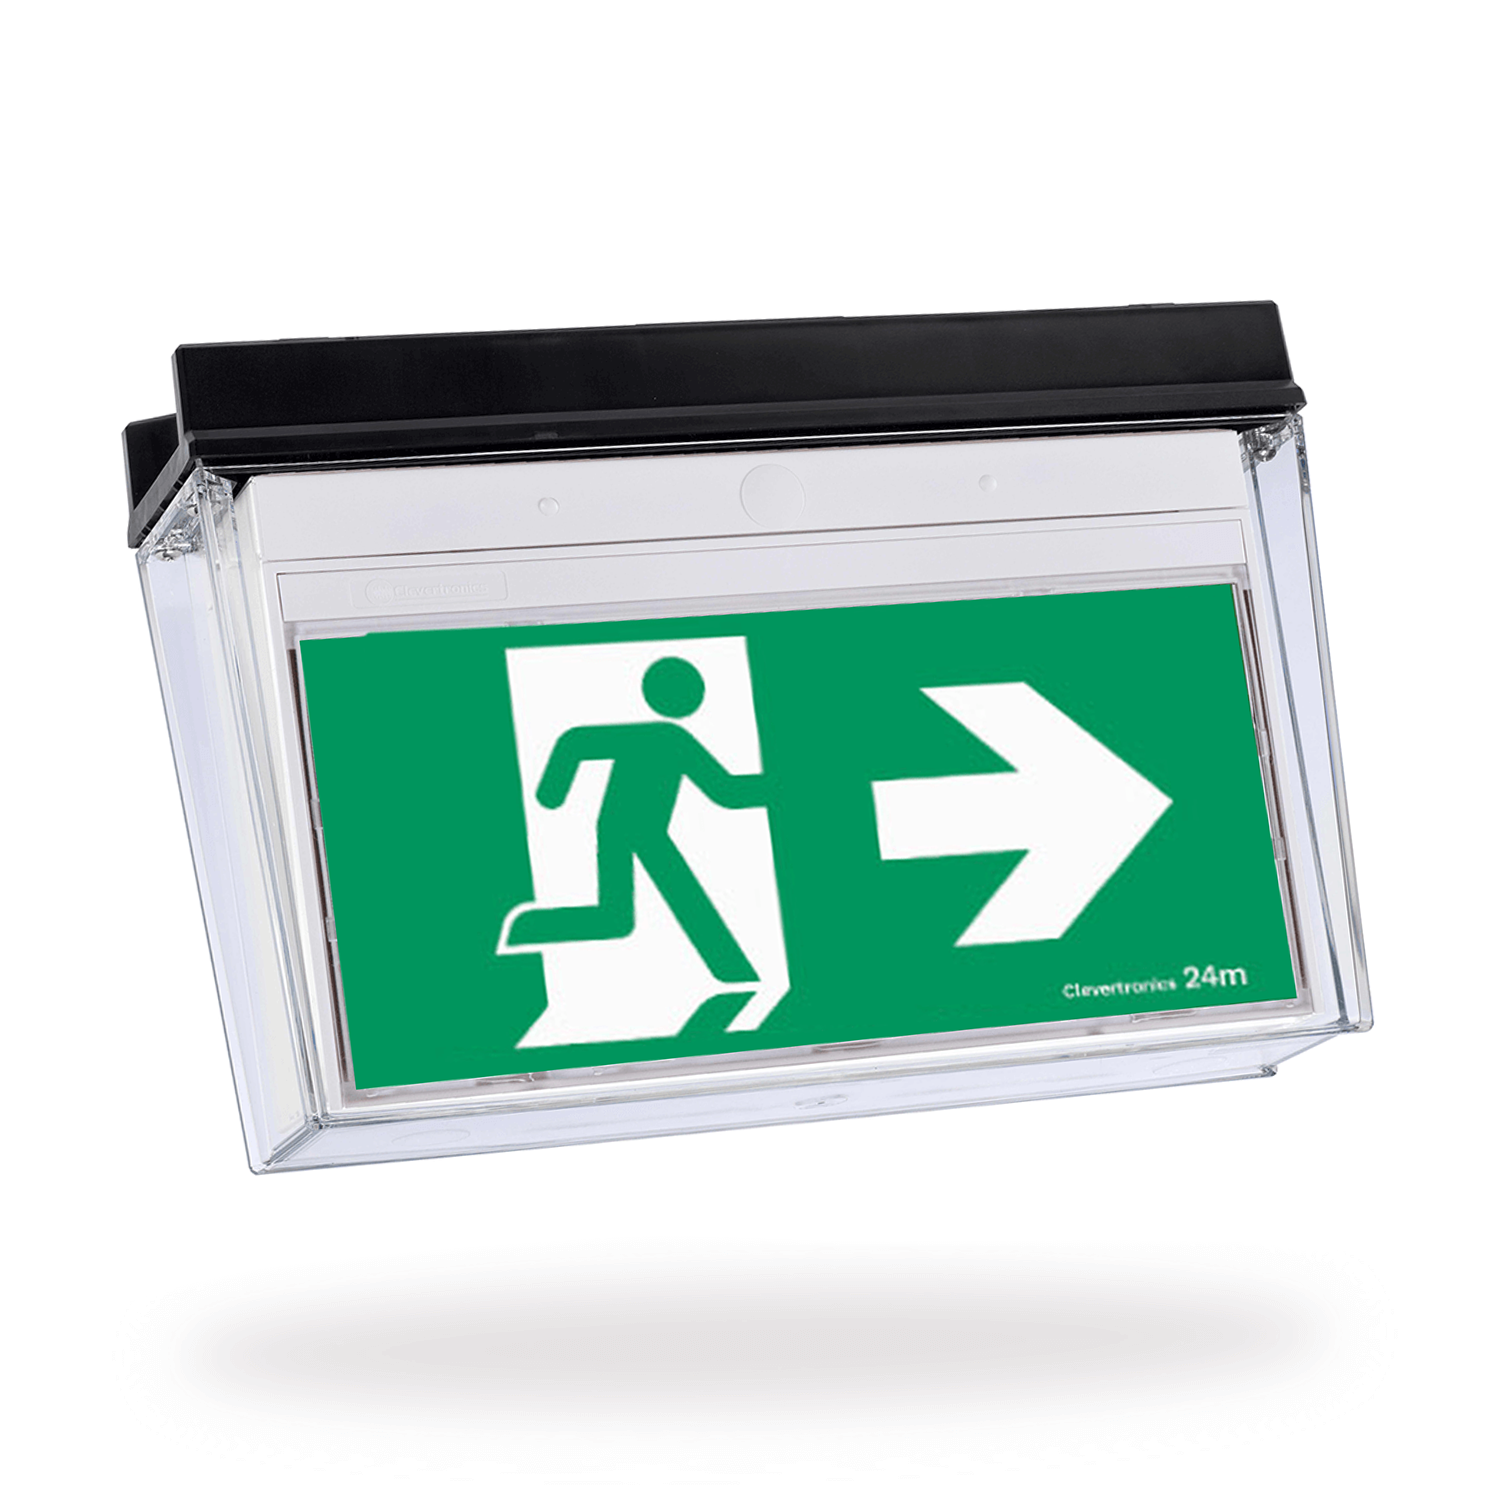
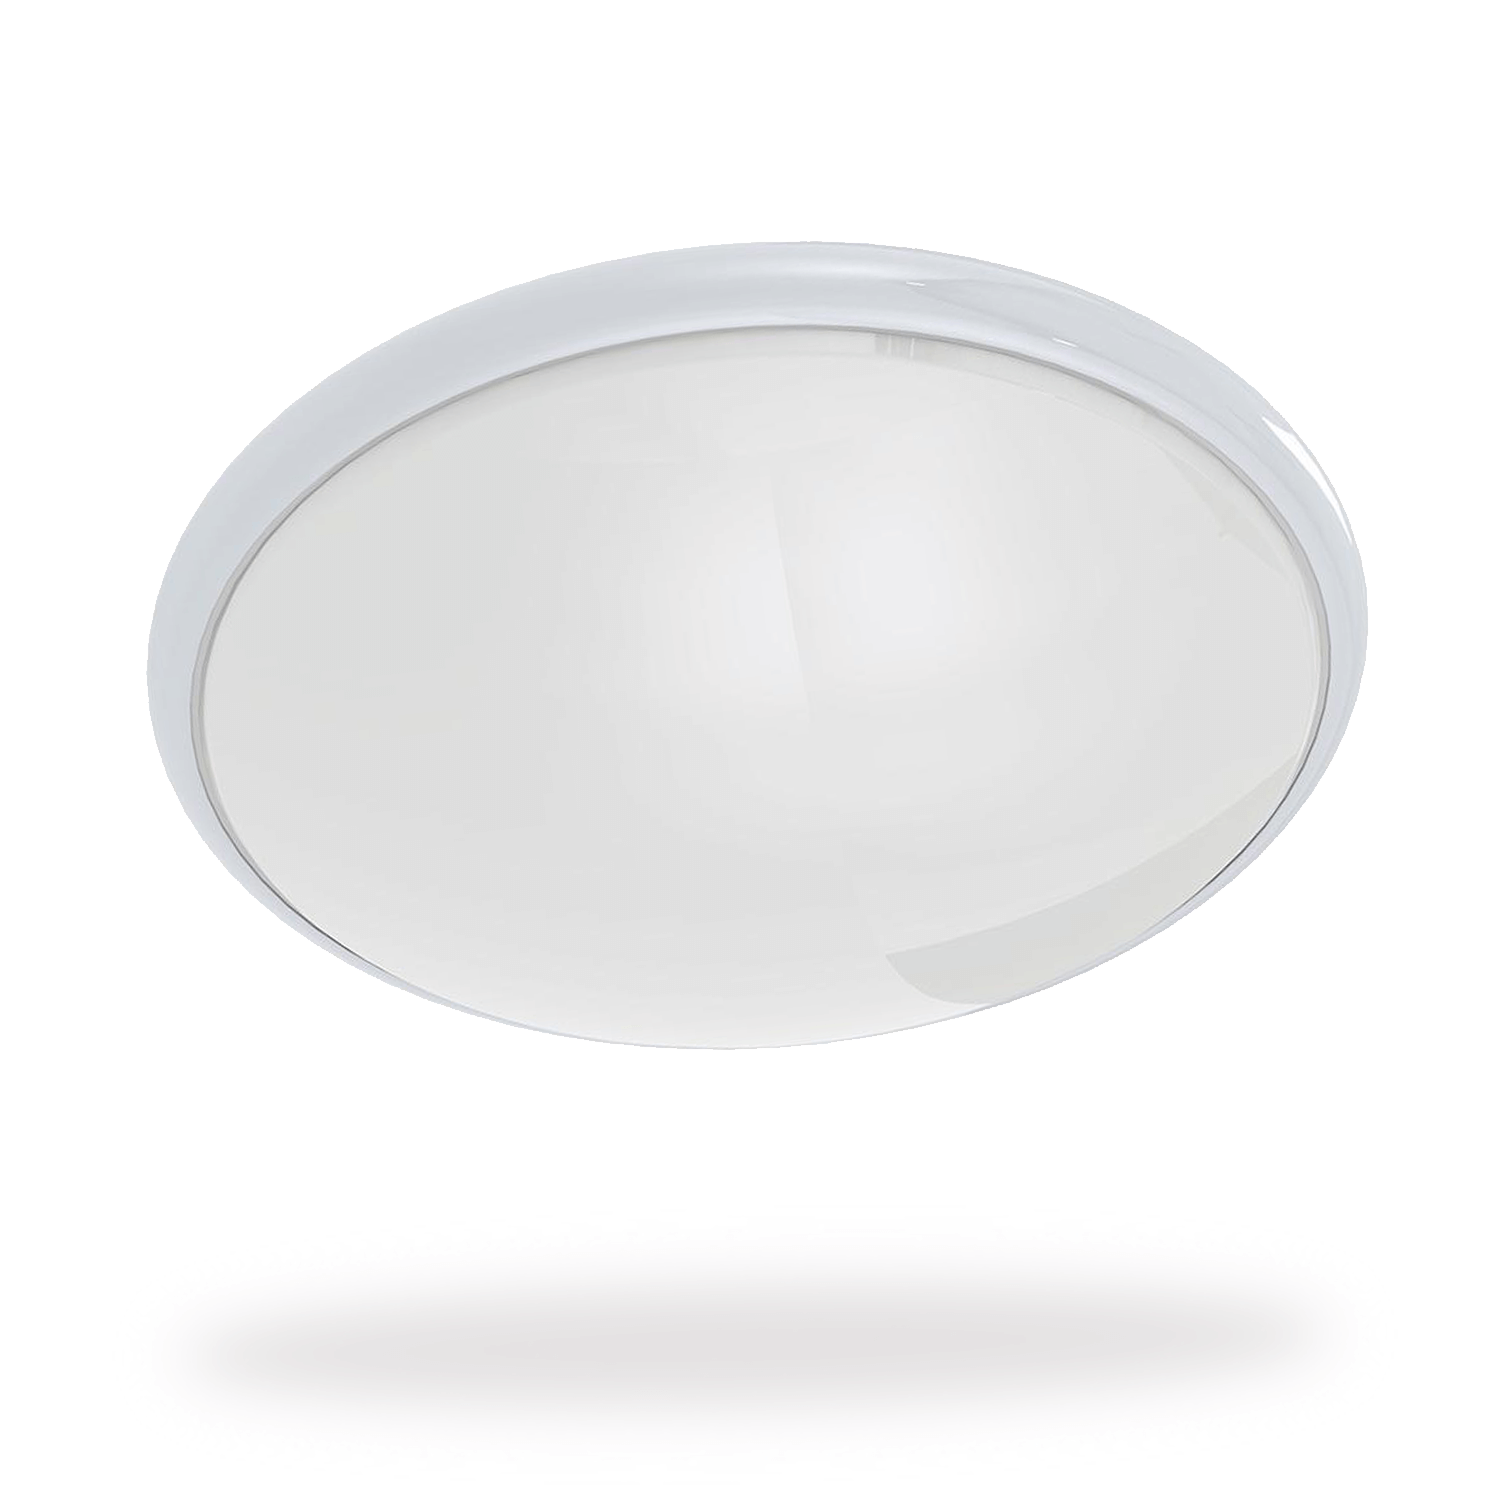
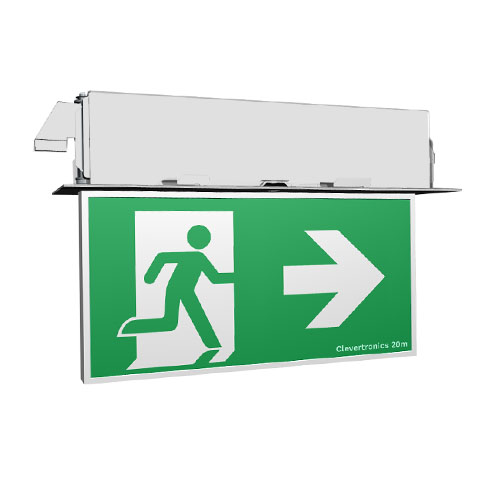
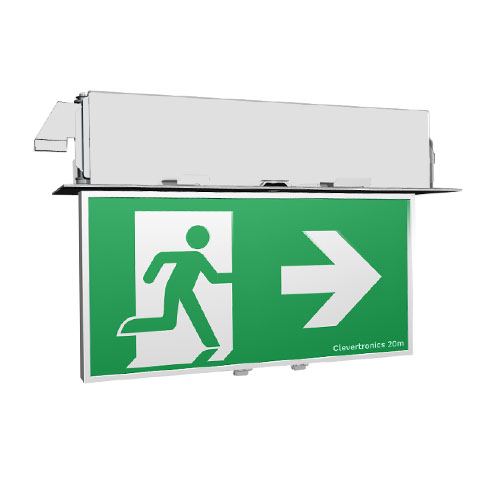
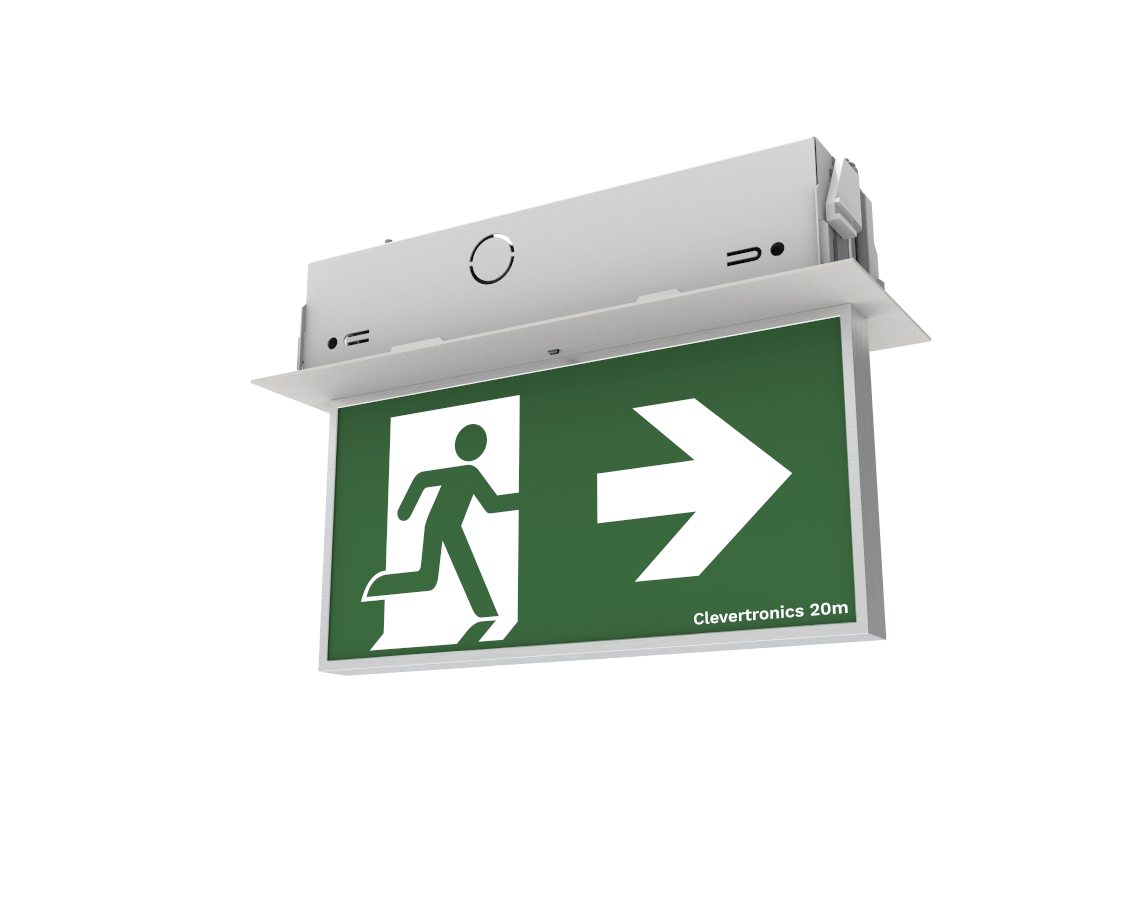
Form 20m Exit Light Recessed Ceiling Mount with Escape Lens
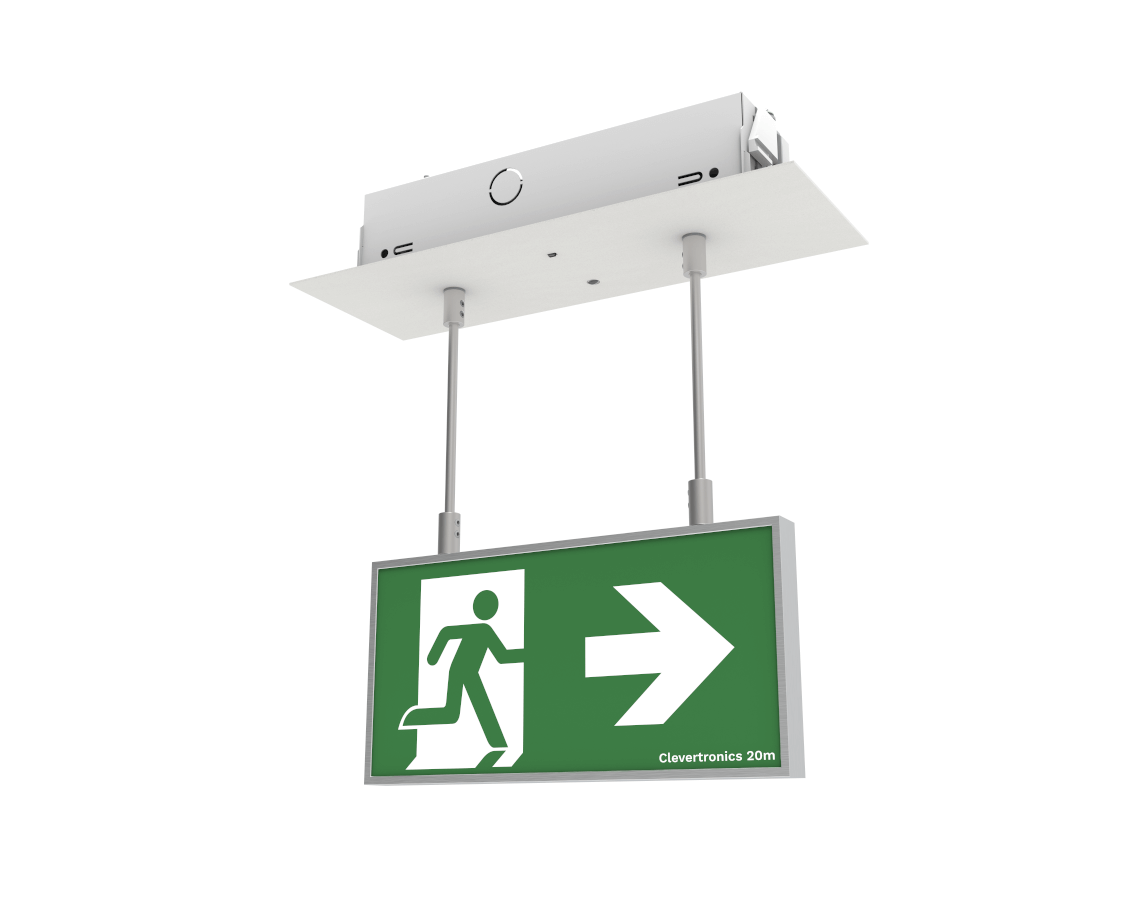
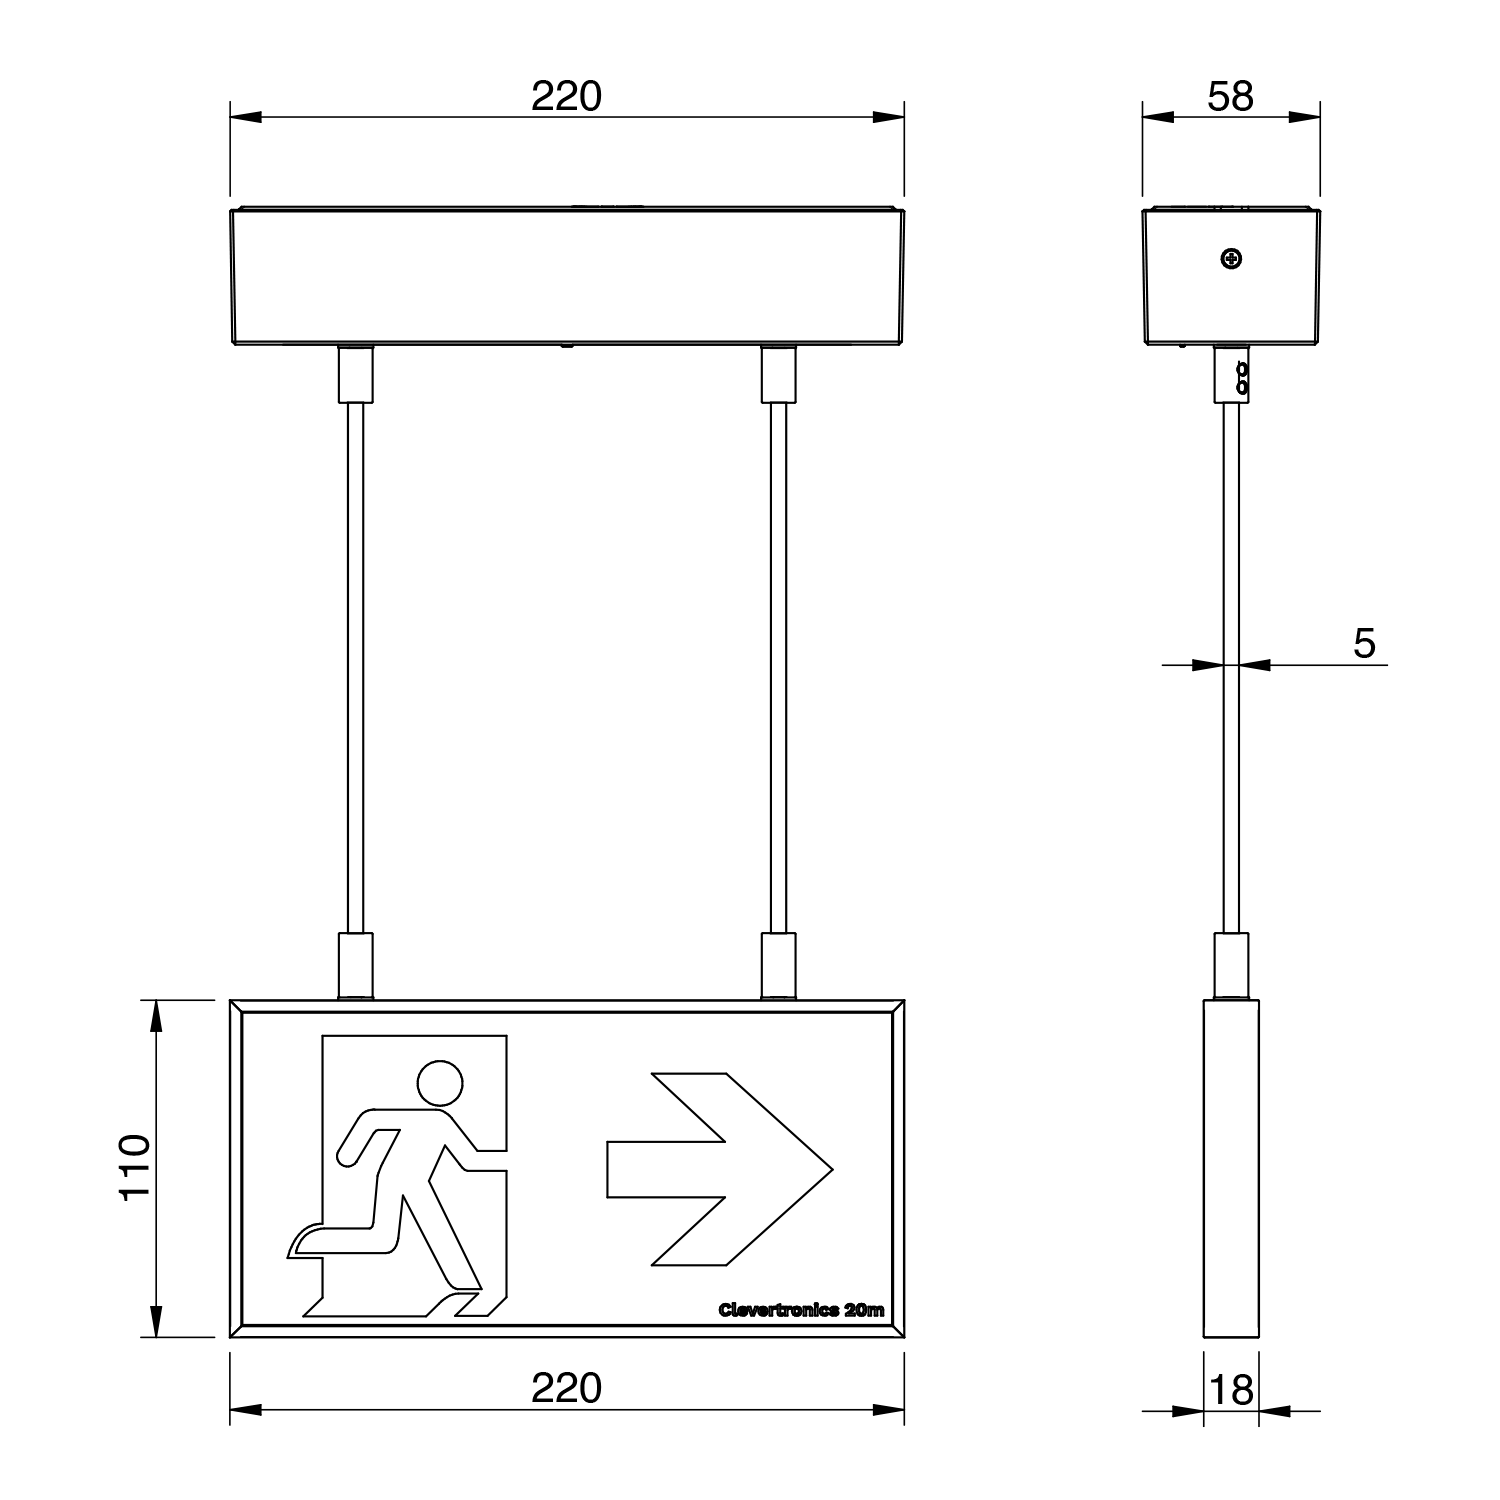
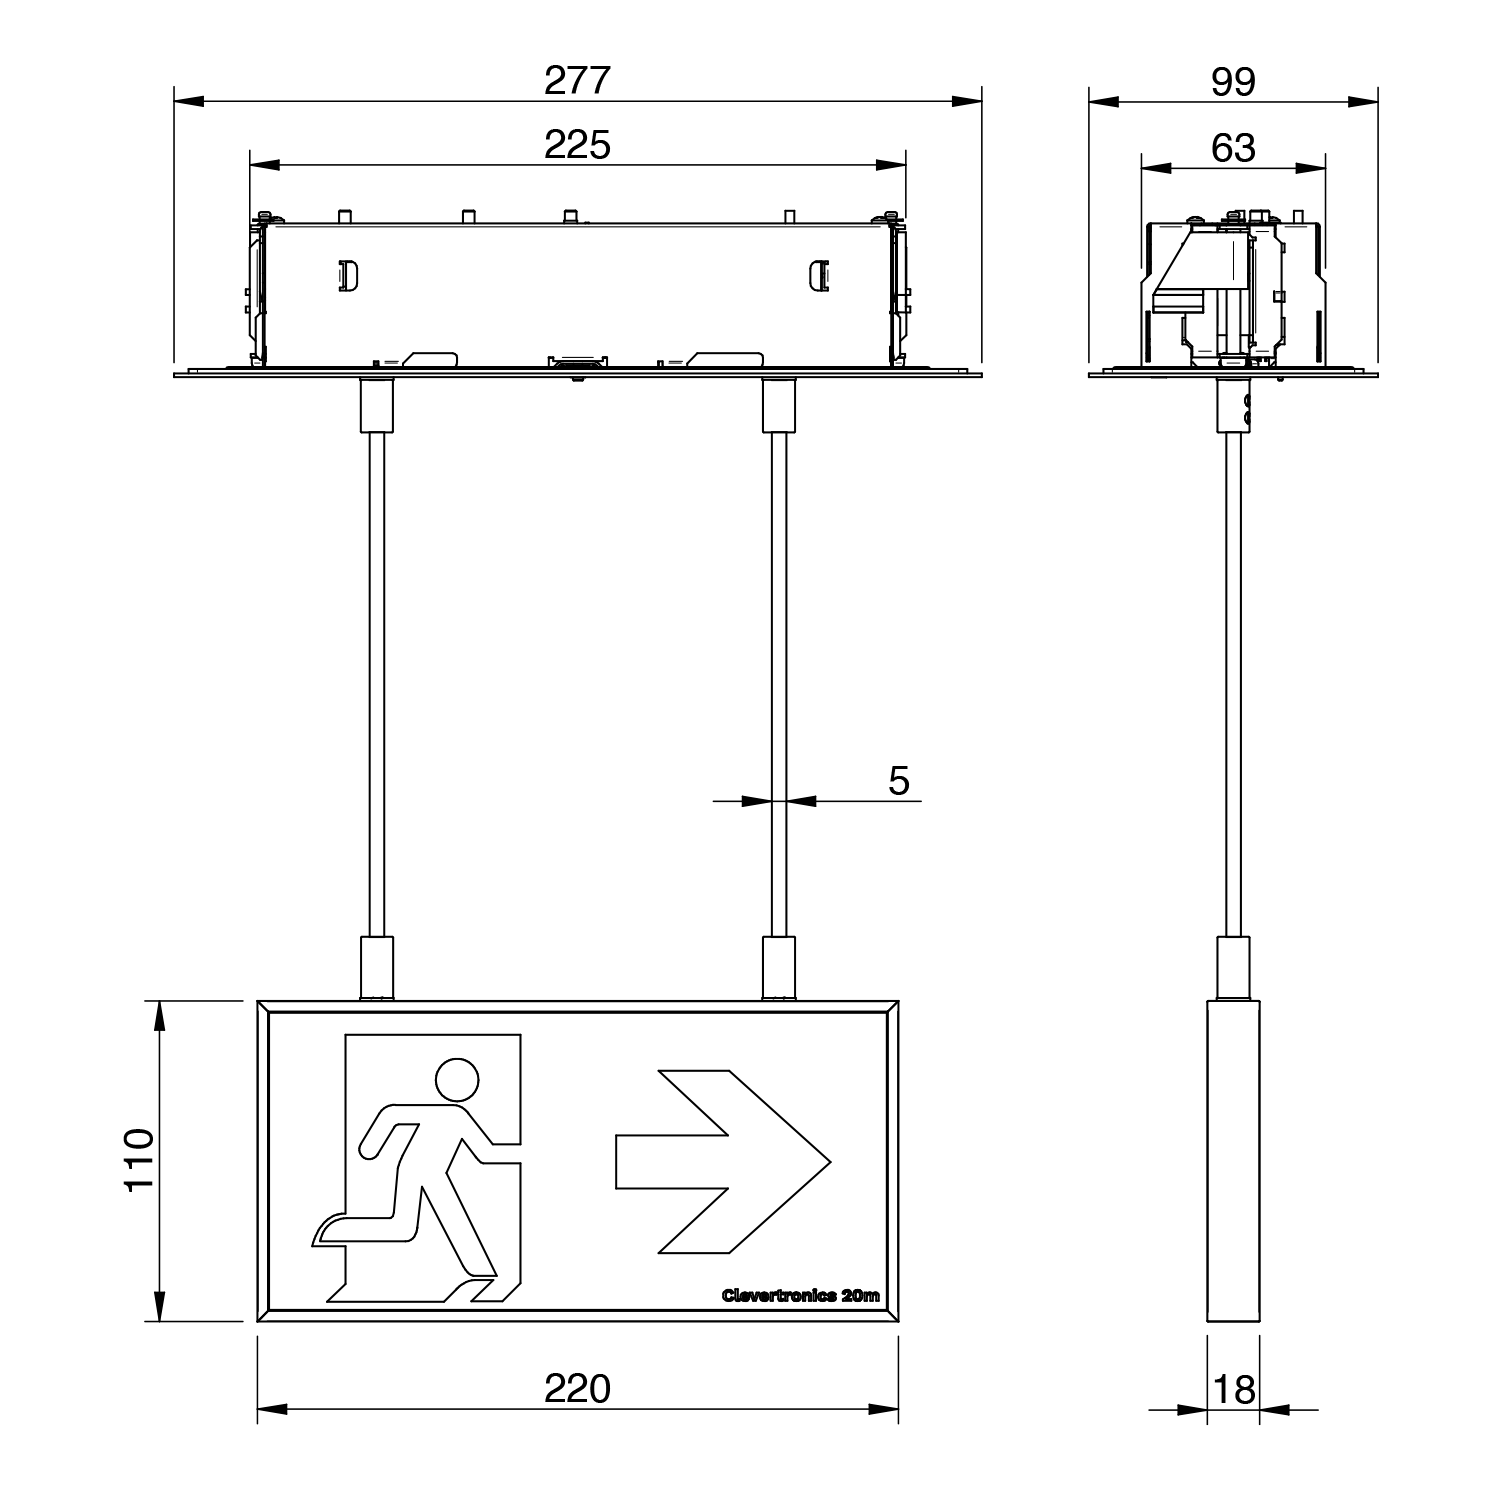
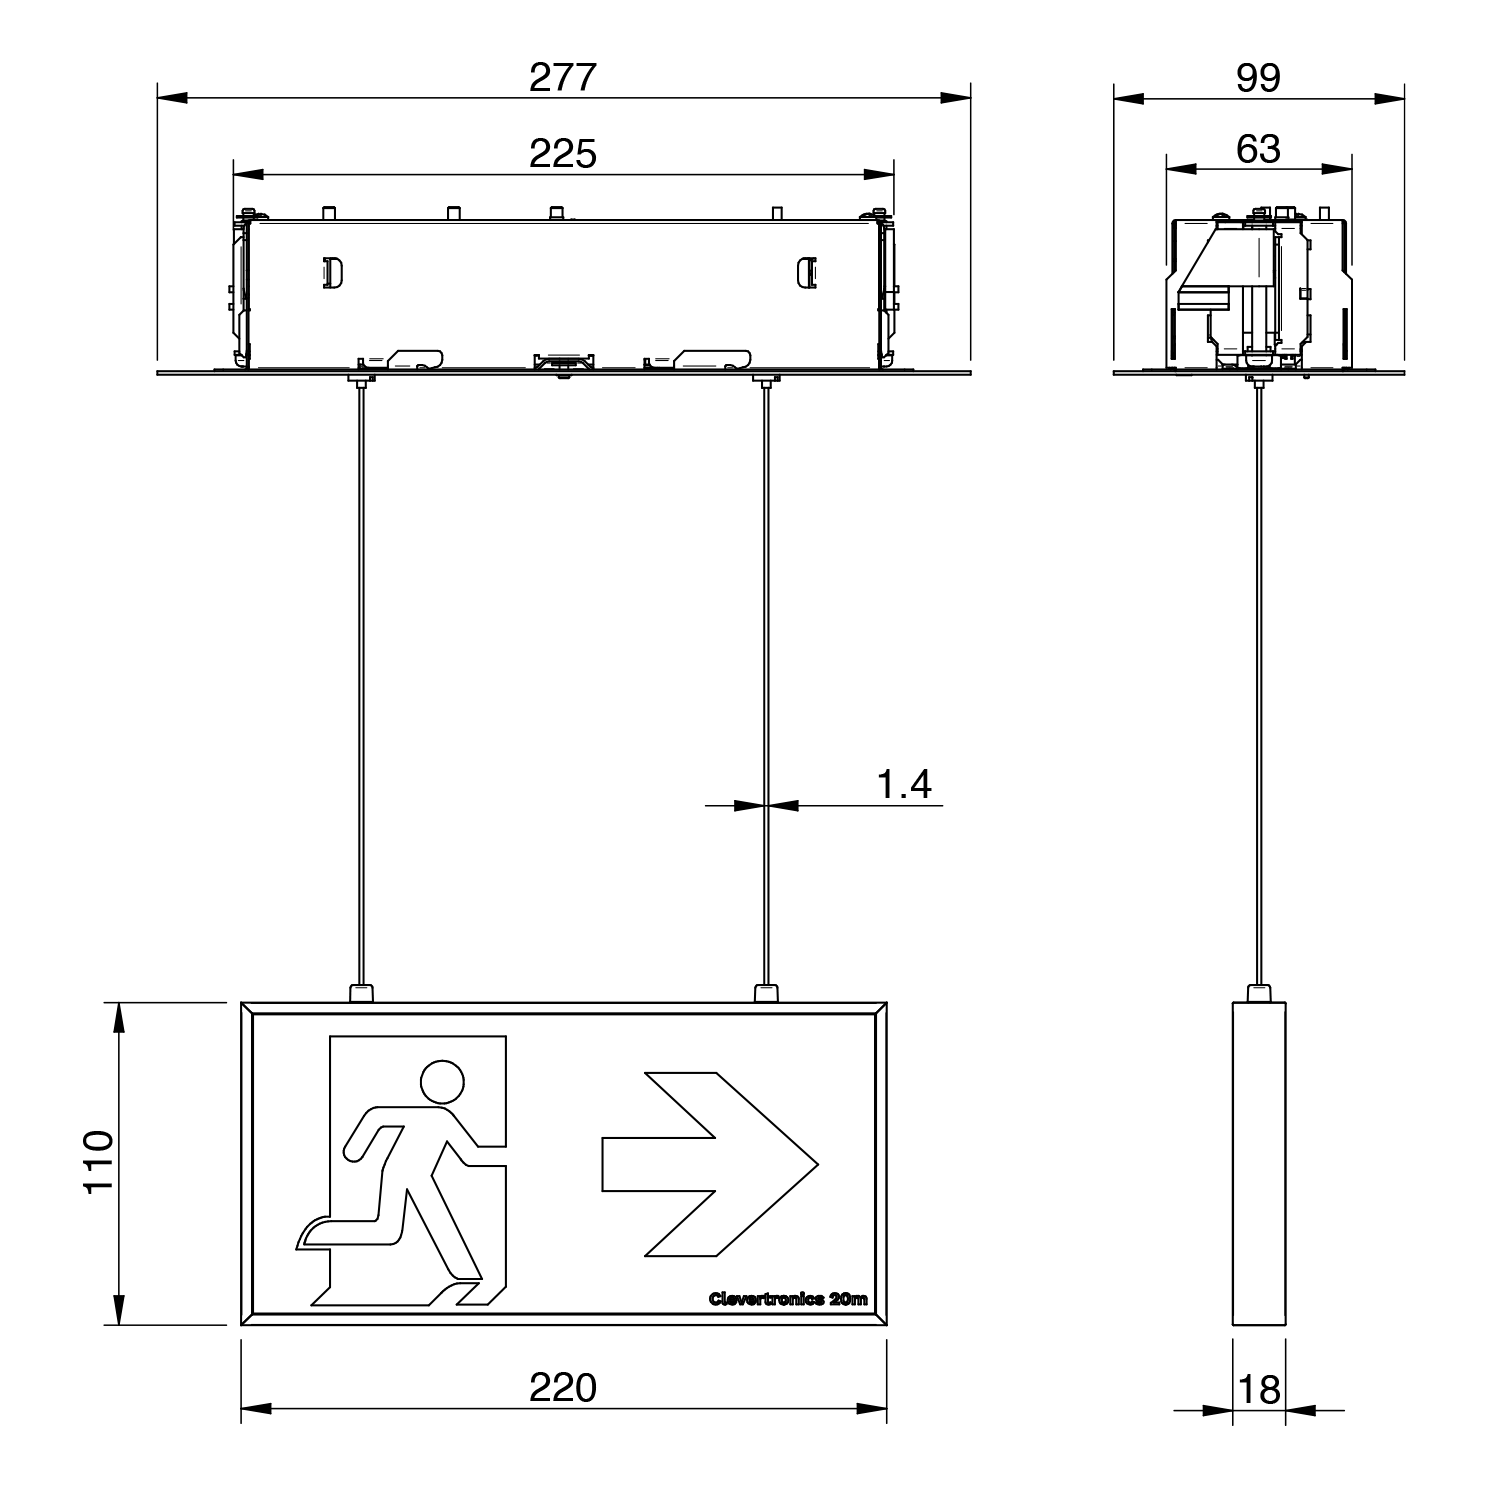
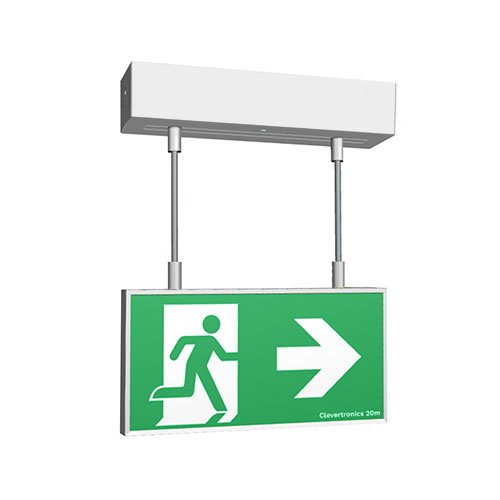
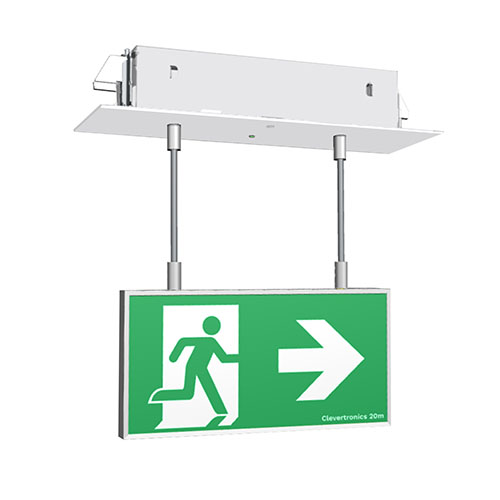
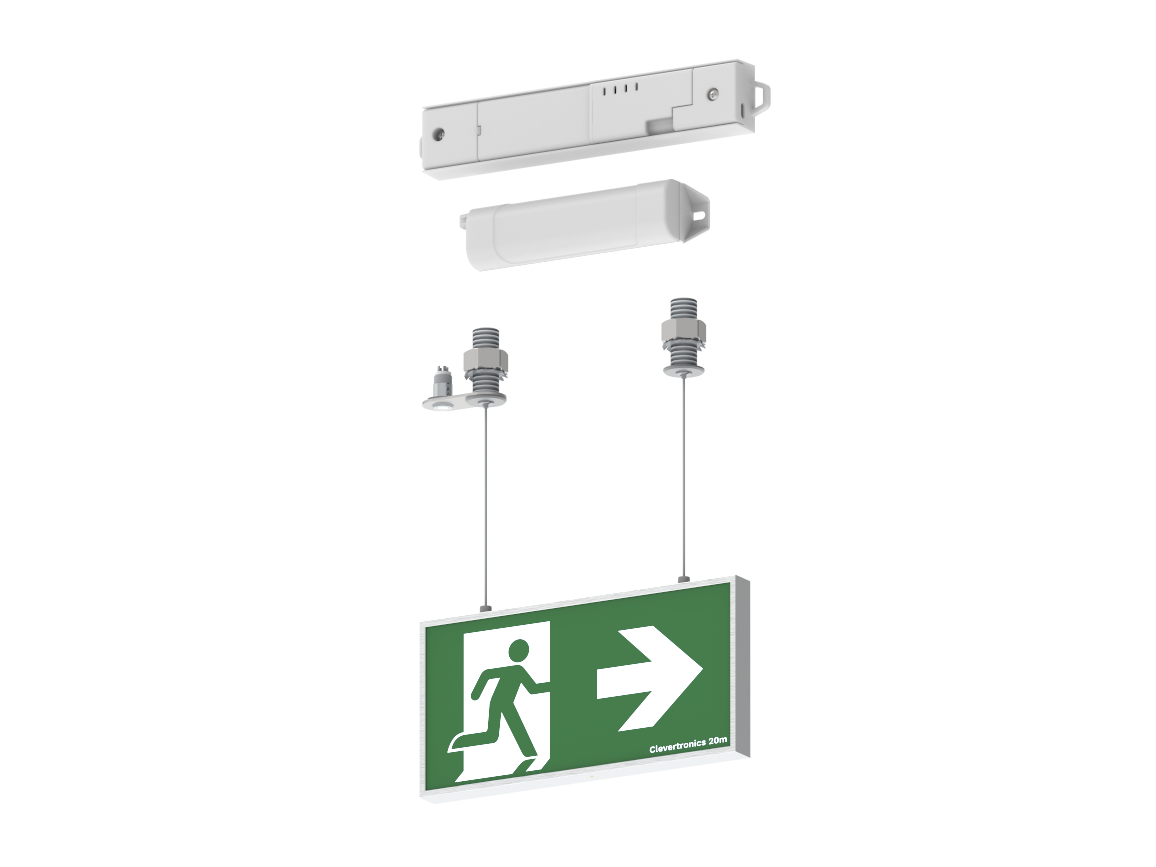
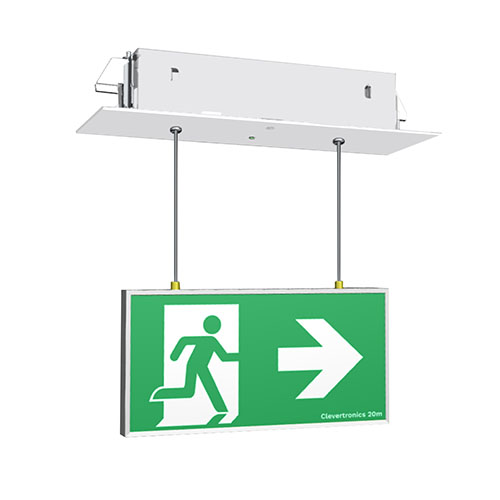
Form 20m Exit Light Recessed Ceiling Mount - Rod Suspended
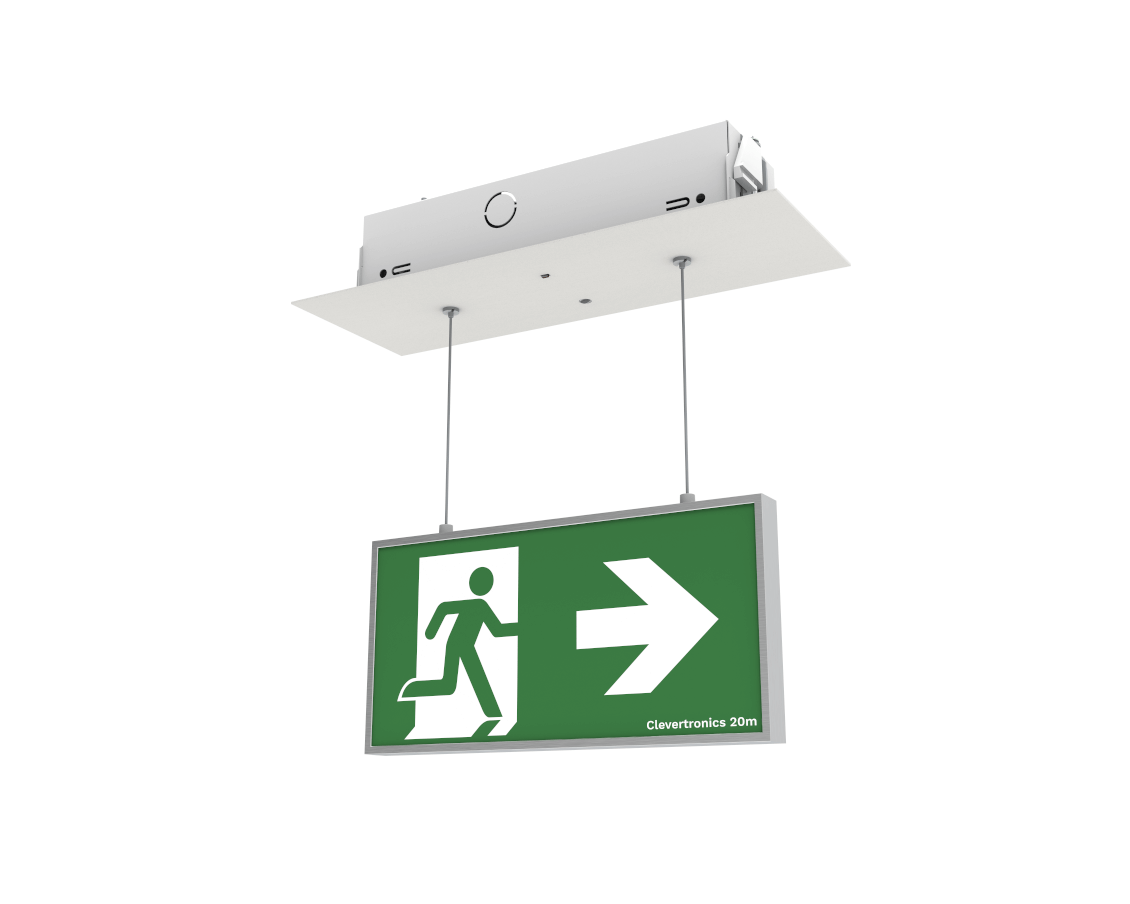
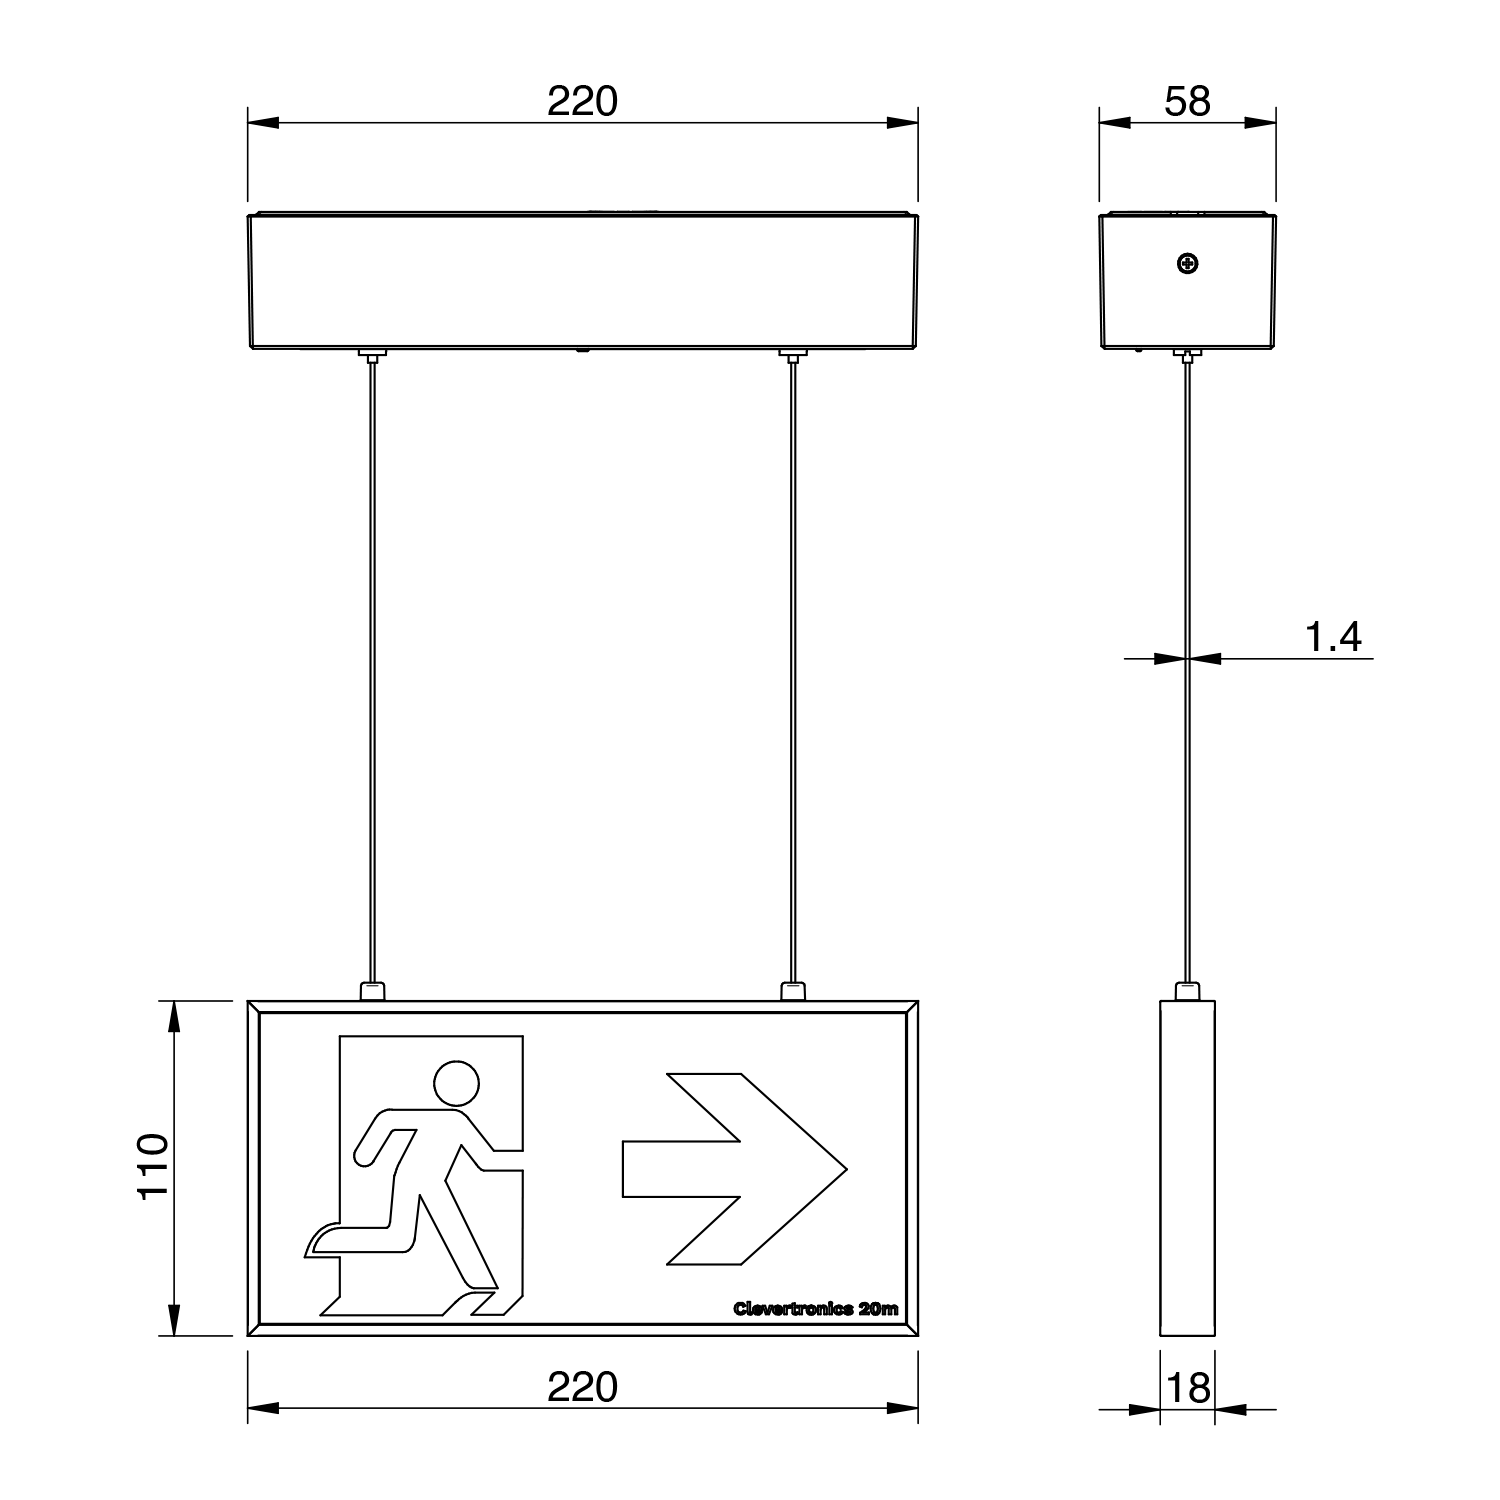
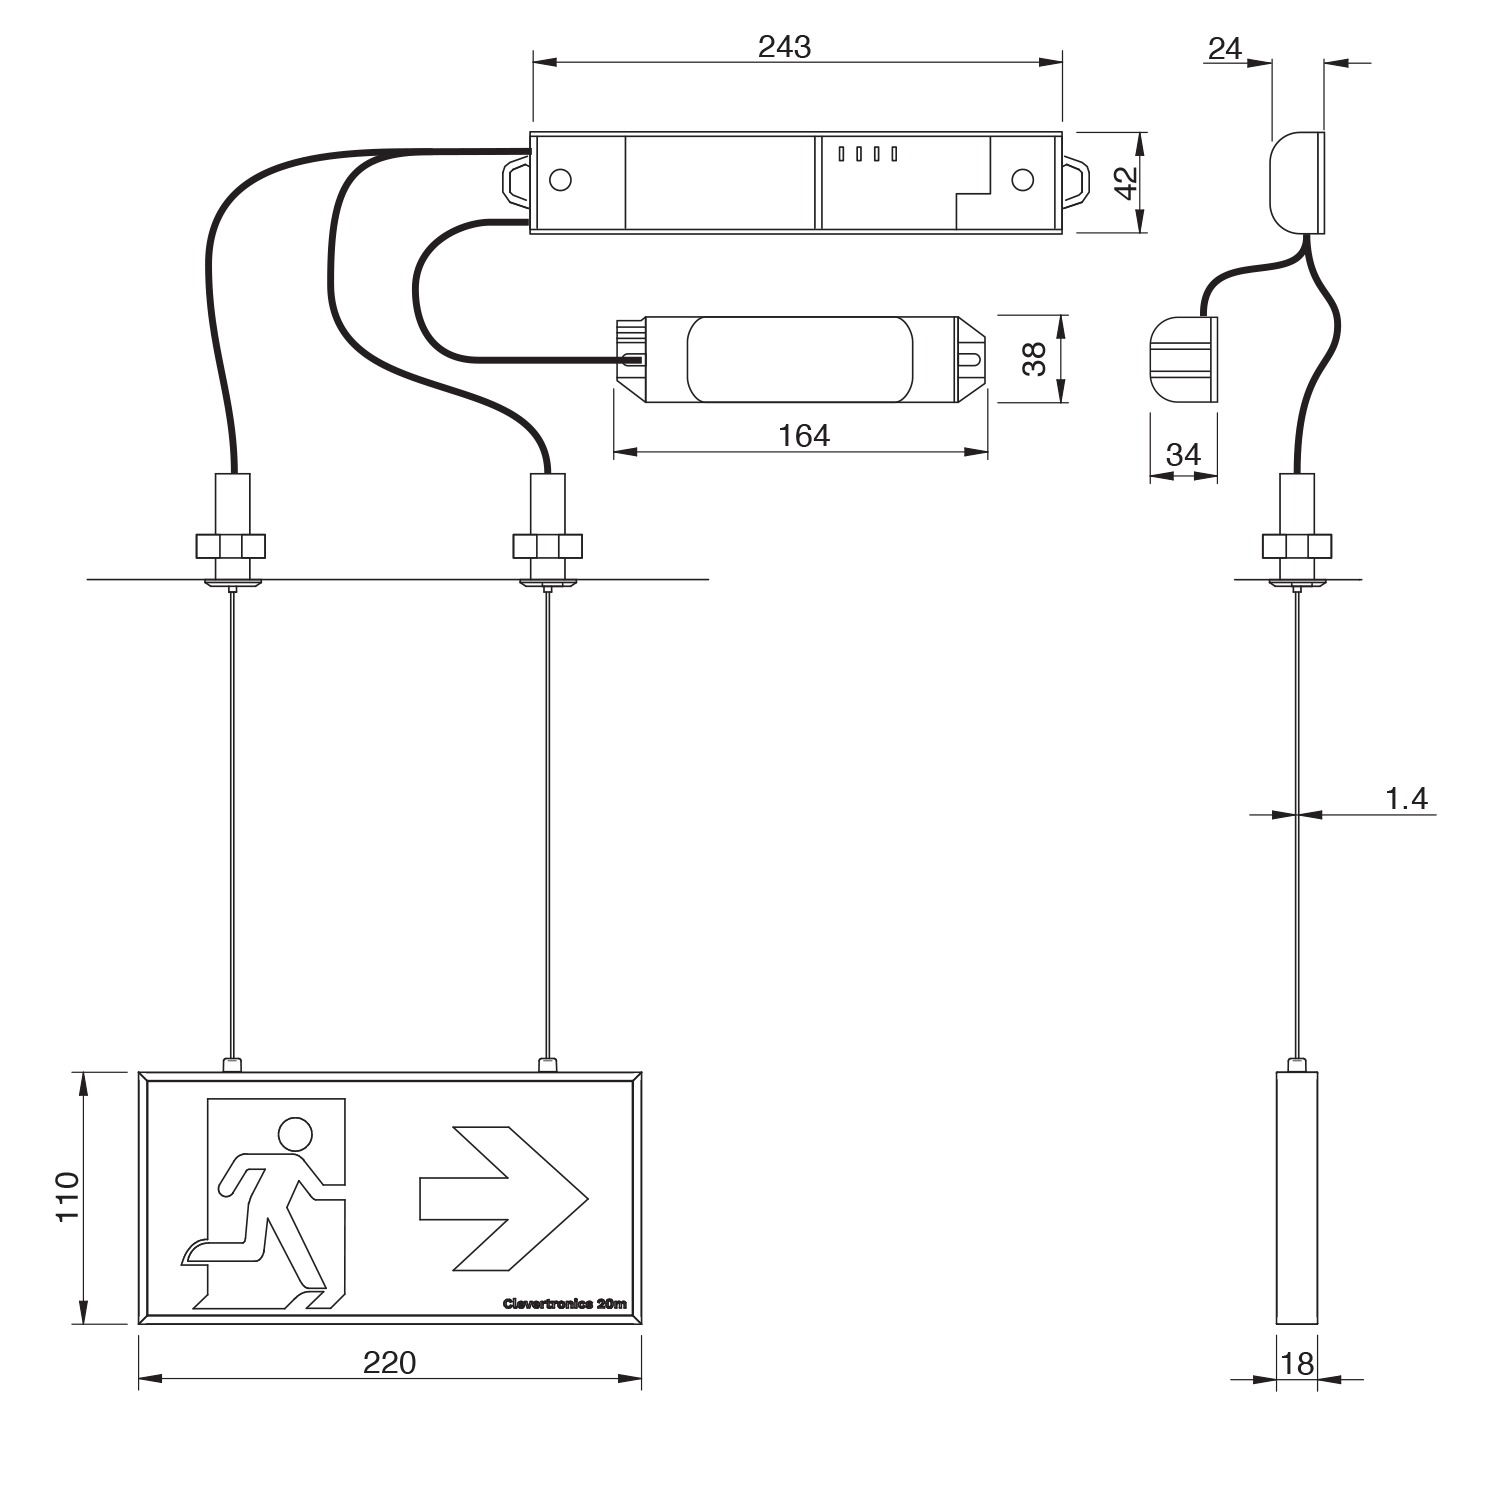
Form 20m Exit Light Recessed Ceiling Mount - Cord Suspended

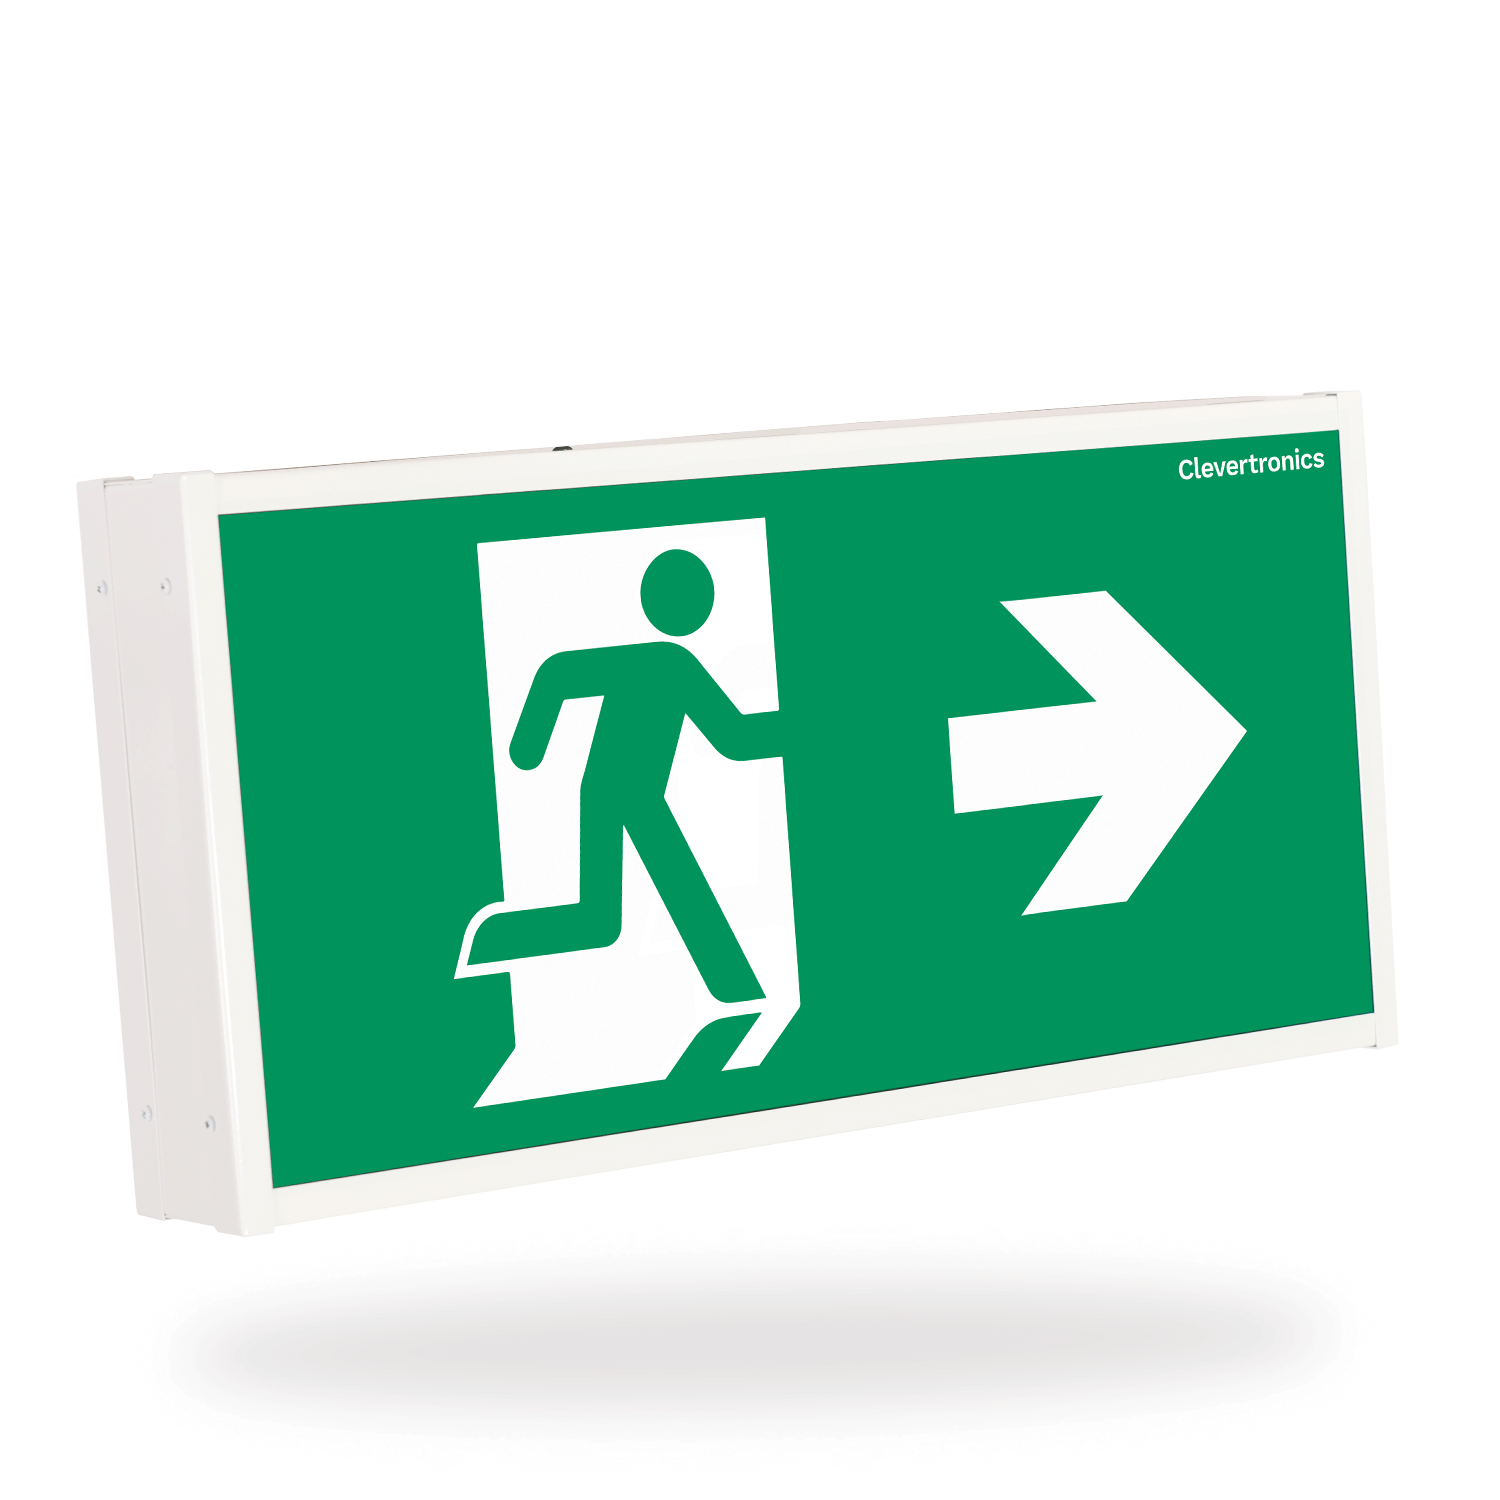
Form 20m Exit Light Surface Wall Mount

Form 20m Exit Light Surface Wall Mount with Escape Lens

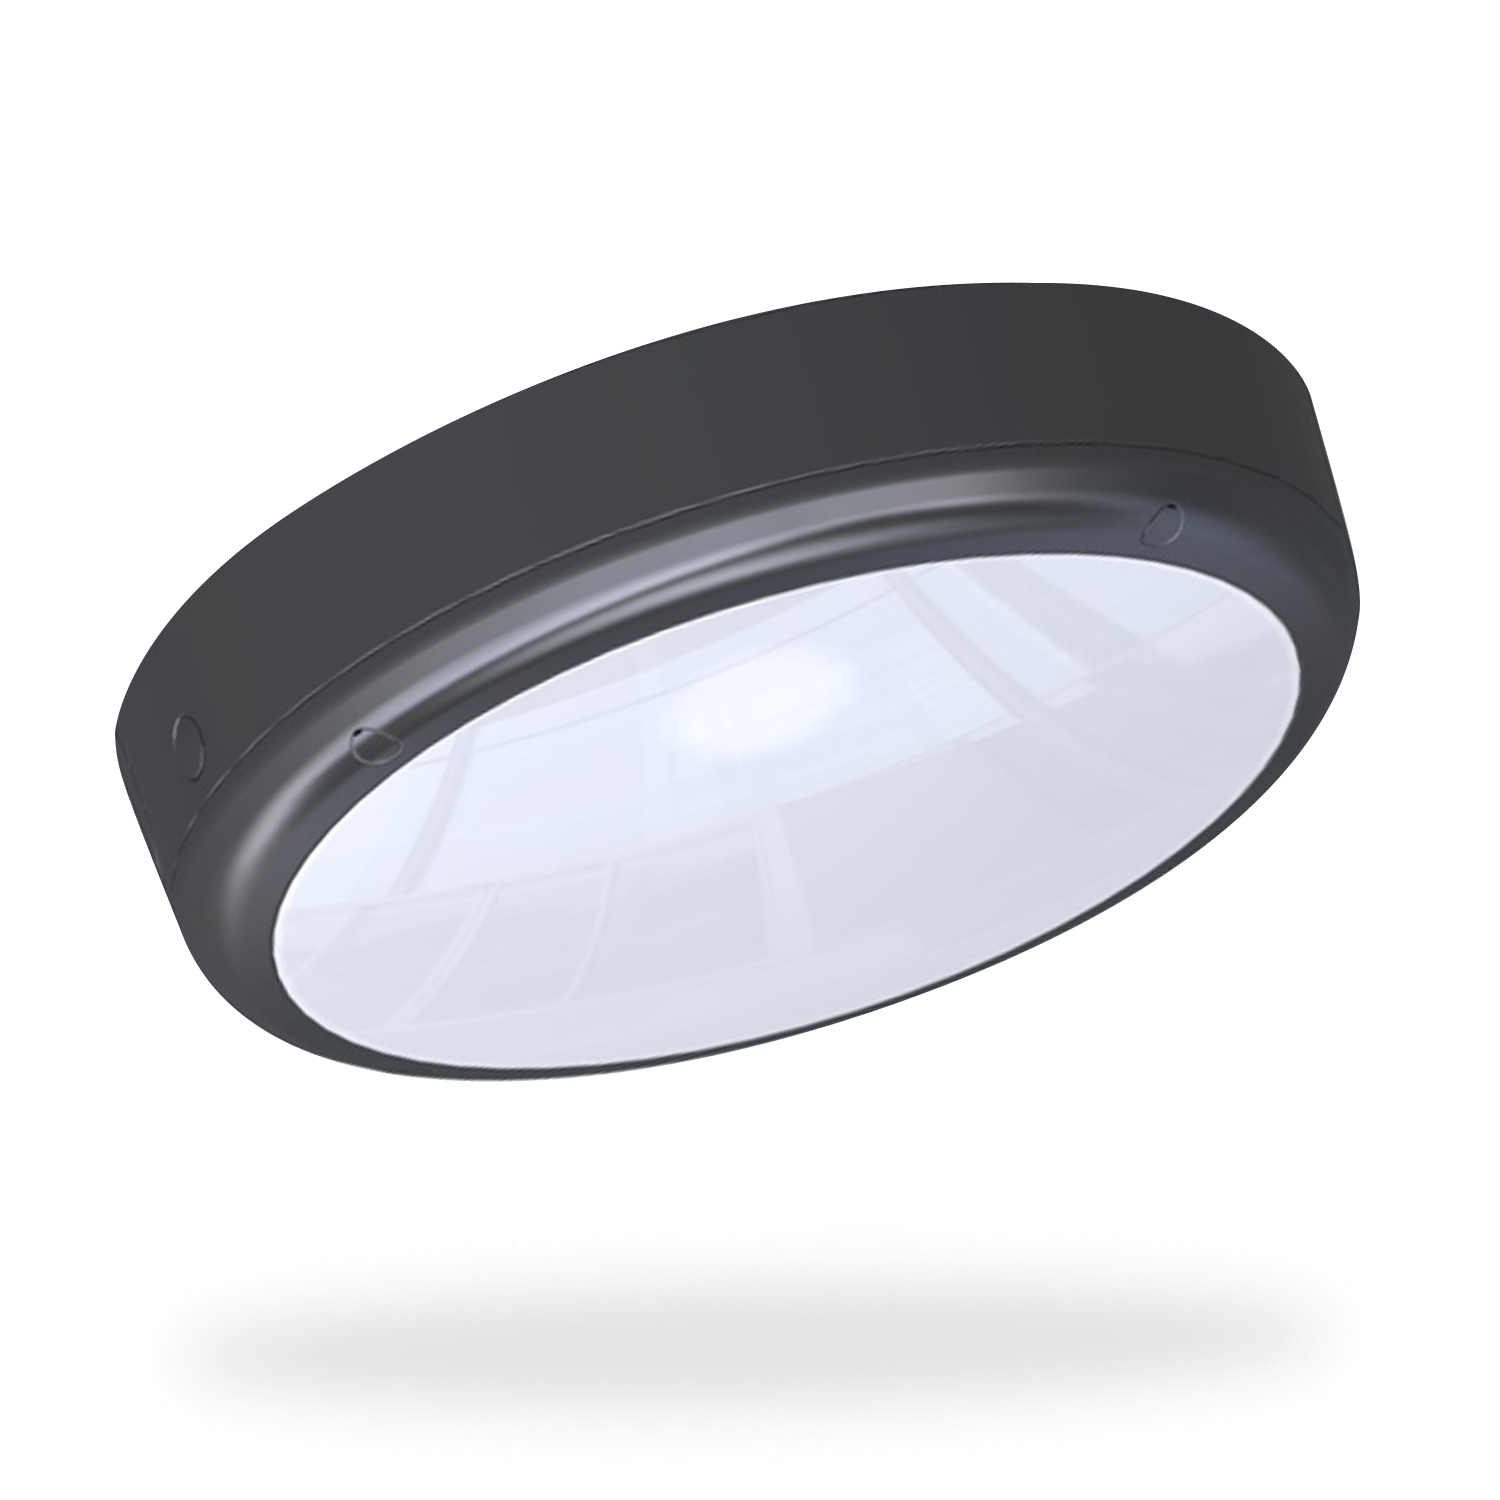
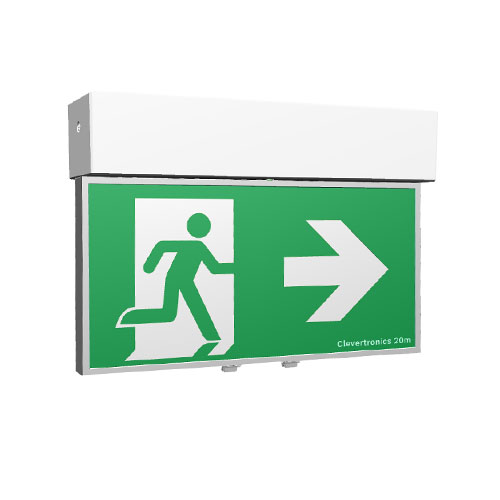
Form 20m Exit Light Surface Ceiling Mount

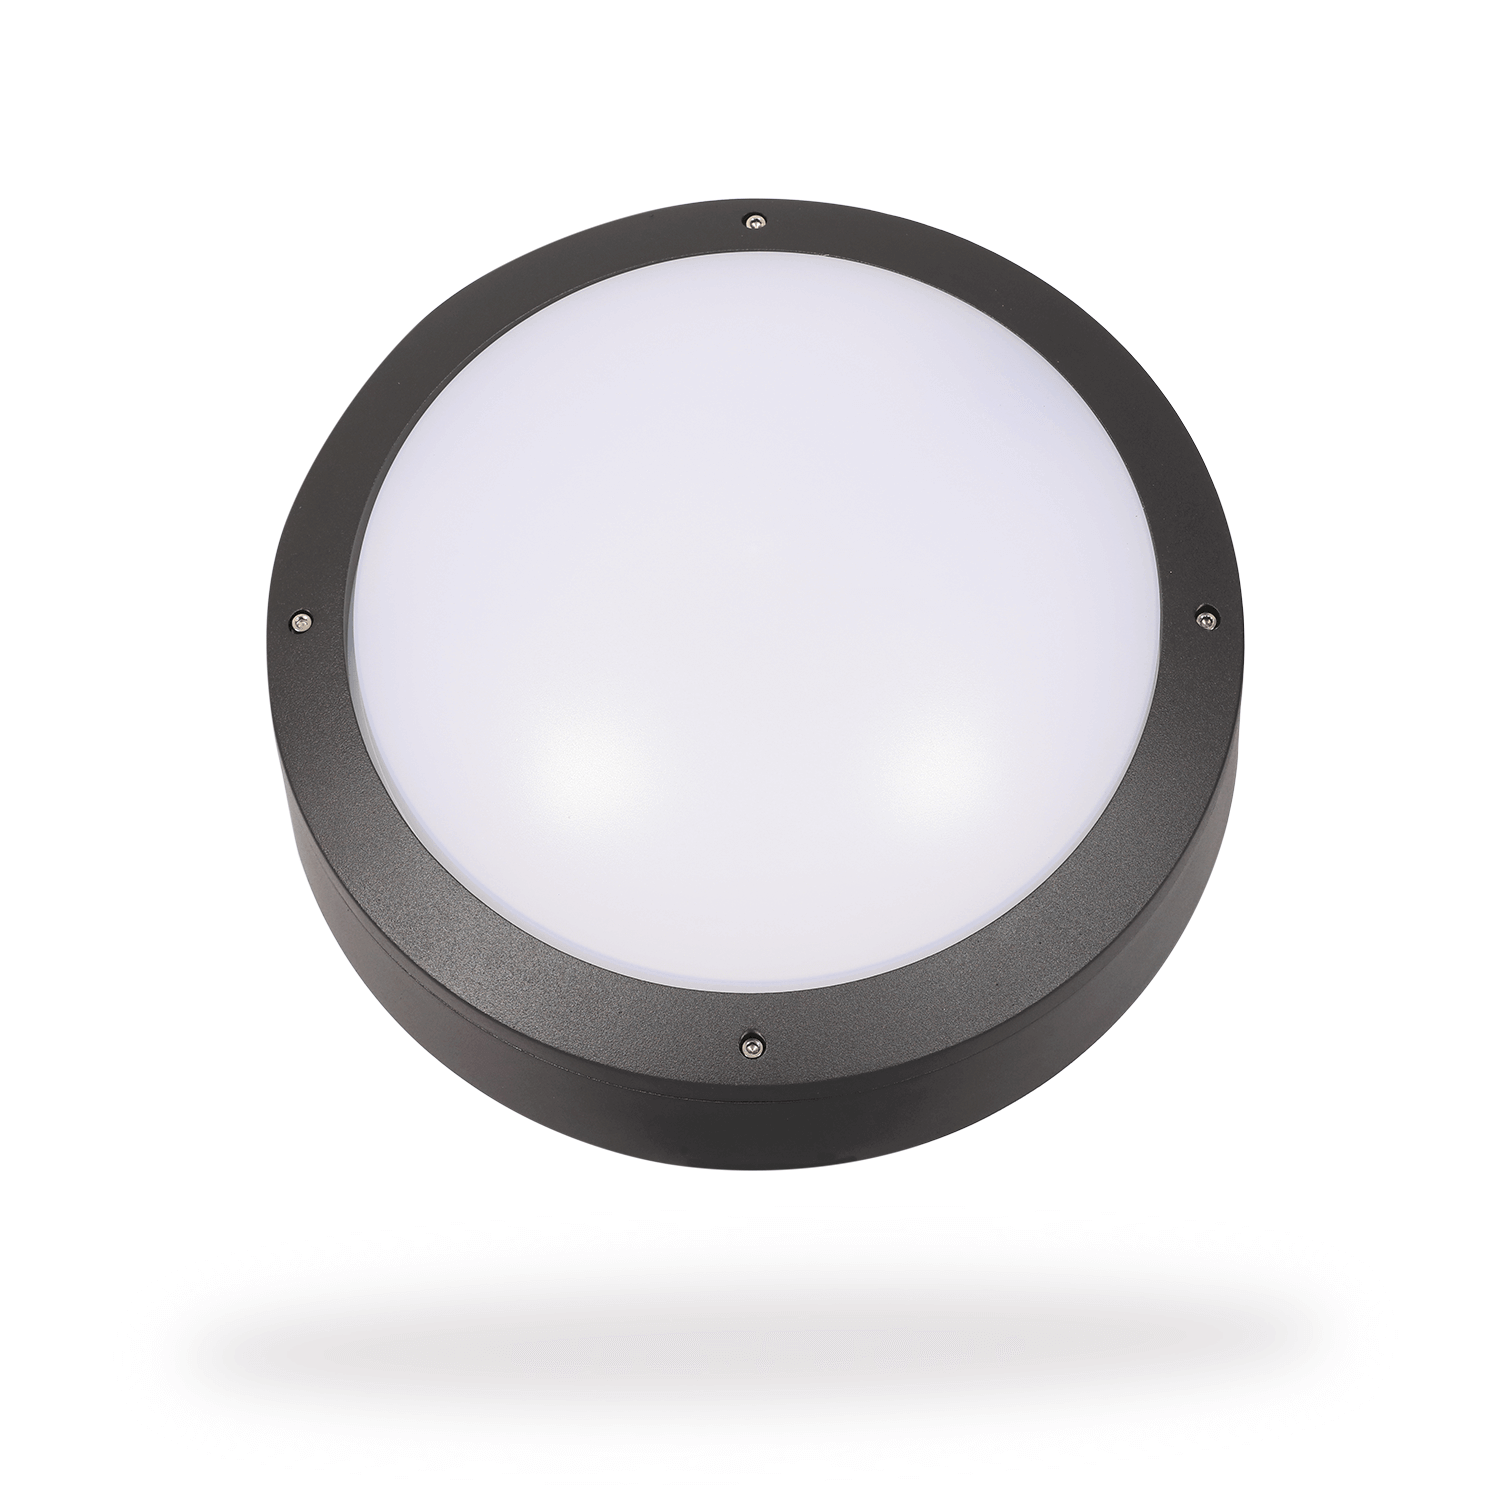
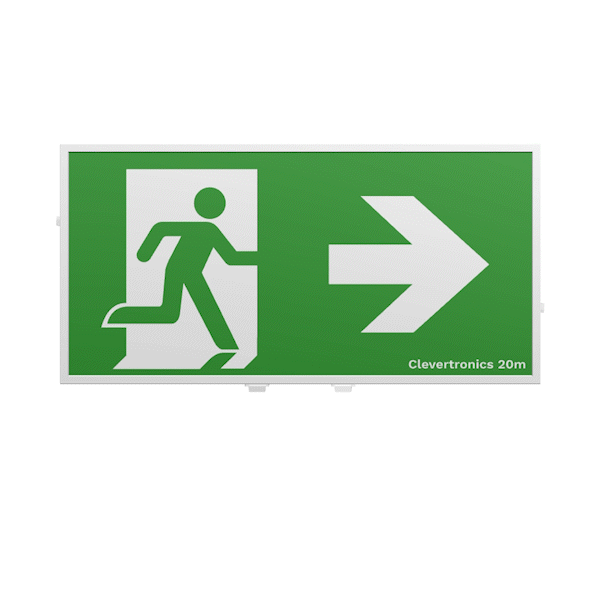
Form 20m Exit Light Surface Ceiling Mount with Escape Lens

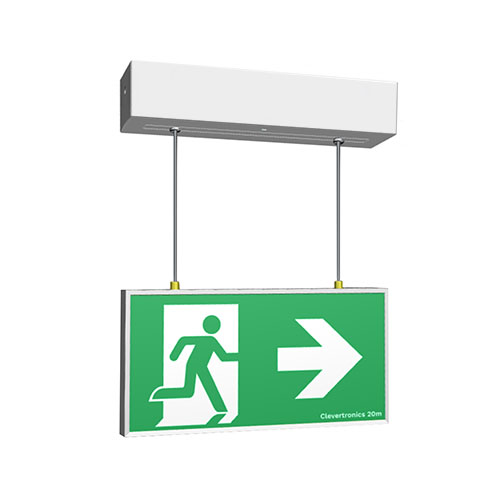
Form 20m Exit Light Surface Ceiling Mount - Rod Suspended
Form 20m Exit Light Surface Ceiling Mount - Cord Suspended
Form 20m Exit Light Surface Wall Mount Insitu
Form 20m Exit Light Suspended Insitu
Imaged added to CleverSpec
Form Exit Light
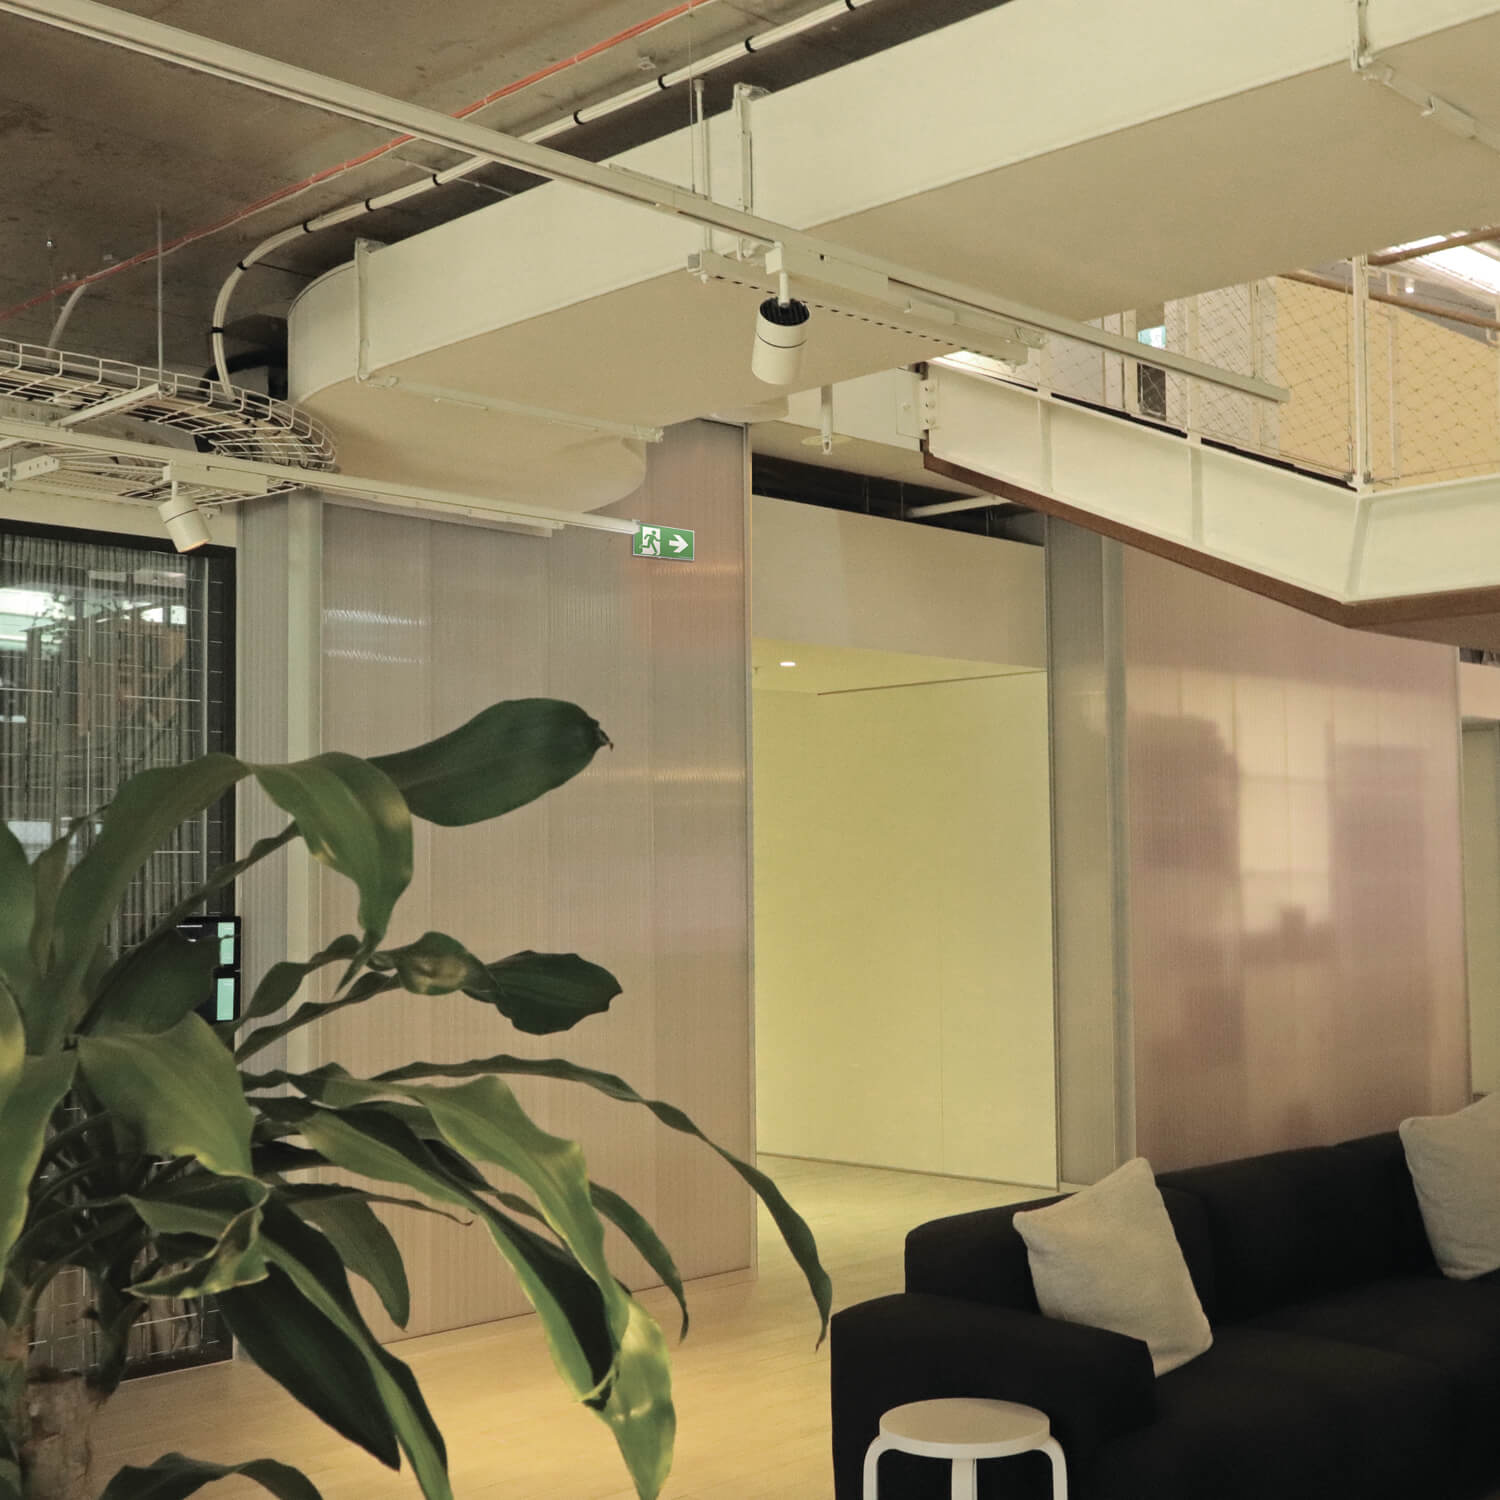
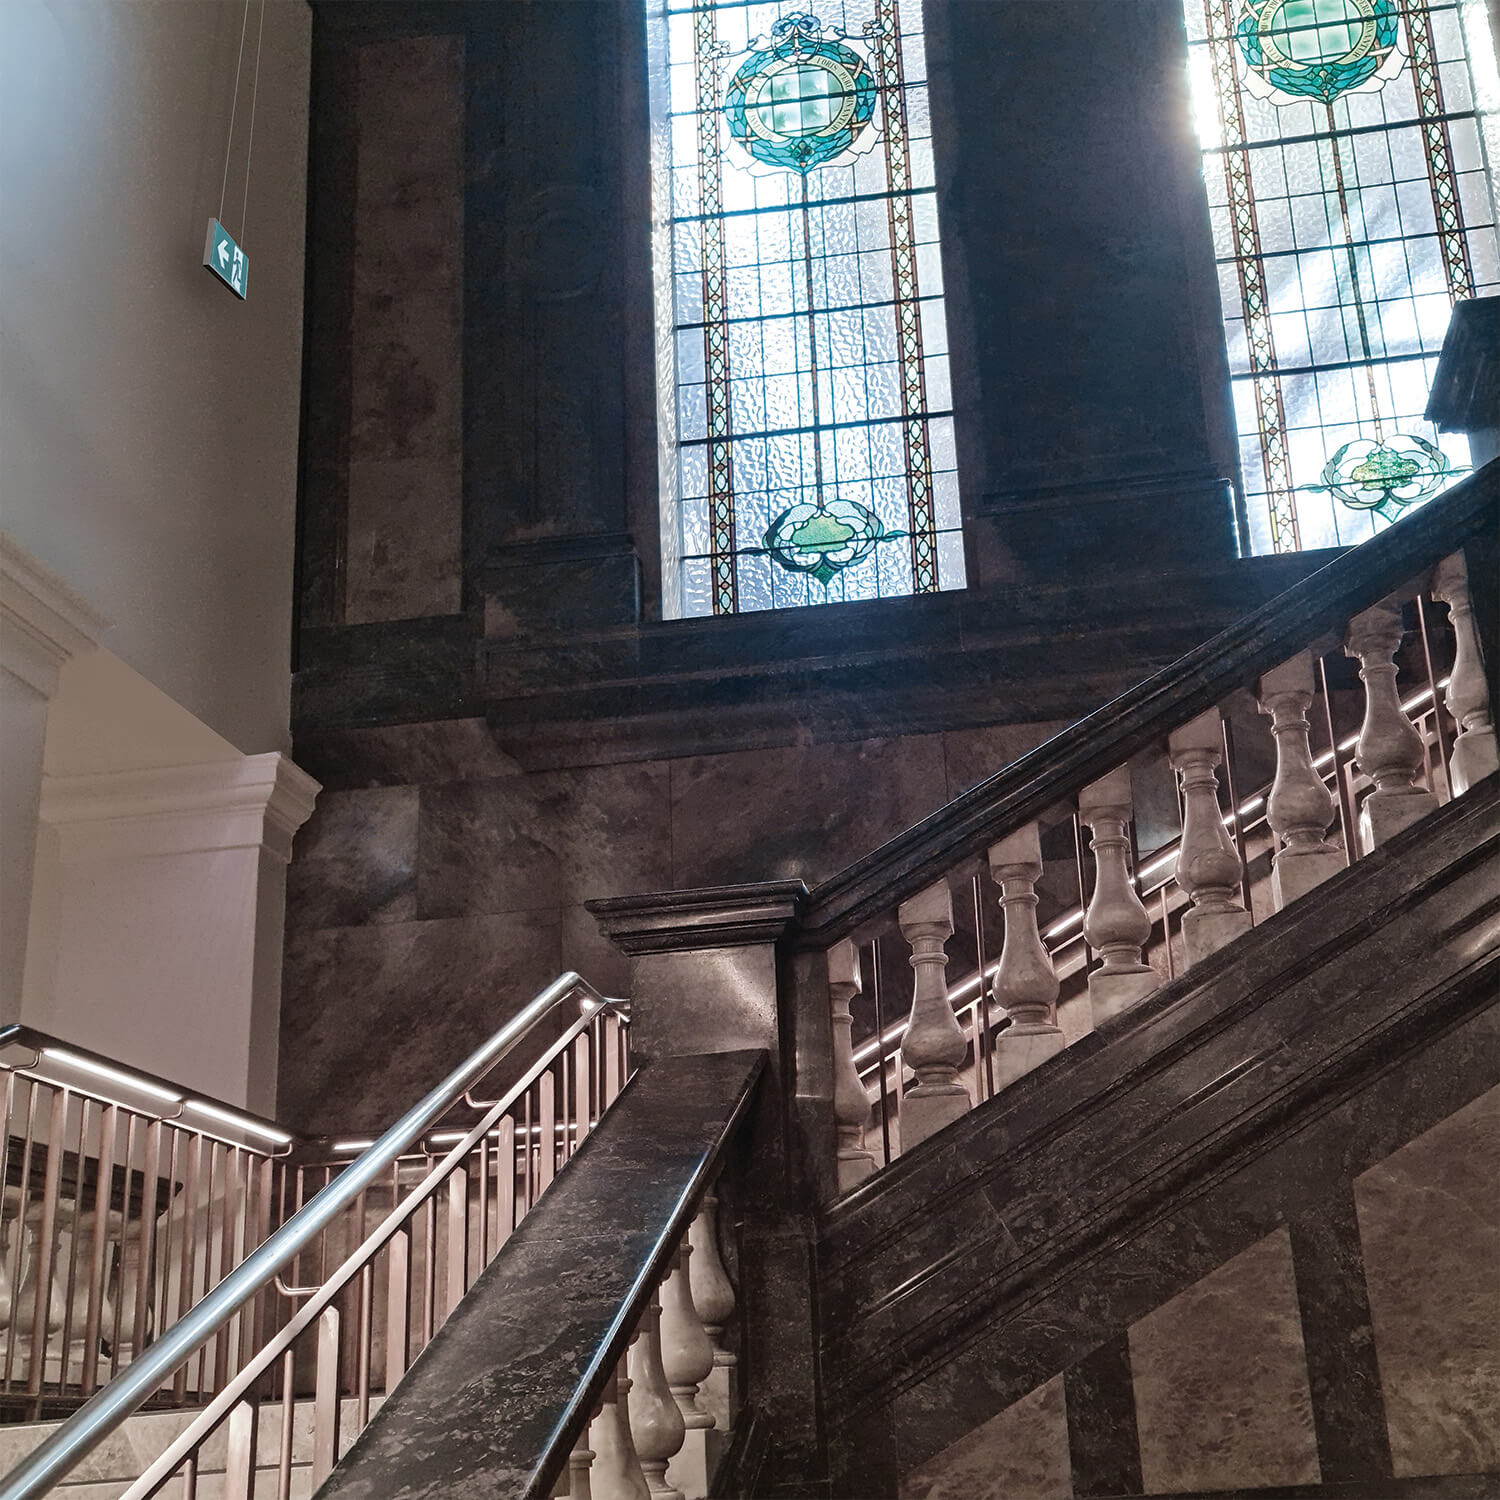
Architectural Exit for all Applications
The Form 20m Exit strikes a balance between Form & Function. Featuring an elegant and size optimised anodised aluminium frame, the Form is a versatile architectural solution available in multiple configurations including wall, ceiling, recessed, or suspended rod or cable mounting.
Designed for simplified installation and maintenance, it also features our industry leading 'One-Box' solution that allows easy changing of directional decals as required.
Compliance
-

BS EN 60598-2-22
-

EN1838
-

ISO7010
Range & Testing Compatibility
-

CLP Premium Lithium
-

L10 Lithium Nanophosphate
-

Zoneworks Hive
-

Clevertest Plus
-

DALI
Product Specifications
Luminaire Classification Table
| CLP / L10 | X | 1 | AG | 180 |
|---|---|---|---|---|
| Form 20m Exit | ||||
| CLP / L10 | X | 1 | AG | 180 |
|
|
||||
| CLP / L10 | X | 1 | AFG | 180 |
|---|---|---|---|---|
| Form 20m Exit with automatic testing | ||||
| CLP / L10 | X | 1 | AFG | 180 |
|
|
||||
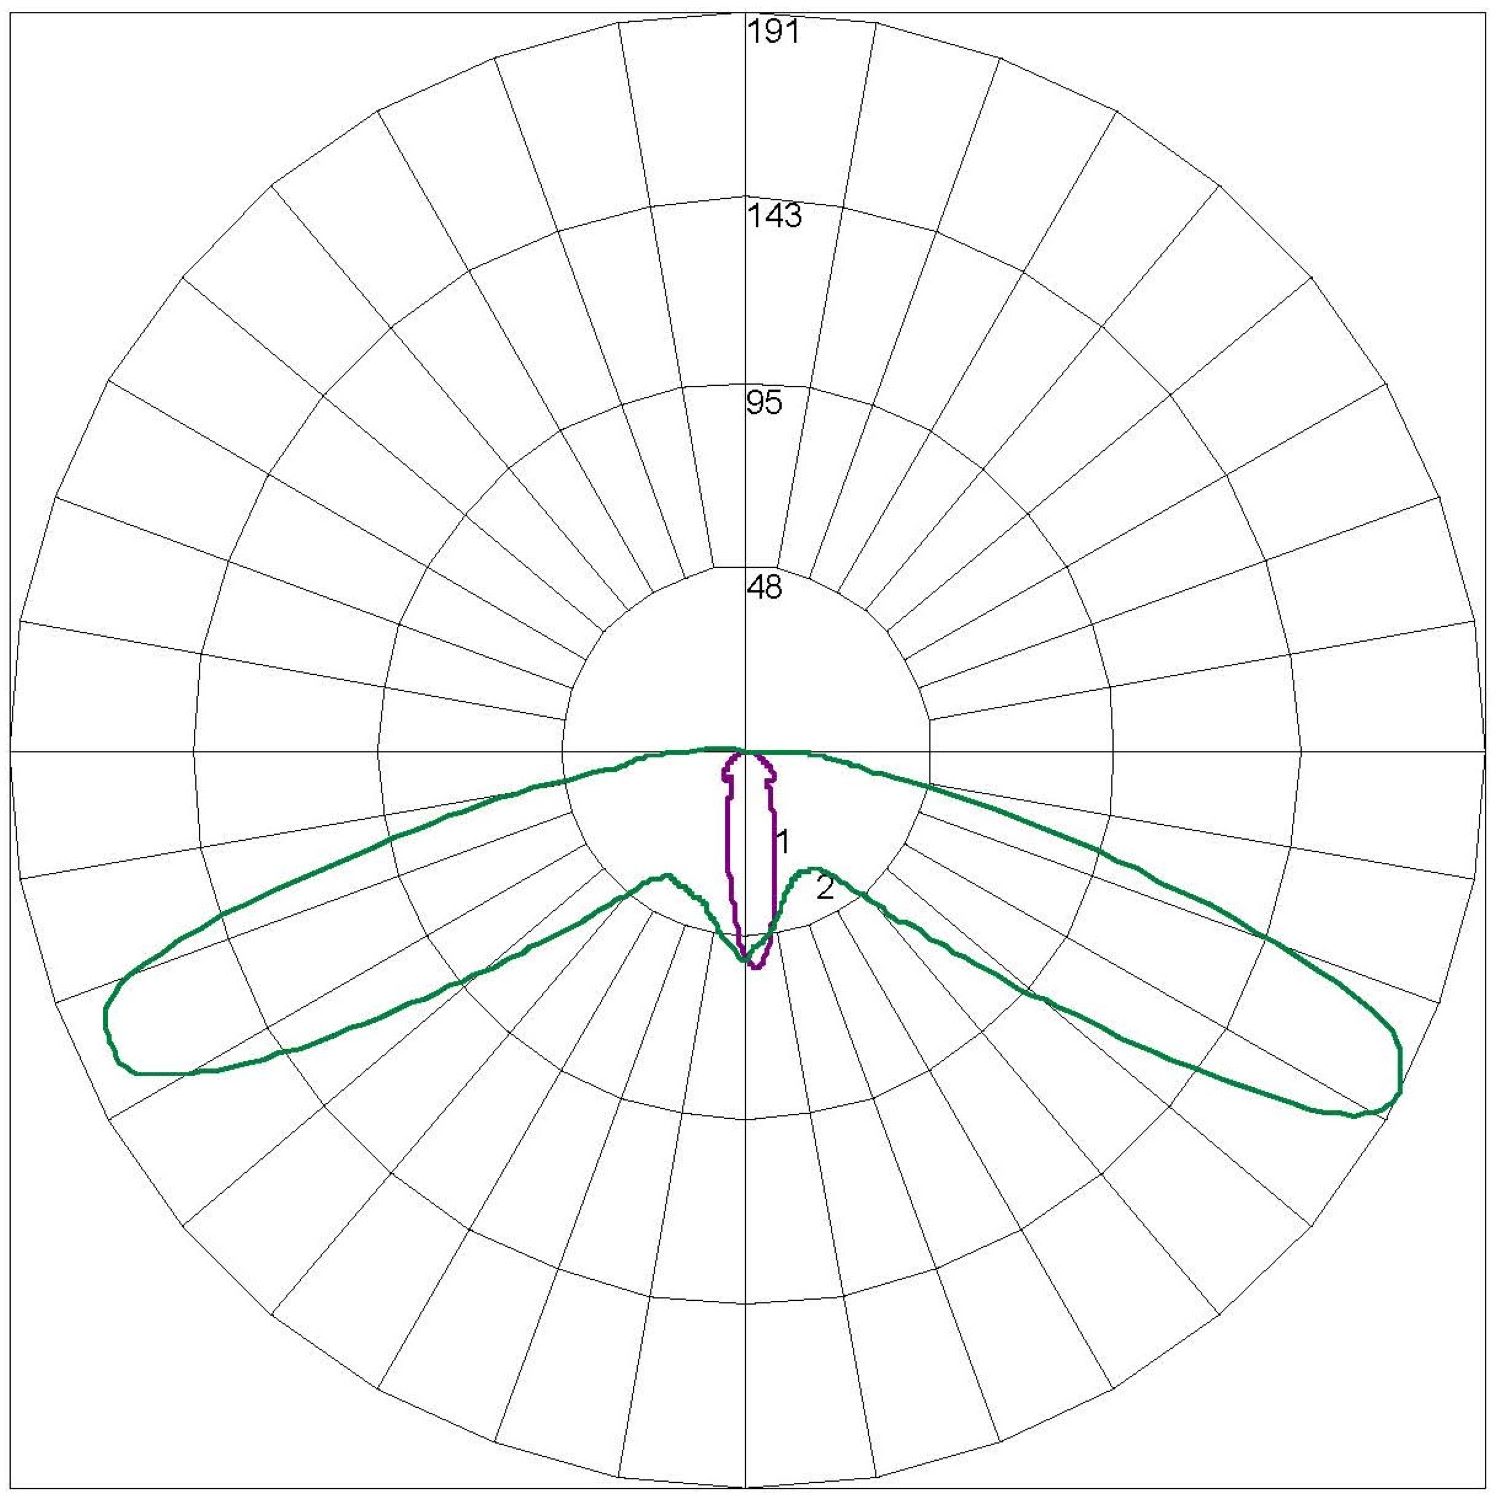
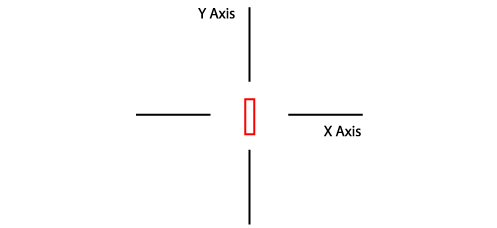
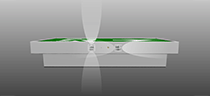
Line Diagrams
Spacing Table
| FORM EXIT - Both LED perpendicular to blade - Minimum Light Level | Lens Configuration | |||
|---|---|---|---|---|
|
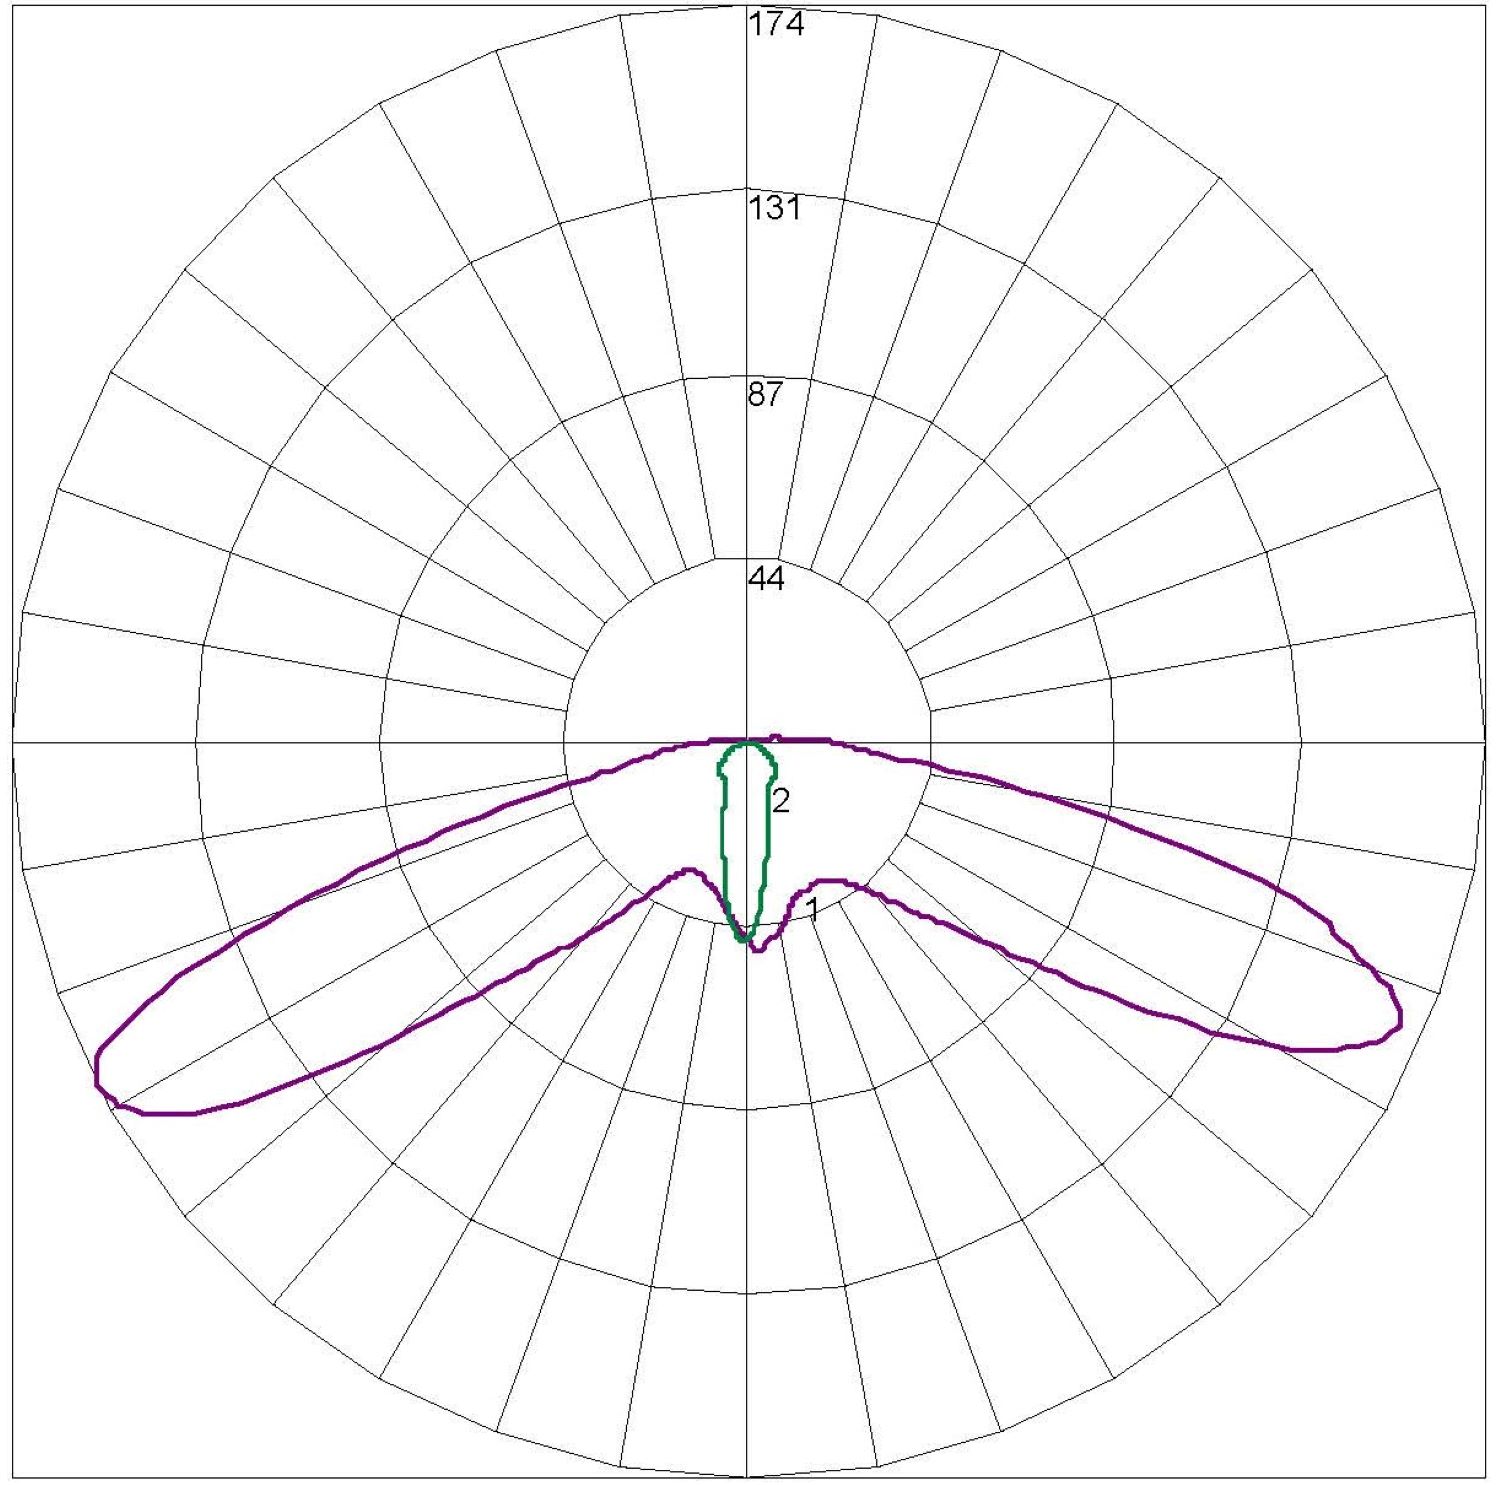
Perpendicular to the blade
|
||||
| FORM EXIT - Both LED perpendicular to blade - Minimum Light Level | Lens Configuration | |||
|
|
|||
Spacing Table
| Mounting Height [m] | 2.1m | 2.3m | 2.5m | 2.7m | 2.8m | 3.0m | Lens Configuration | ||||||||||||||||||||||
|---|---|---|---|---|---|---|---|---|---|---|---|---|---|---|---|---|---|---|---|---|---|---|---|---|---|---|---|---|---|
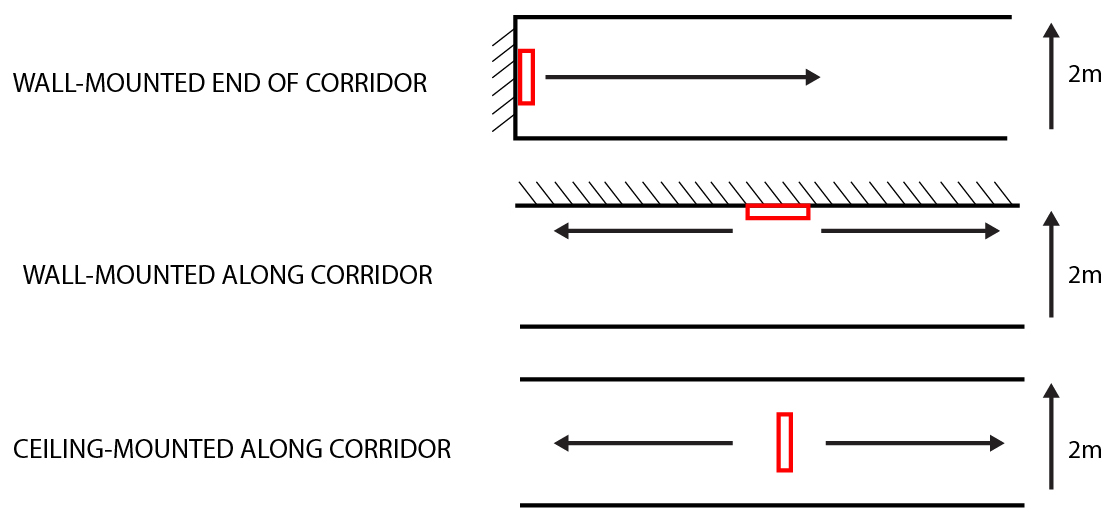
| ESCAPE ROUTE (1 Lux min. along centre lines based on 2m wide corridor) | |||||||||||||||||||||||||||||
| Mounting Height [m] | 2.1m | 2.3m | 2.5m | 2.7m | 2.8m | 3.0m | Lens Configuration | ||||||||||||||||||||||
|
|
|
|
|
|
|
|
||||||||||||||||||||||
Spacing Table
| Mounting Height [m] | 2.1m | 2.3m | 2.5m | 2.7m | 2.8m | 3.0m | Mounting Configuration | |||||||||||||||
|---|---|---|---|---|---|---|---|---|---|---|---|---|---|---|---|---|---|---|---|---|---|---|
| OPEN 'Anti-Panic' AREAS (0.5 Lux min. within core areas) | ||||||||||||||||||||||
| Mounting Height [m] | 2.1m | 2.3m | 2.5m | 2.7m | 2.8m | 3.0m | Mounting Configuration | |||||||||||||||
|
|
|
|
|
|
|
|
|||||||||||||||
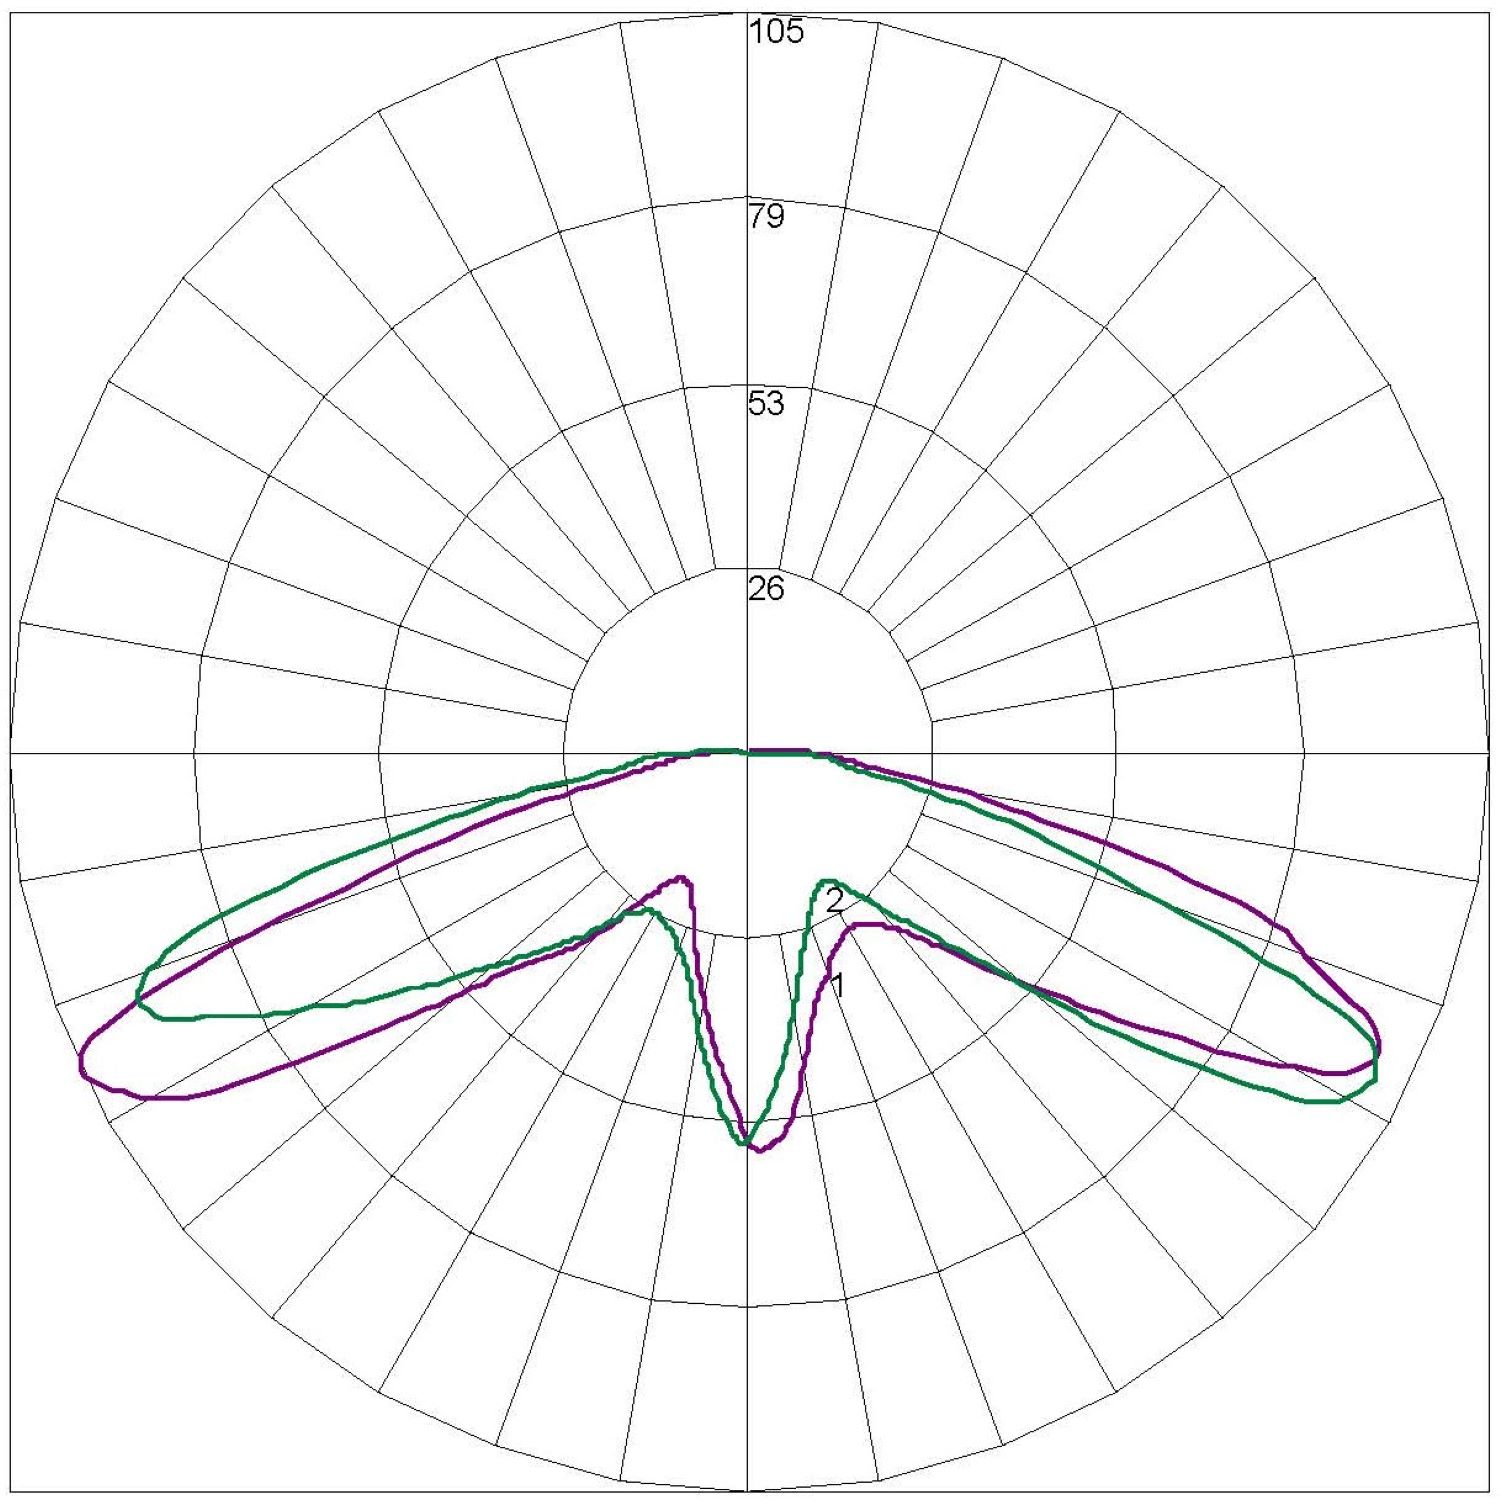
Spacing Table
| FORM EXIT - Both LED Parallel to blade - Minimum Light Level | Lens Configuration | |||
|---|---|---|---|---|
|
Parallel to the blade
|
||||
| FORM EXIT - Both LED Parallel to blade - Minimum Light Level | Lens Configuration | |||
|
|
|||
Spacing Table
| Mounting Height (m) | 2.1m | 2.3m | 2.5m | 2.7m | 2.8m | 3.0m | Lens Configuration | ||||||||||||||||||||||
|---|---|---|---|---|---|---|---|---|---|---|---|---|---|---|---|---|---|---|---|---|---|---|---|---|---|---|---|---|---|
| ESCAPE ROUTE (1 Lux min. along centre lines based on 2m wide corridor) | |||||||||||||||||||||||||||||
| Mounting Height (m) | 2.1m | 2.3m | 2.5m | 2.7m | 2.8m | 3.0m | Lens Configuration | ||||||||||||||||||||||
|
|
|
|
|
|
|
|
||||||||||||||||||||||
Spacing Table
| Mounting Height (m) | 2.1m | 2.3m | 2.5m | 2.7m | 2.8m | 3.0m | Mounting Configuration | |||||||||||||||
|---|---|---|---|---|---|---|---|---|---|---|---|---|---|---|---|---|---|---|---|---|---|---|
| OPEN 'Anti-Panic' AREAS (0.5 Lux min. within core areas) | ||||||||||||||||||||||
| Mounting Height (m) | 2.1m | 2.3m | 2.5m | 2.7m | 2.8m | 3.0m | Mounting Configuration | |||||||||||||||
|
|
|
|
|
|
|
|
|||||||||||||||
Spacing Table
| FORM EXIT - 1 x perpendicular LED - 1 x parallel LED - Minimum Light Level | Lens Configuration | |||
|---|---|---|---|---|
|
Mixed (one perpendicular, one parallel)
|
||||
| FORM EXIT - 1 x perpendicular LED - 1 x parallel LED - Minimum Light Level | Lens Configuration | |||
|
|
|||
Spacing Table
| Mounting Height (m) | 2.1m | 2.3m | 2.5m | 2.7m | 2.8m | 3.0m | Lens Configuration | ||||||||||||||||||||||
|---|---|---|---|---|---|---|---|---|---|---|---|---|---|---|---|---|---|---|---|---|---|---|---|---|---|---|---|---|---|
| ESCAPE ROUTE (1 Lux min. along centre lines based on 2m wide corridor) | |||||||||||||||||||||||||||||
| Mounting Height (m) | 2.1m | 2.3m | 2.5m | 2.7m | 2.8m | 3.0m | Lens Configuration | ||||||||||||||||||||||
|
|
|
|
|
|
|
|
||||||||||||||||||||||
Spacing Table
| Mounting Height (m) | 2.1m | 2.3m | 2.5m | 2.7m | 2.8m | 3.0m | Mounting Configuration | |||||||||||||||
|---|---|---|---|---|---|---|---|---|---|---|---|---|---|---|---|---|---|---|---|---|---|---|
| OPEN 'Anti-Panic' AREAS (0.5 Lux min. within core areas) | ||||||||||||||||||||||
| Mounting Height (m) | 2.1m | 2.3m | 2.5m | 2.7m | 2.8m | 3.0m | Mounting Configuration | |||||||||||||||
|
|
|
|
|
|
|
|
|||||||||||||||
Technical Documentation
Need Video Installation Guides?
Go to the Form Video Guide Section
Clevertronics Product

Request Document
We currently do not have this document, please fill out the request form below and one of our technicians will generate the file for you

Choose an emergency lighting solution
| Range Comparison |  |
||||
|---|---|---|---|---|---|
|
|
|
|||
|
|
|
|||
|
|
|
|||
|
|
|

| Option Comparison |  |
 |
|||
|---|---|---|---|---|---|
|
|
|
|||
|
|
|
|||
|
|
|