


Select the right range and testing option solution for your project or application.
If you are not sure what you need, check out our solutions page for quick guide.
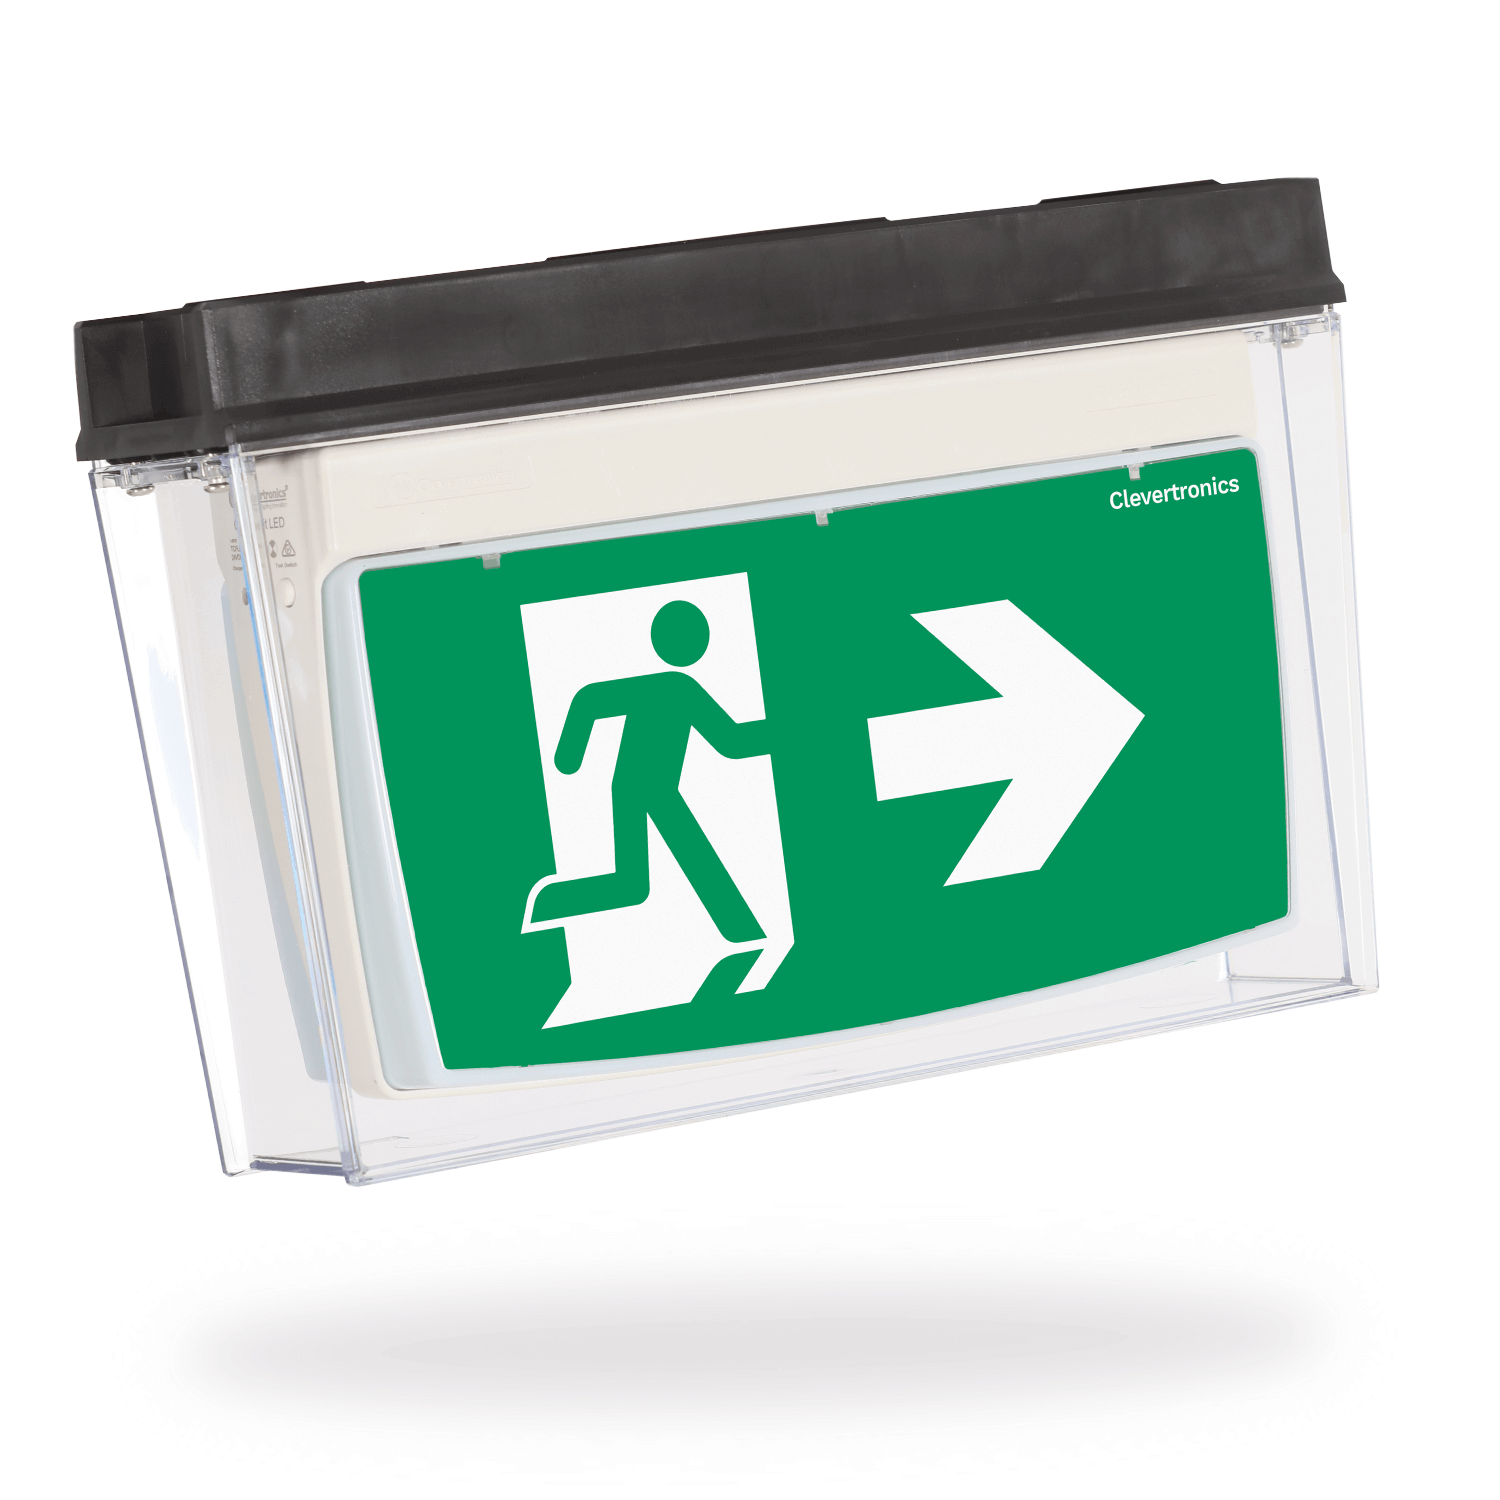
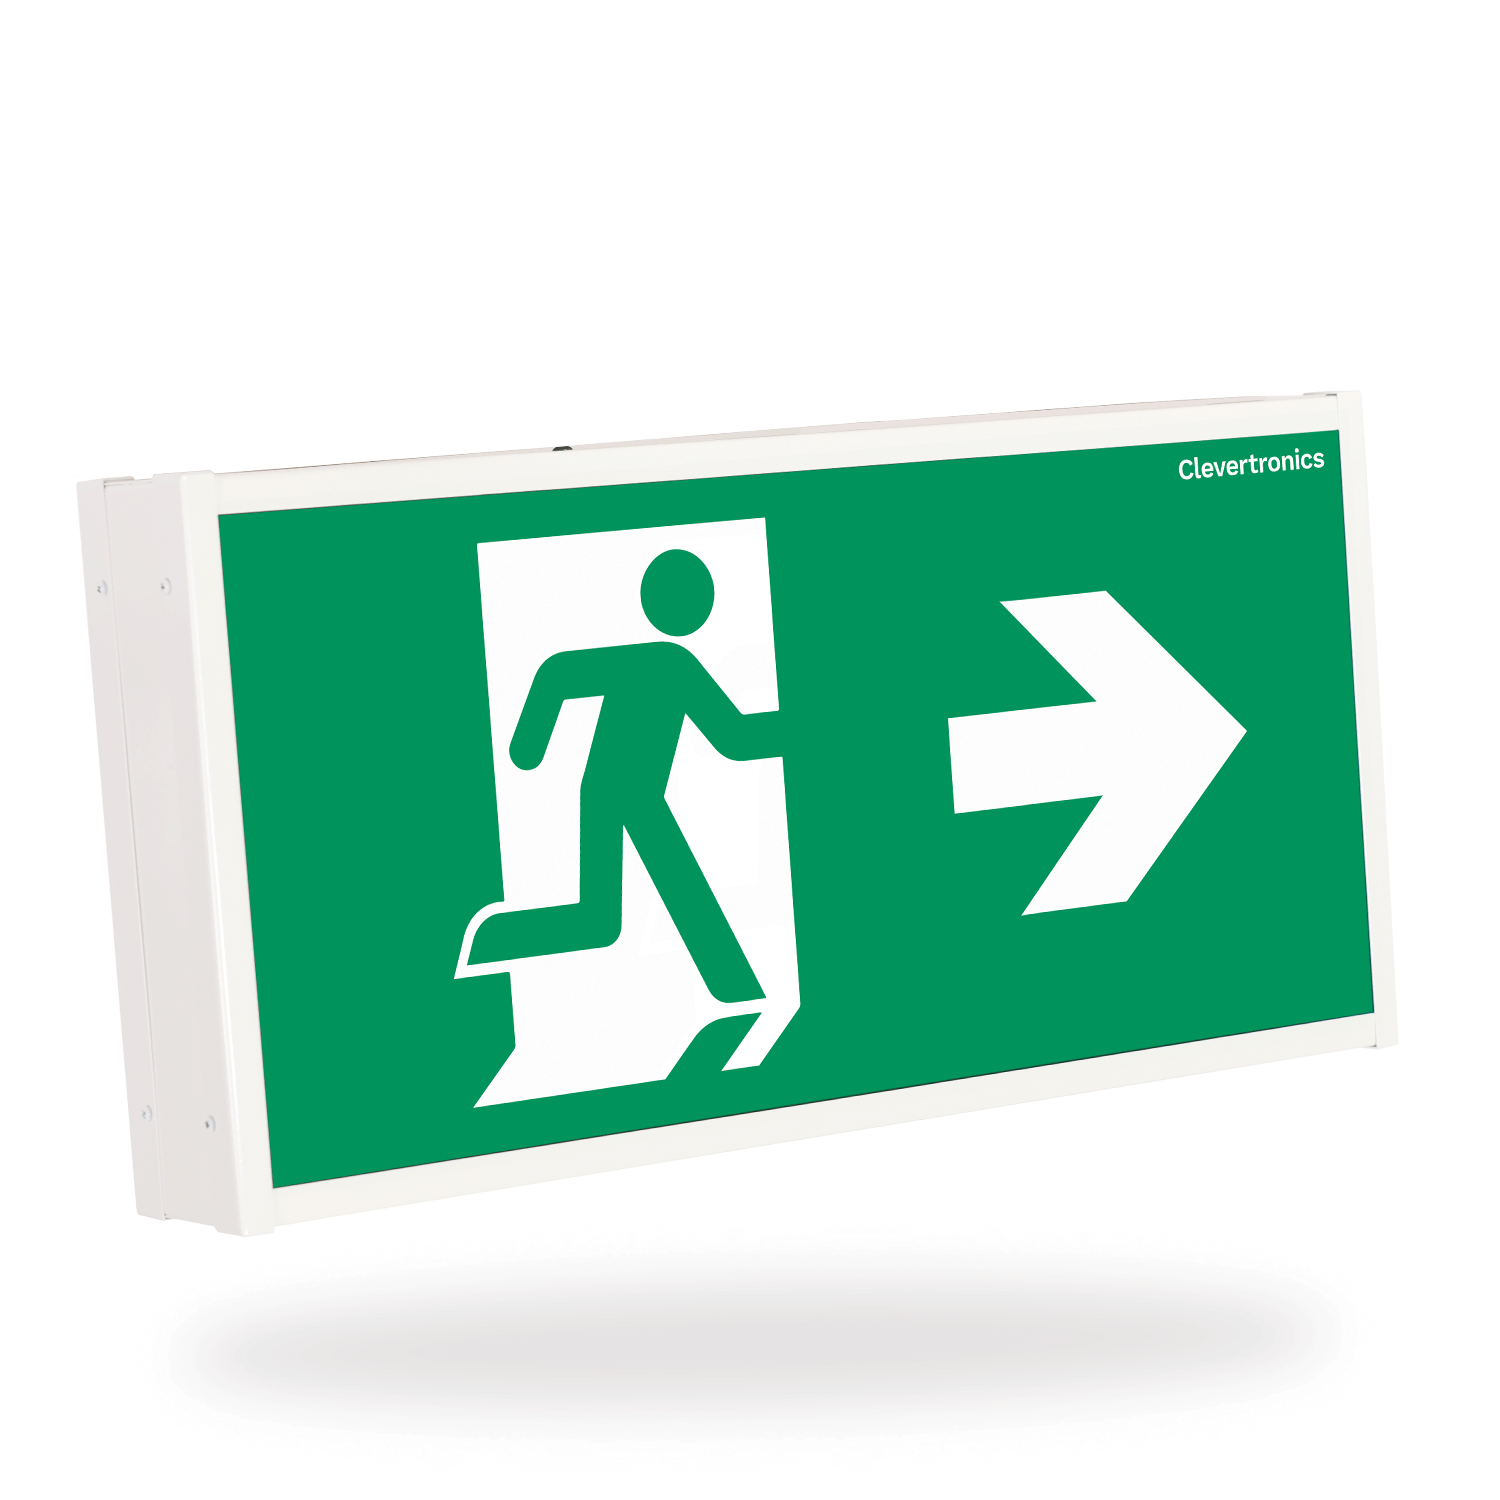
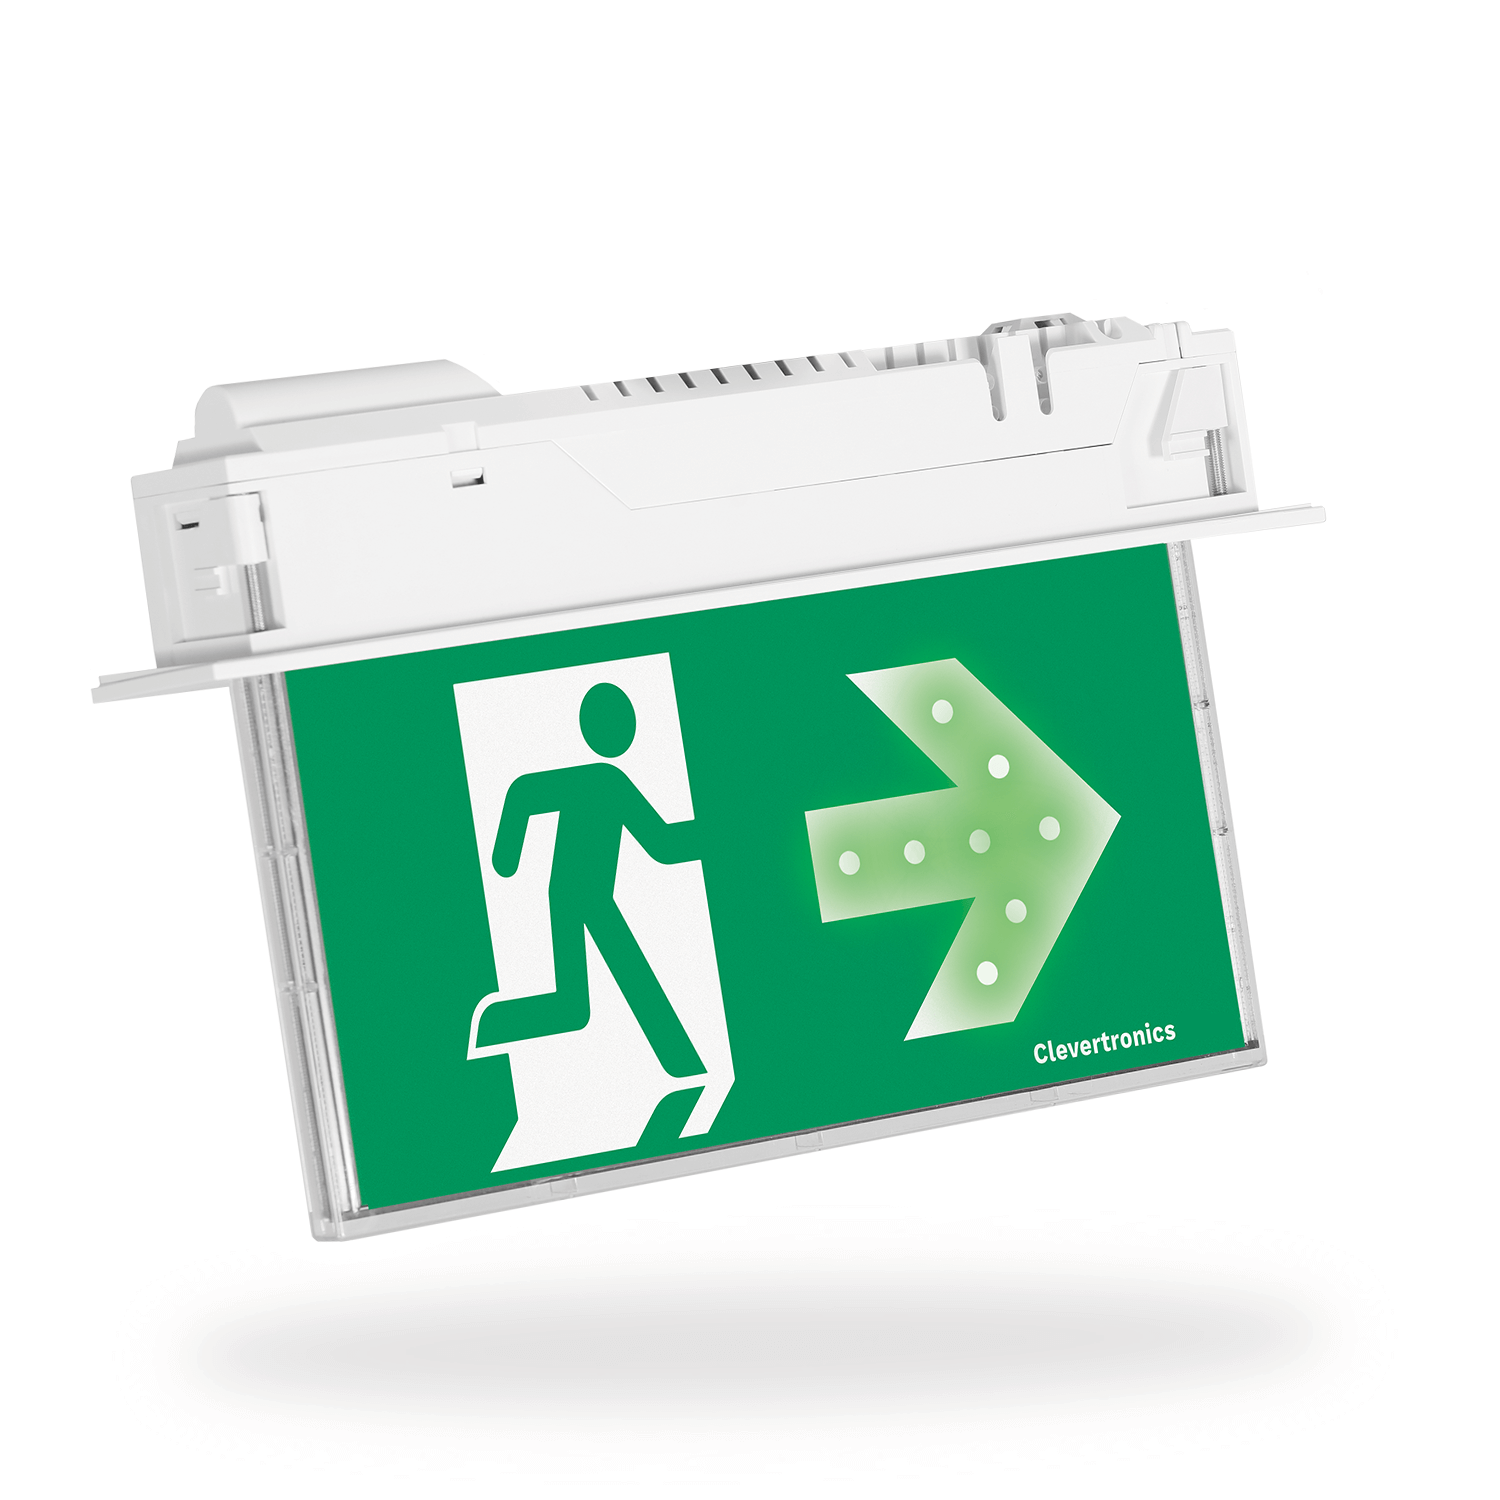
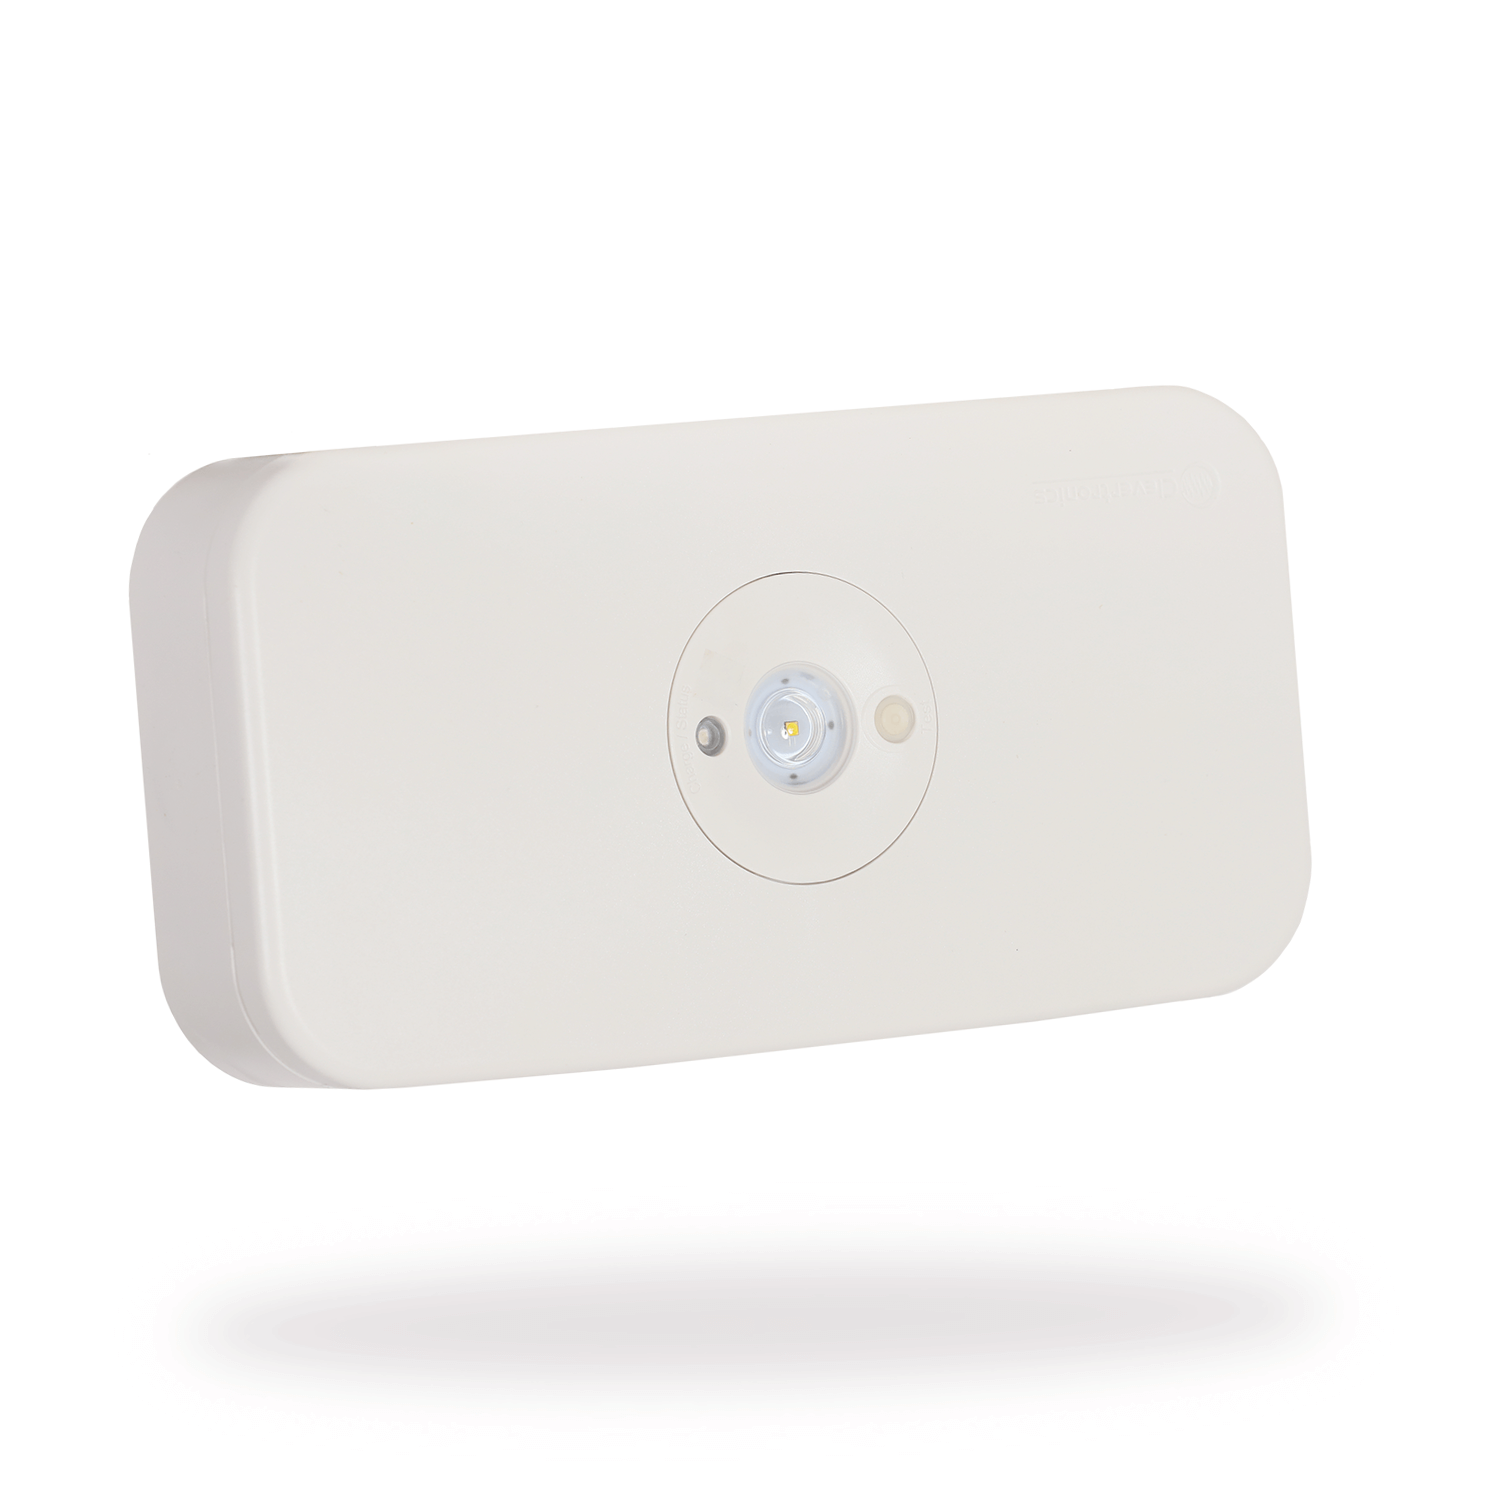
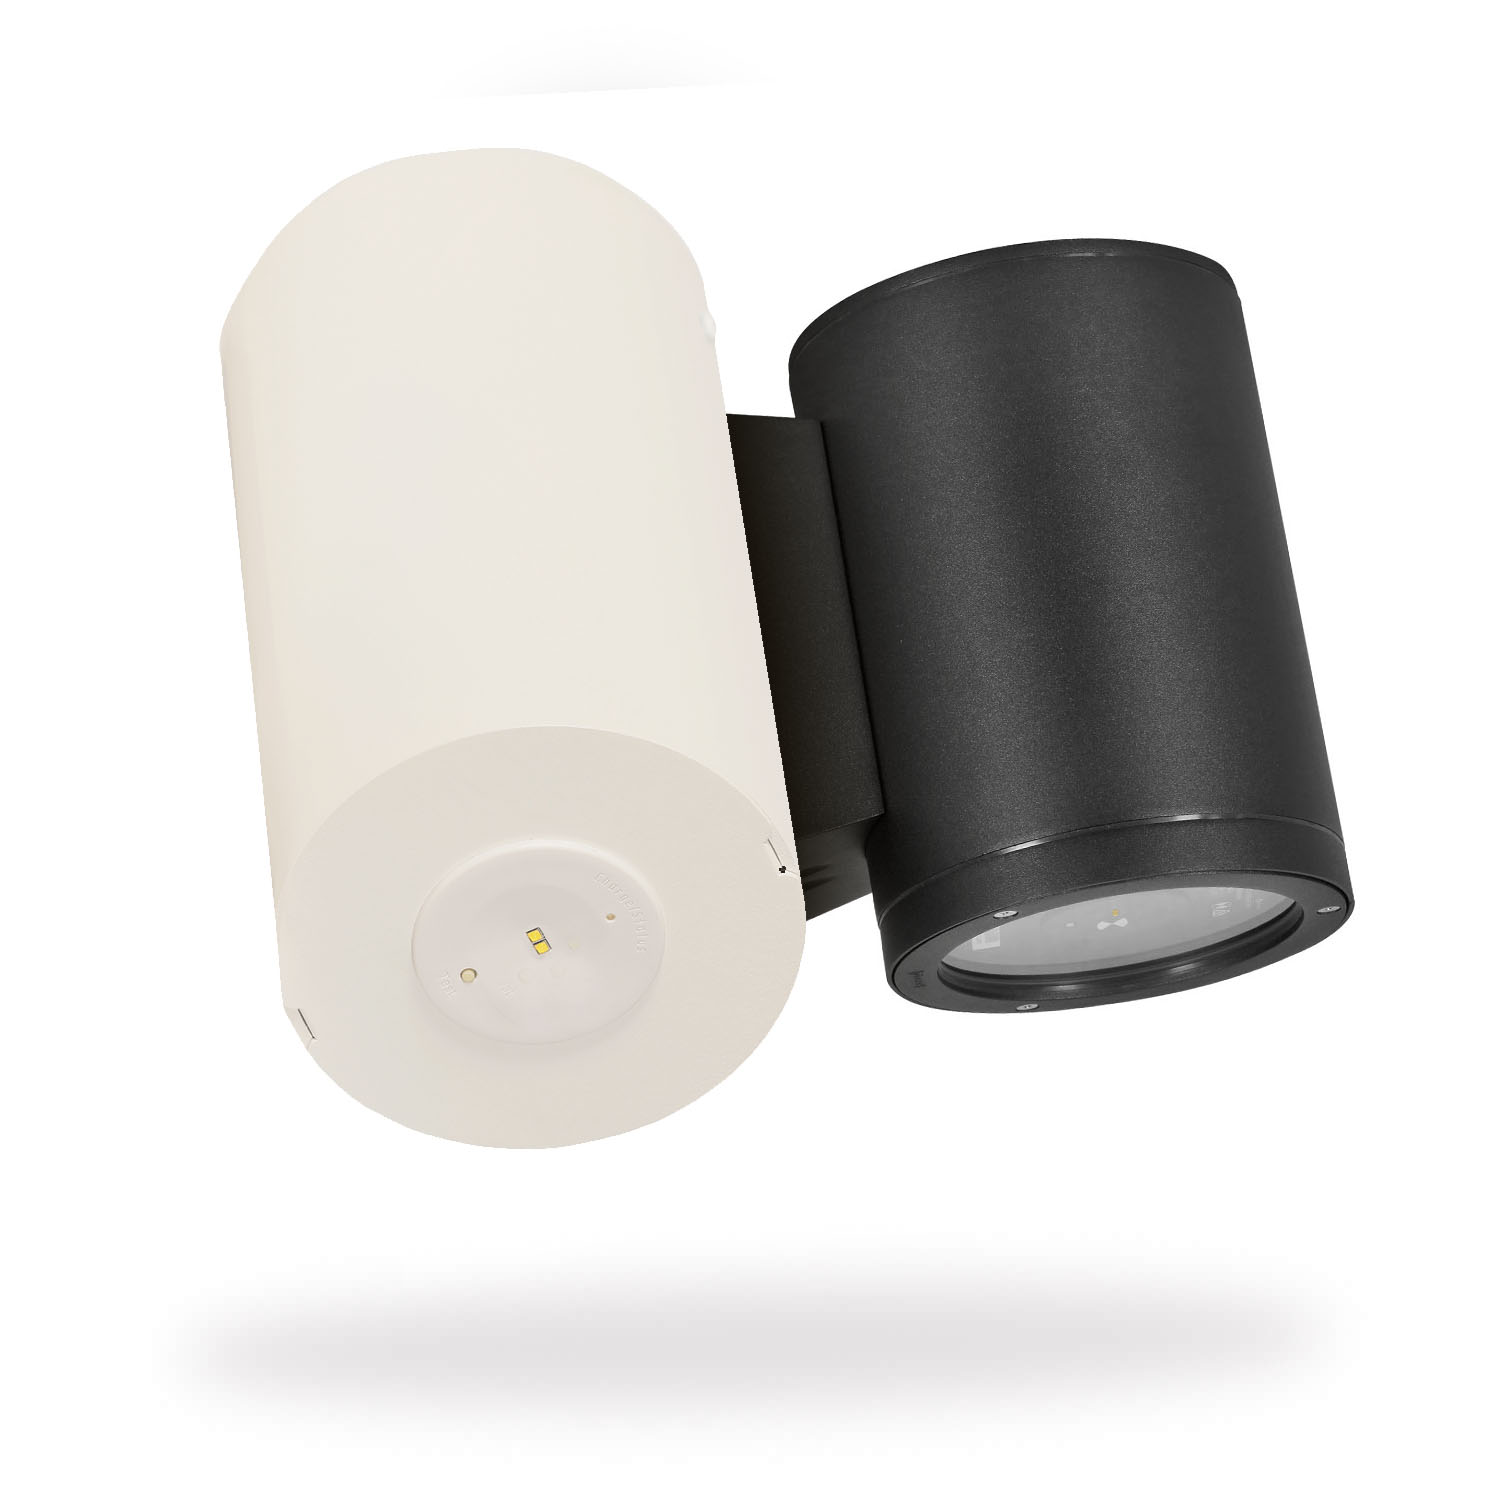
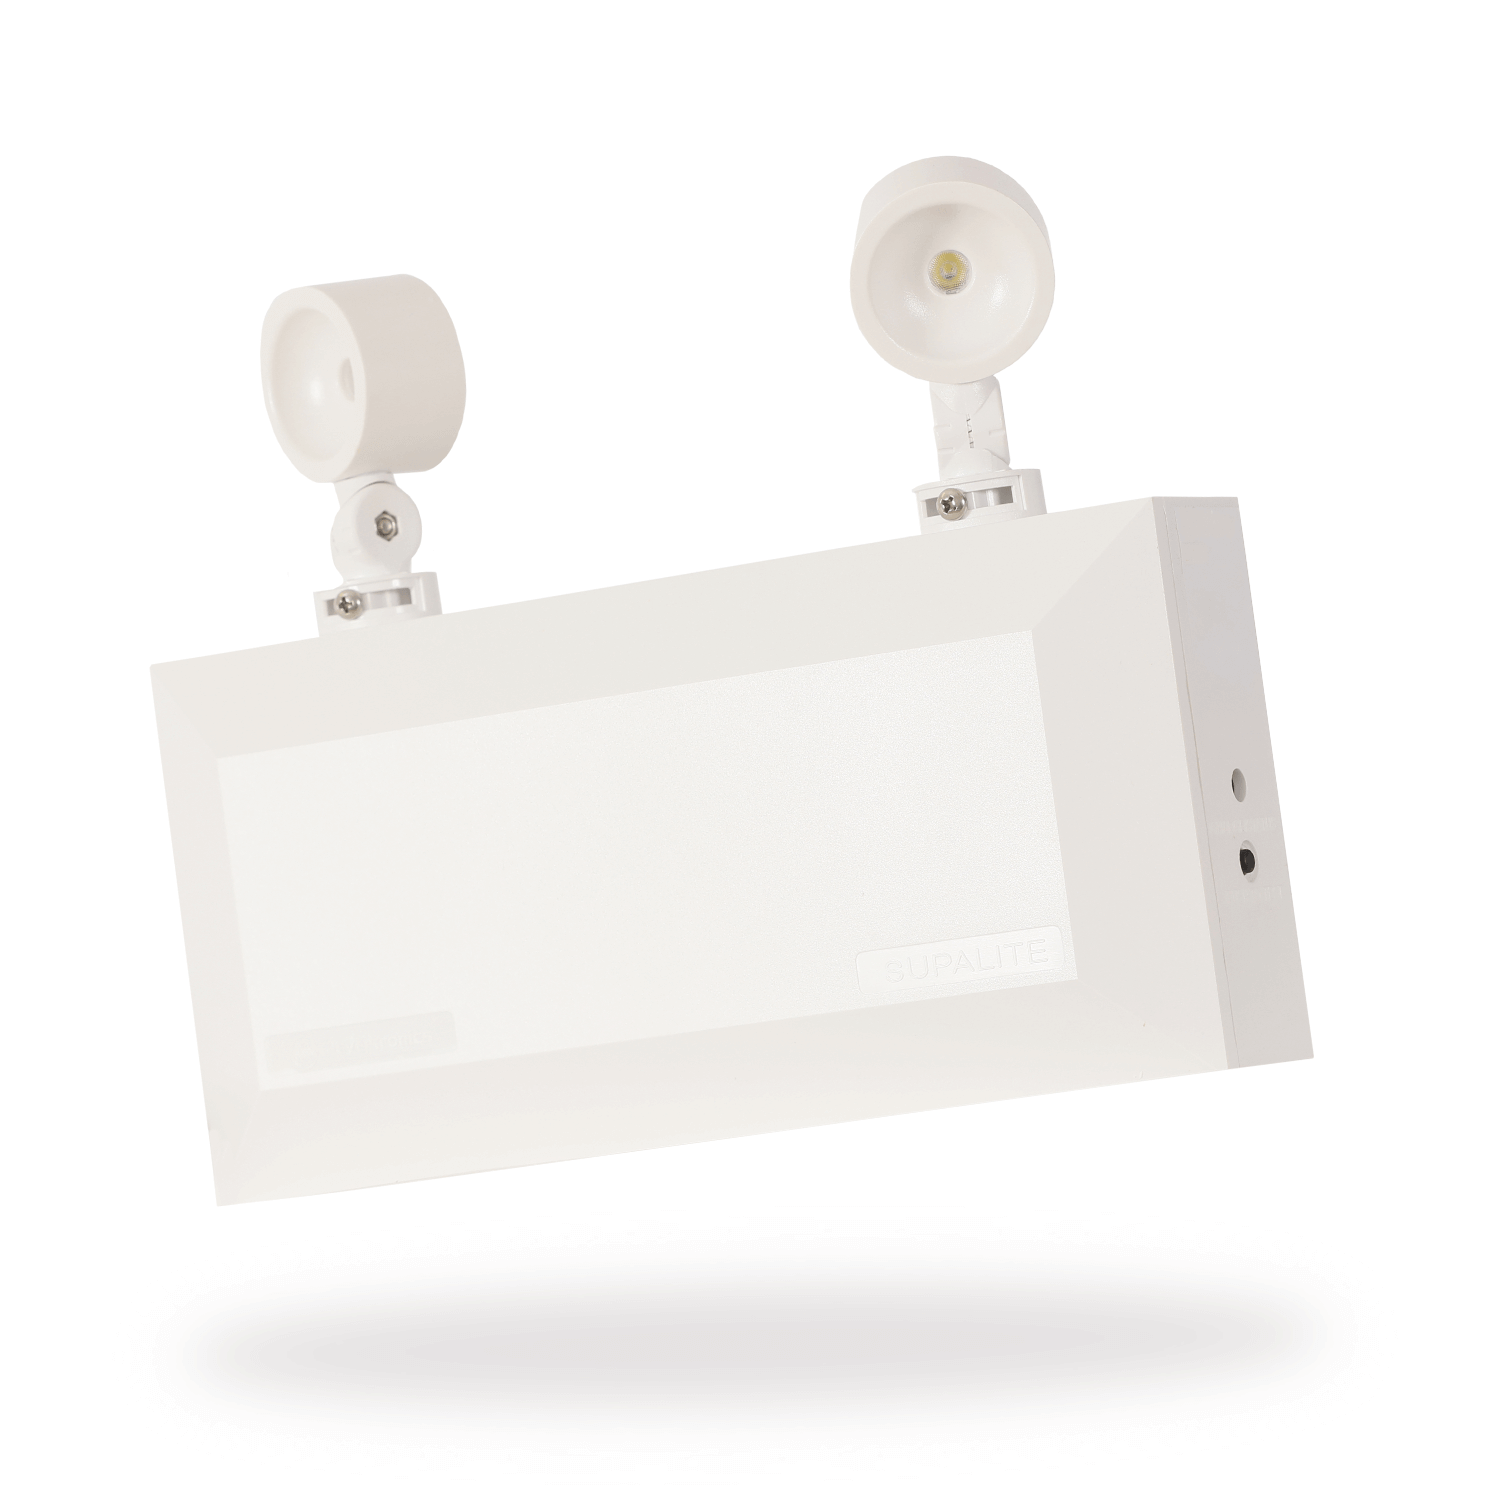
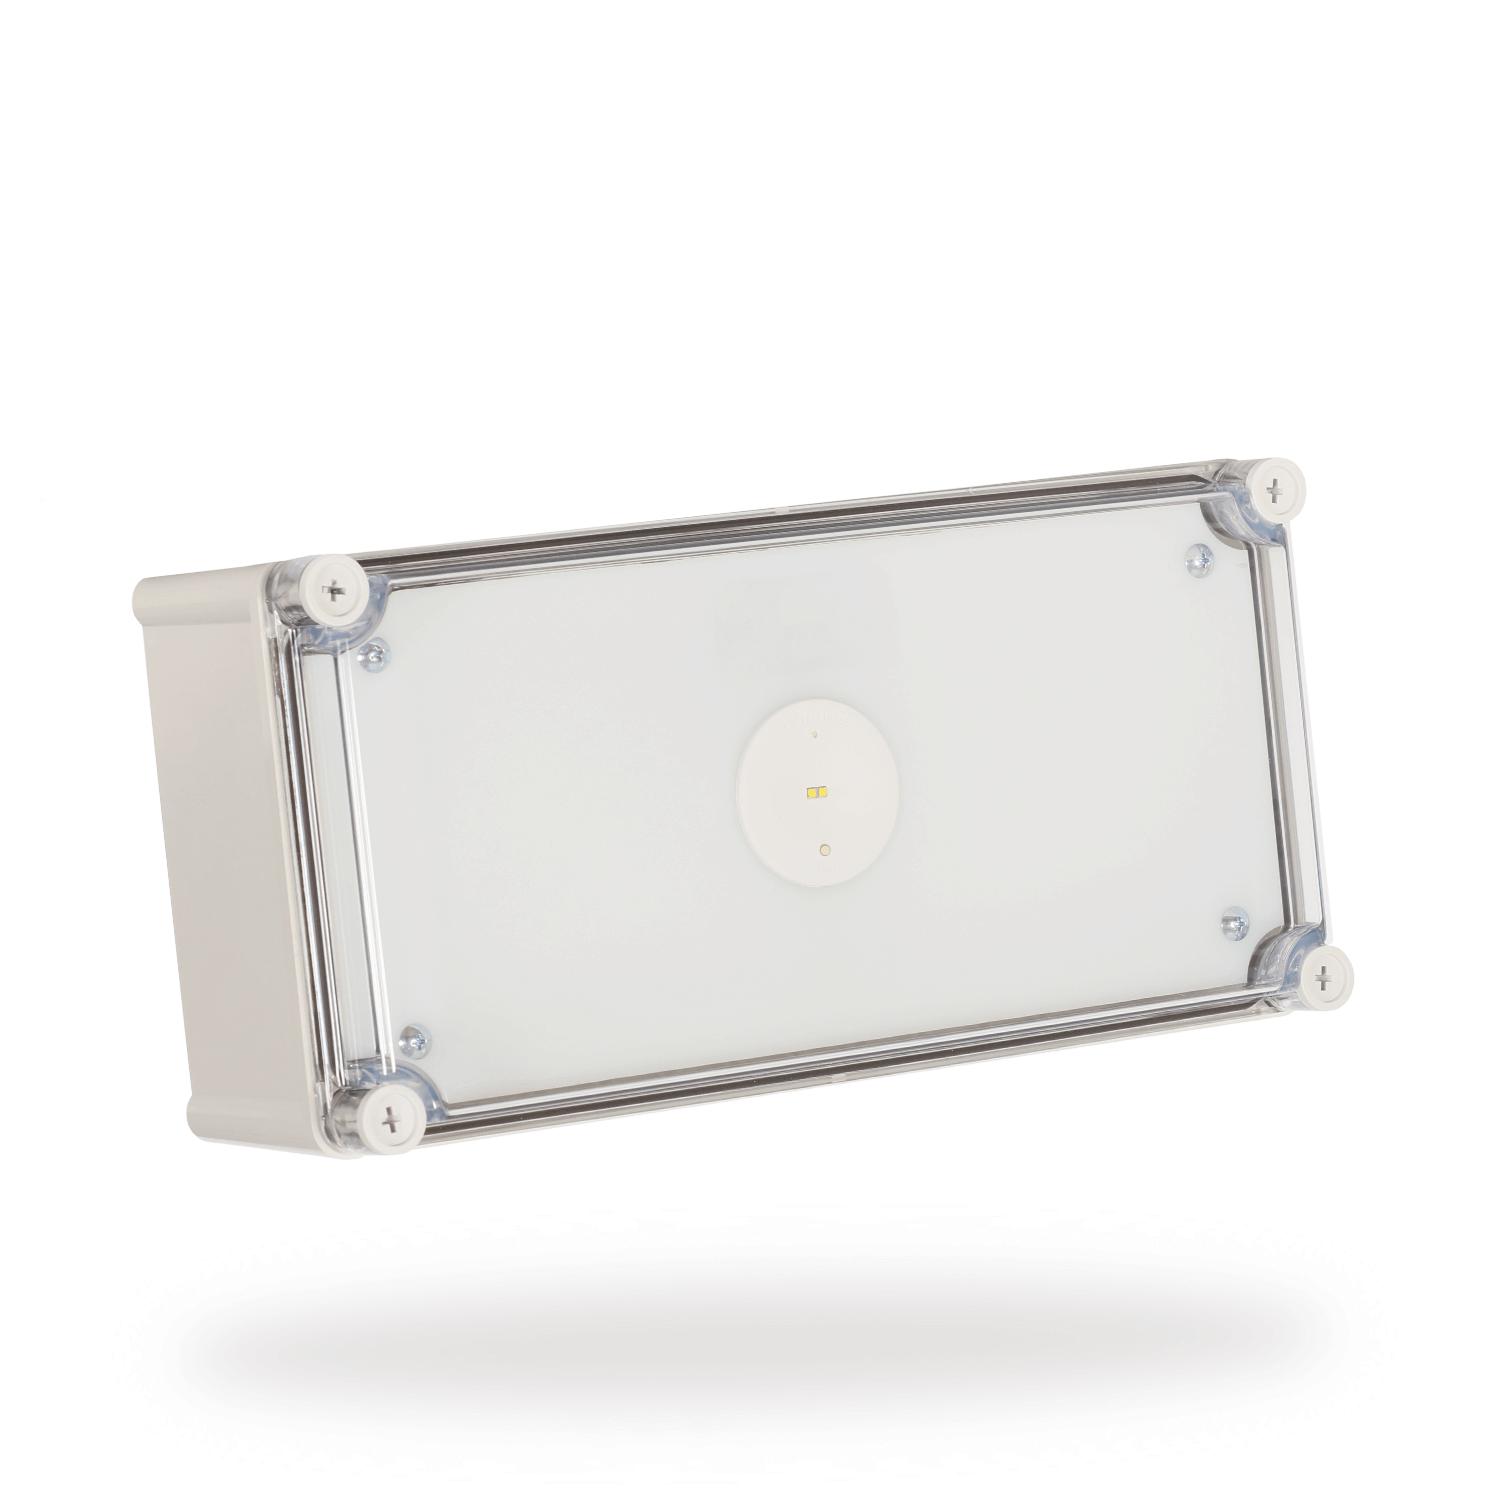
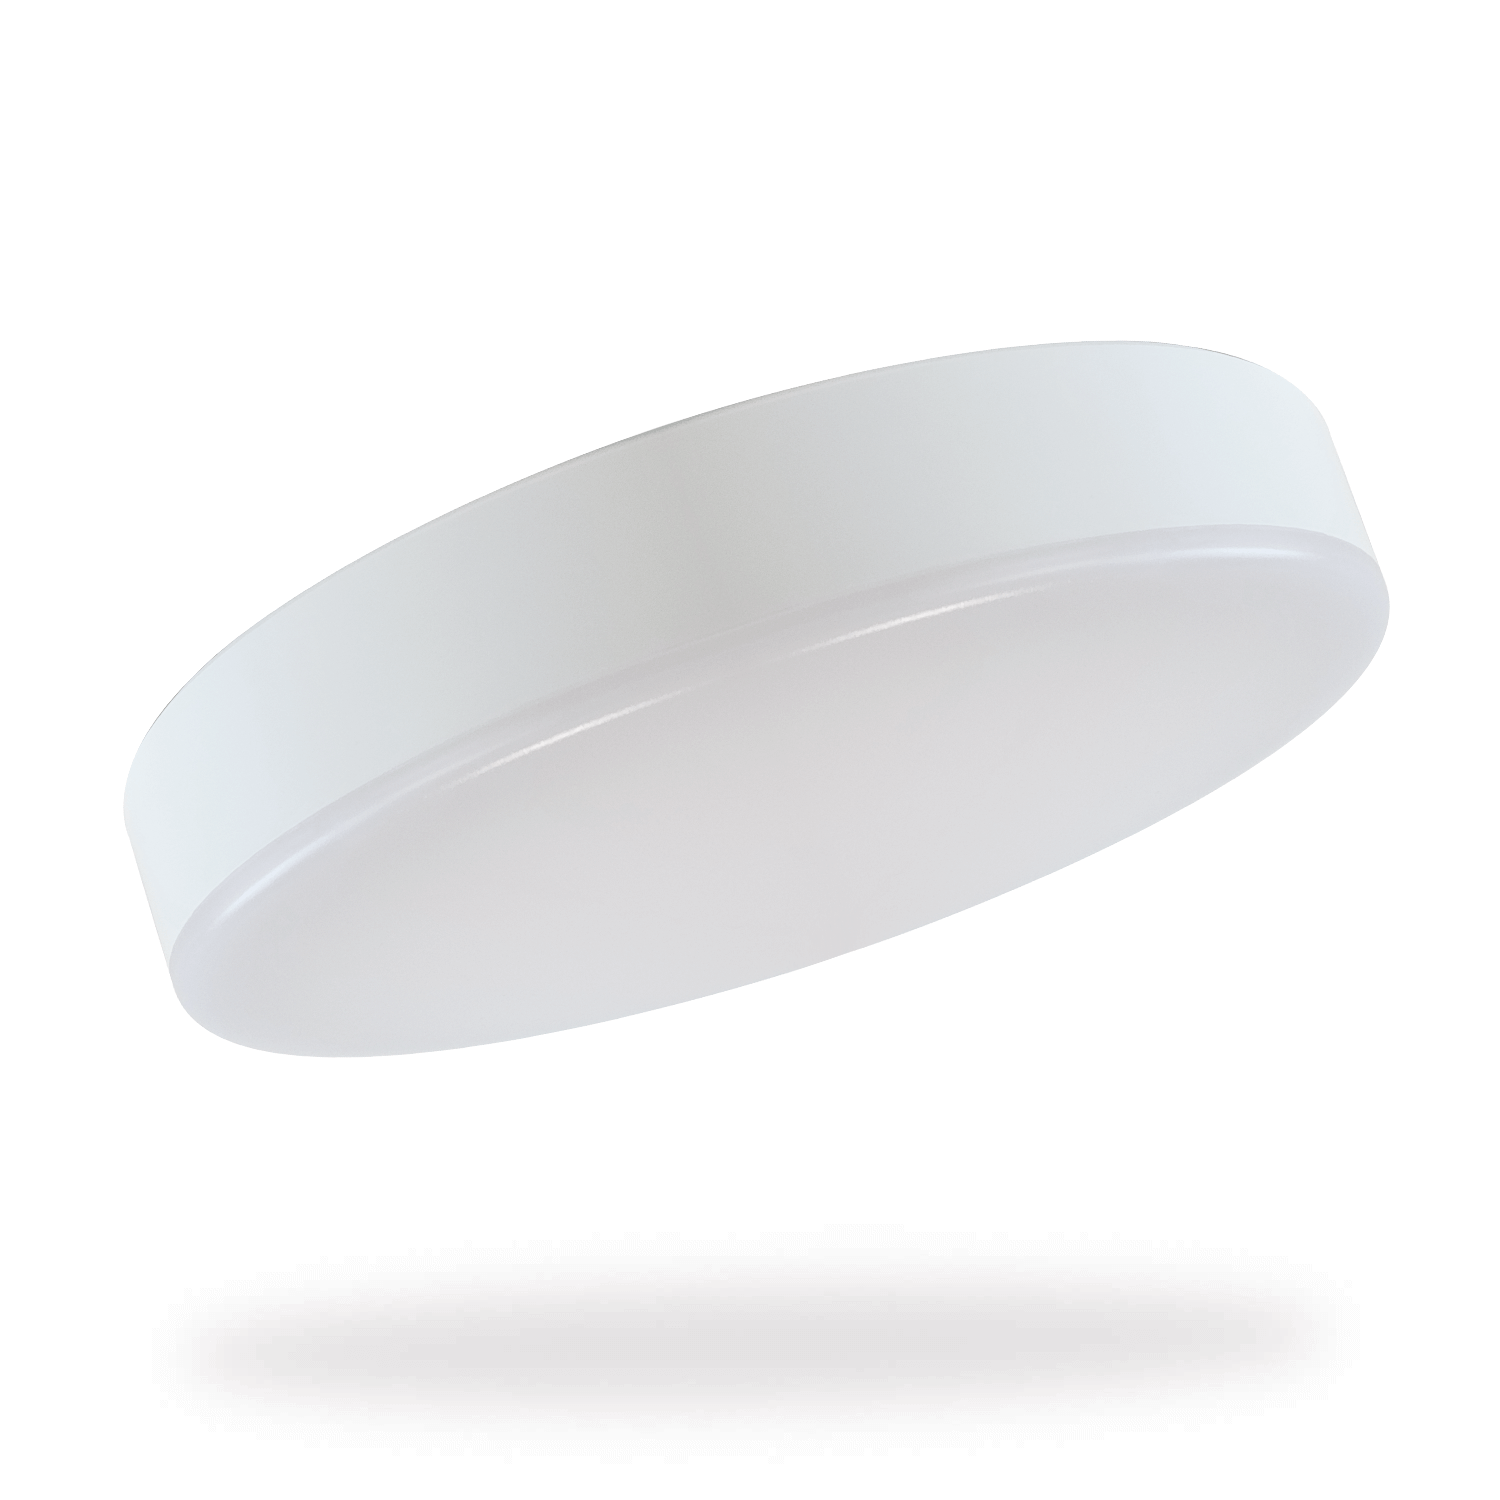
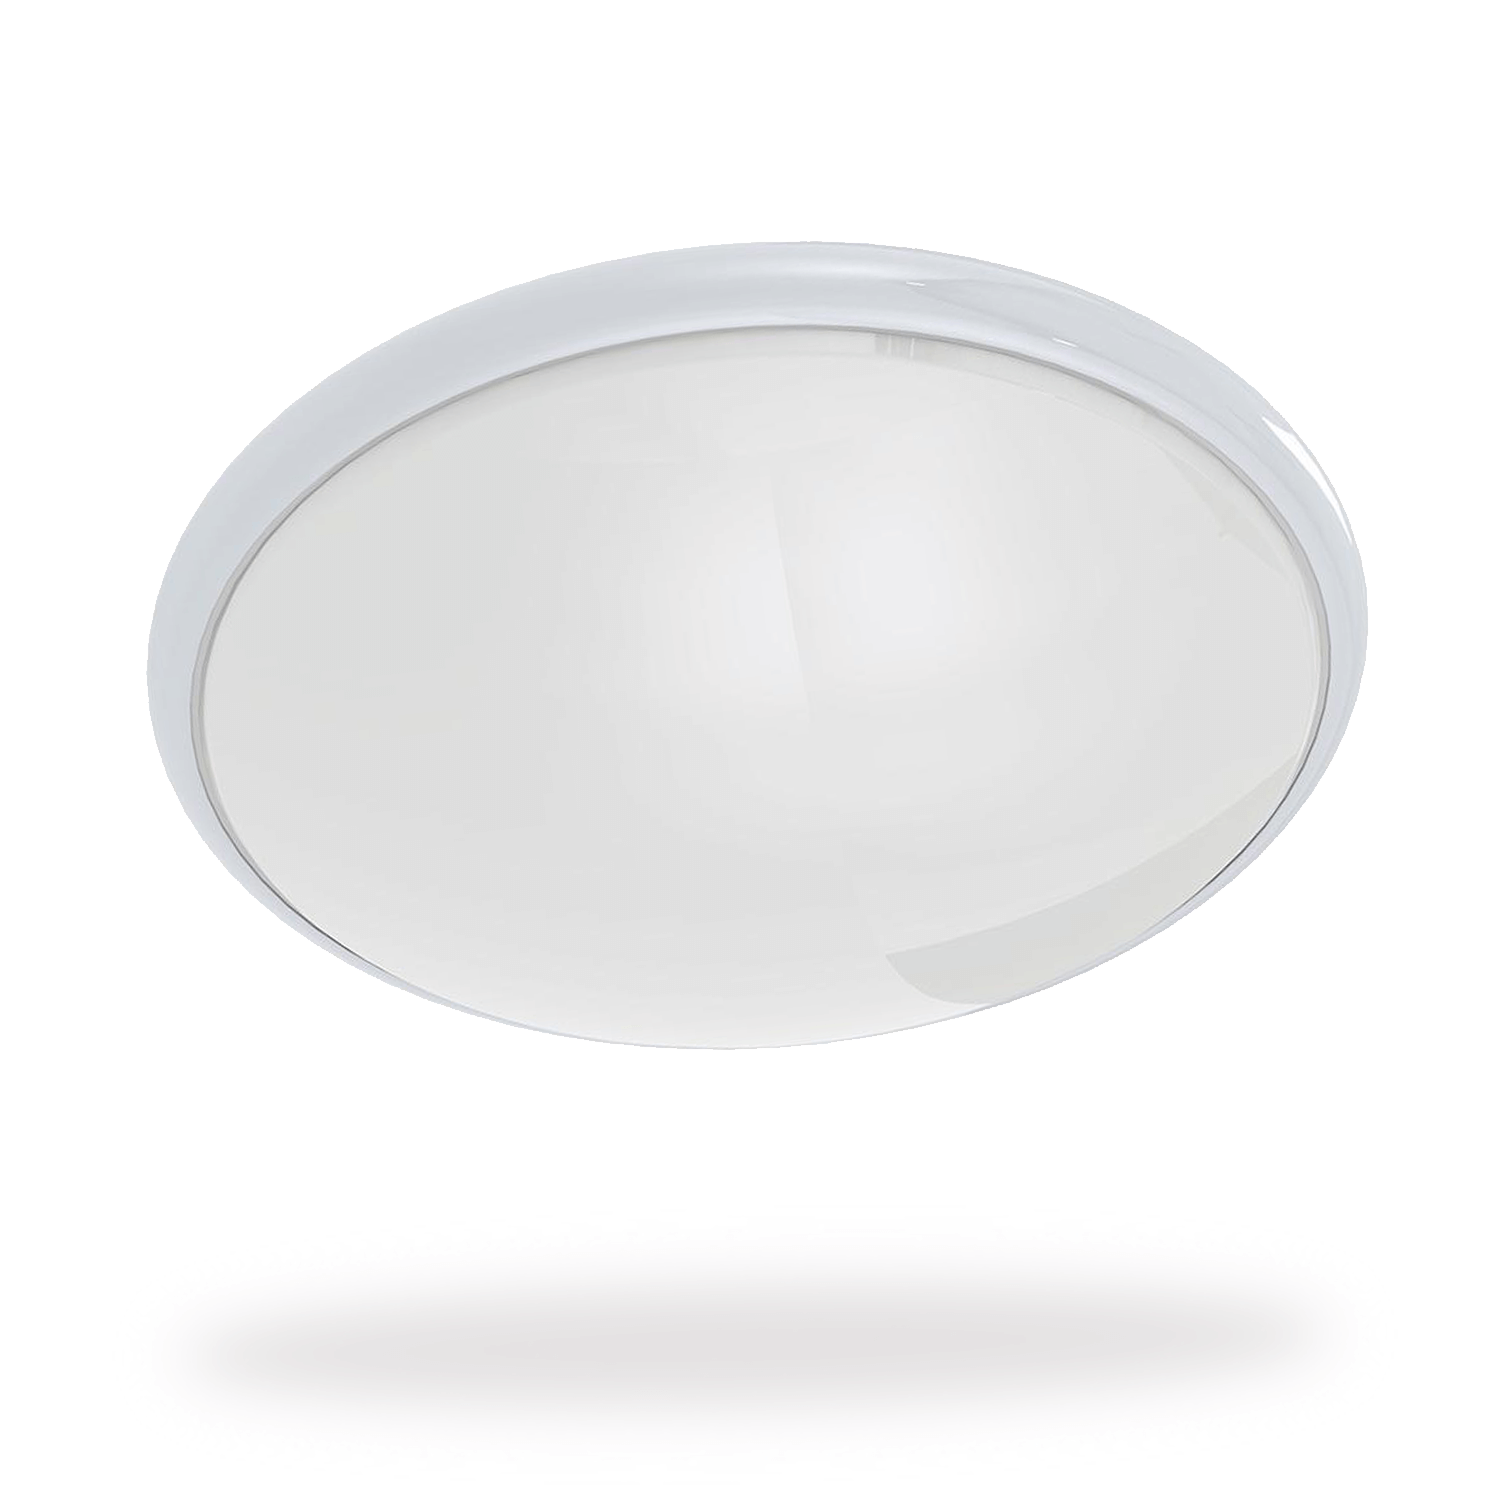
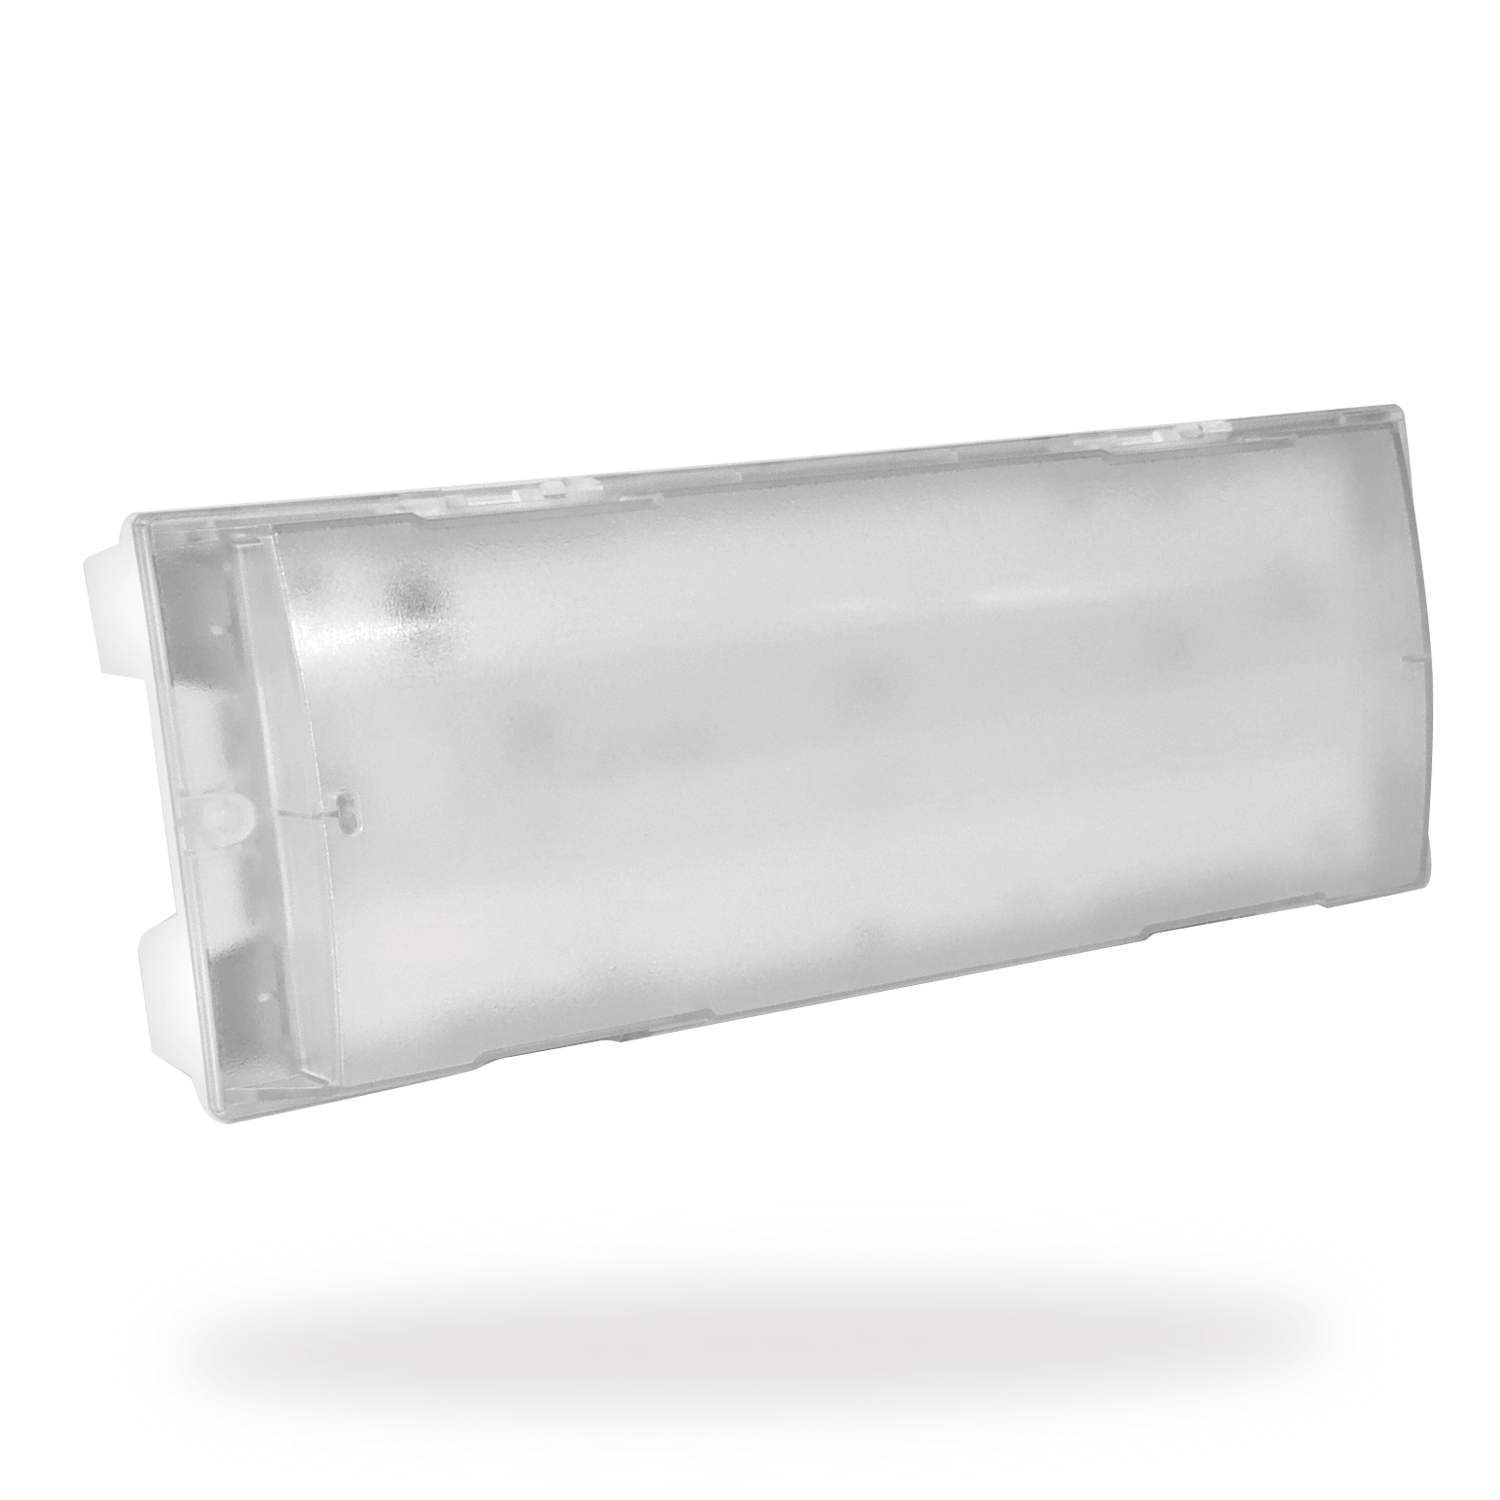
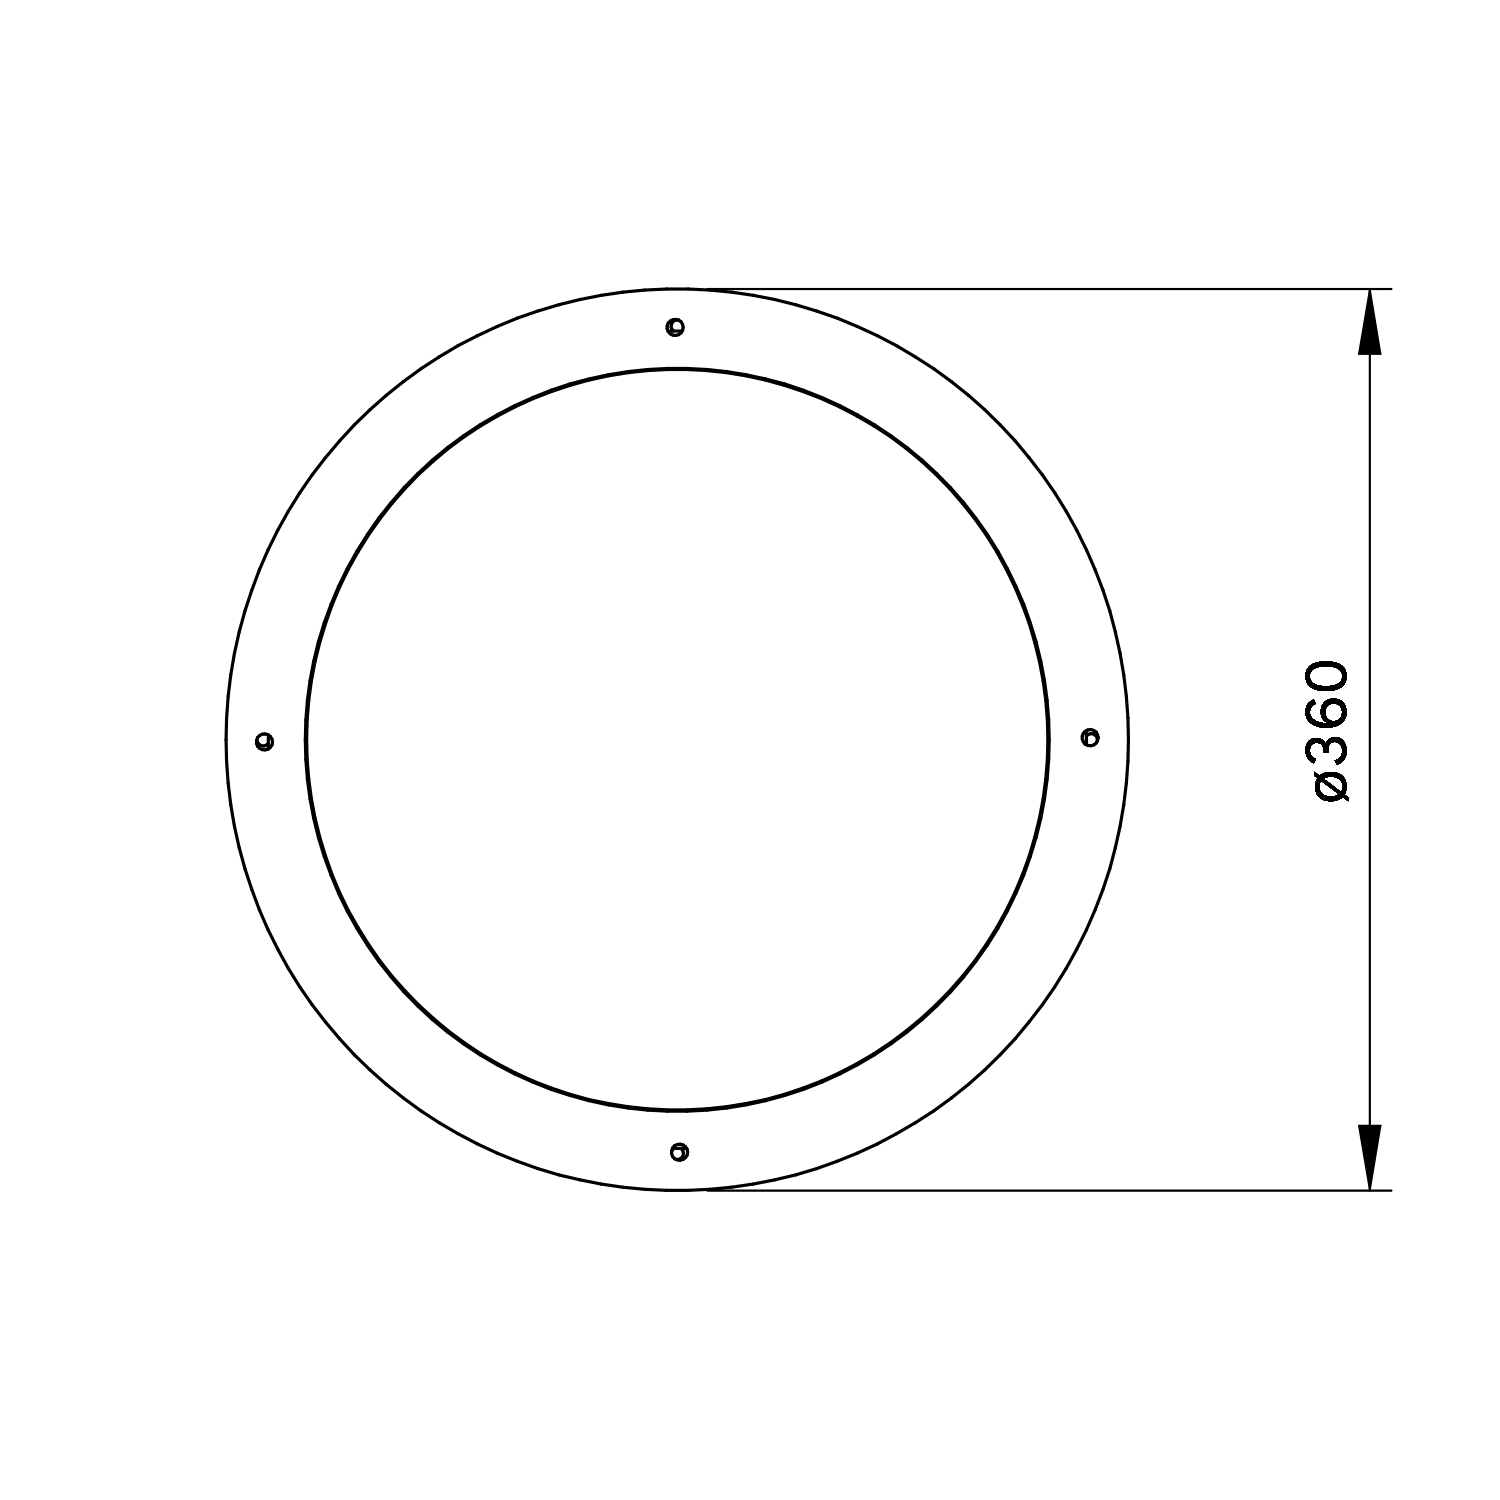
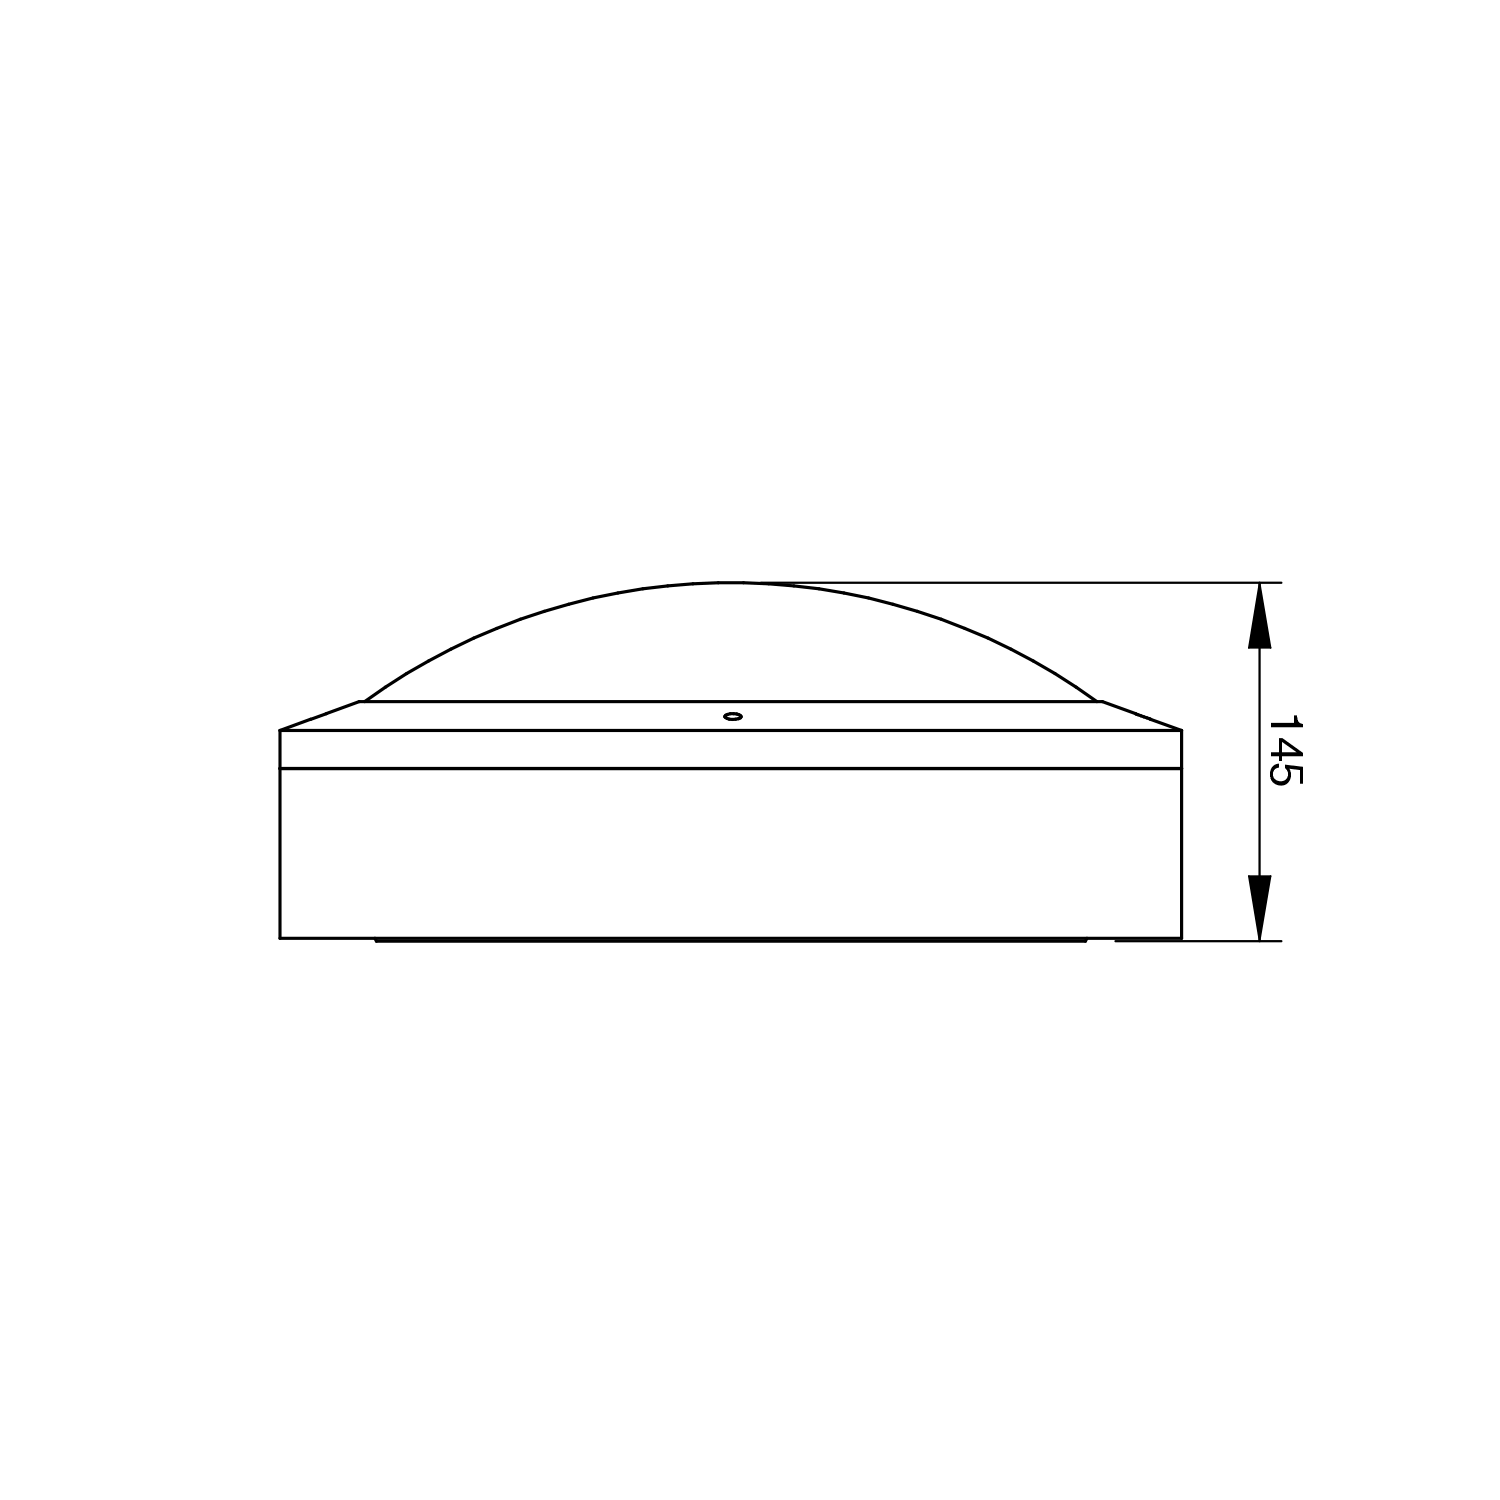
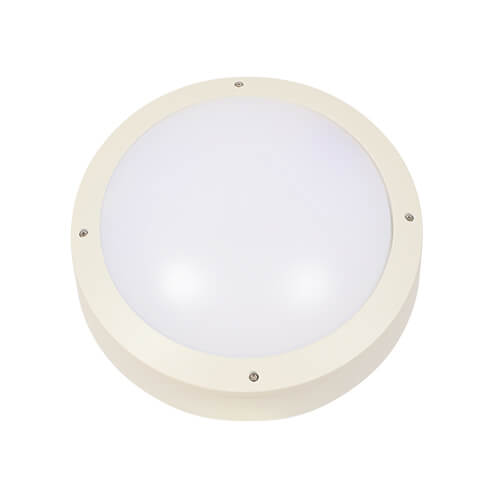
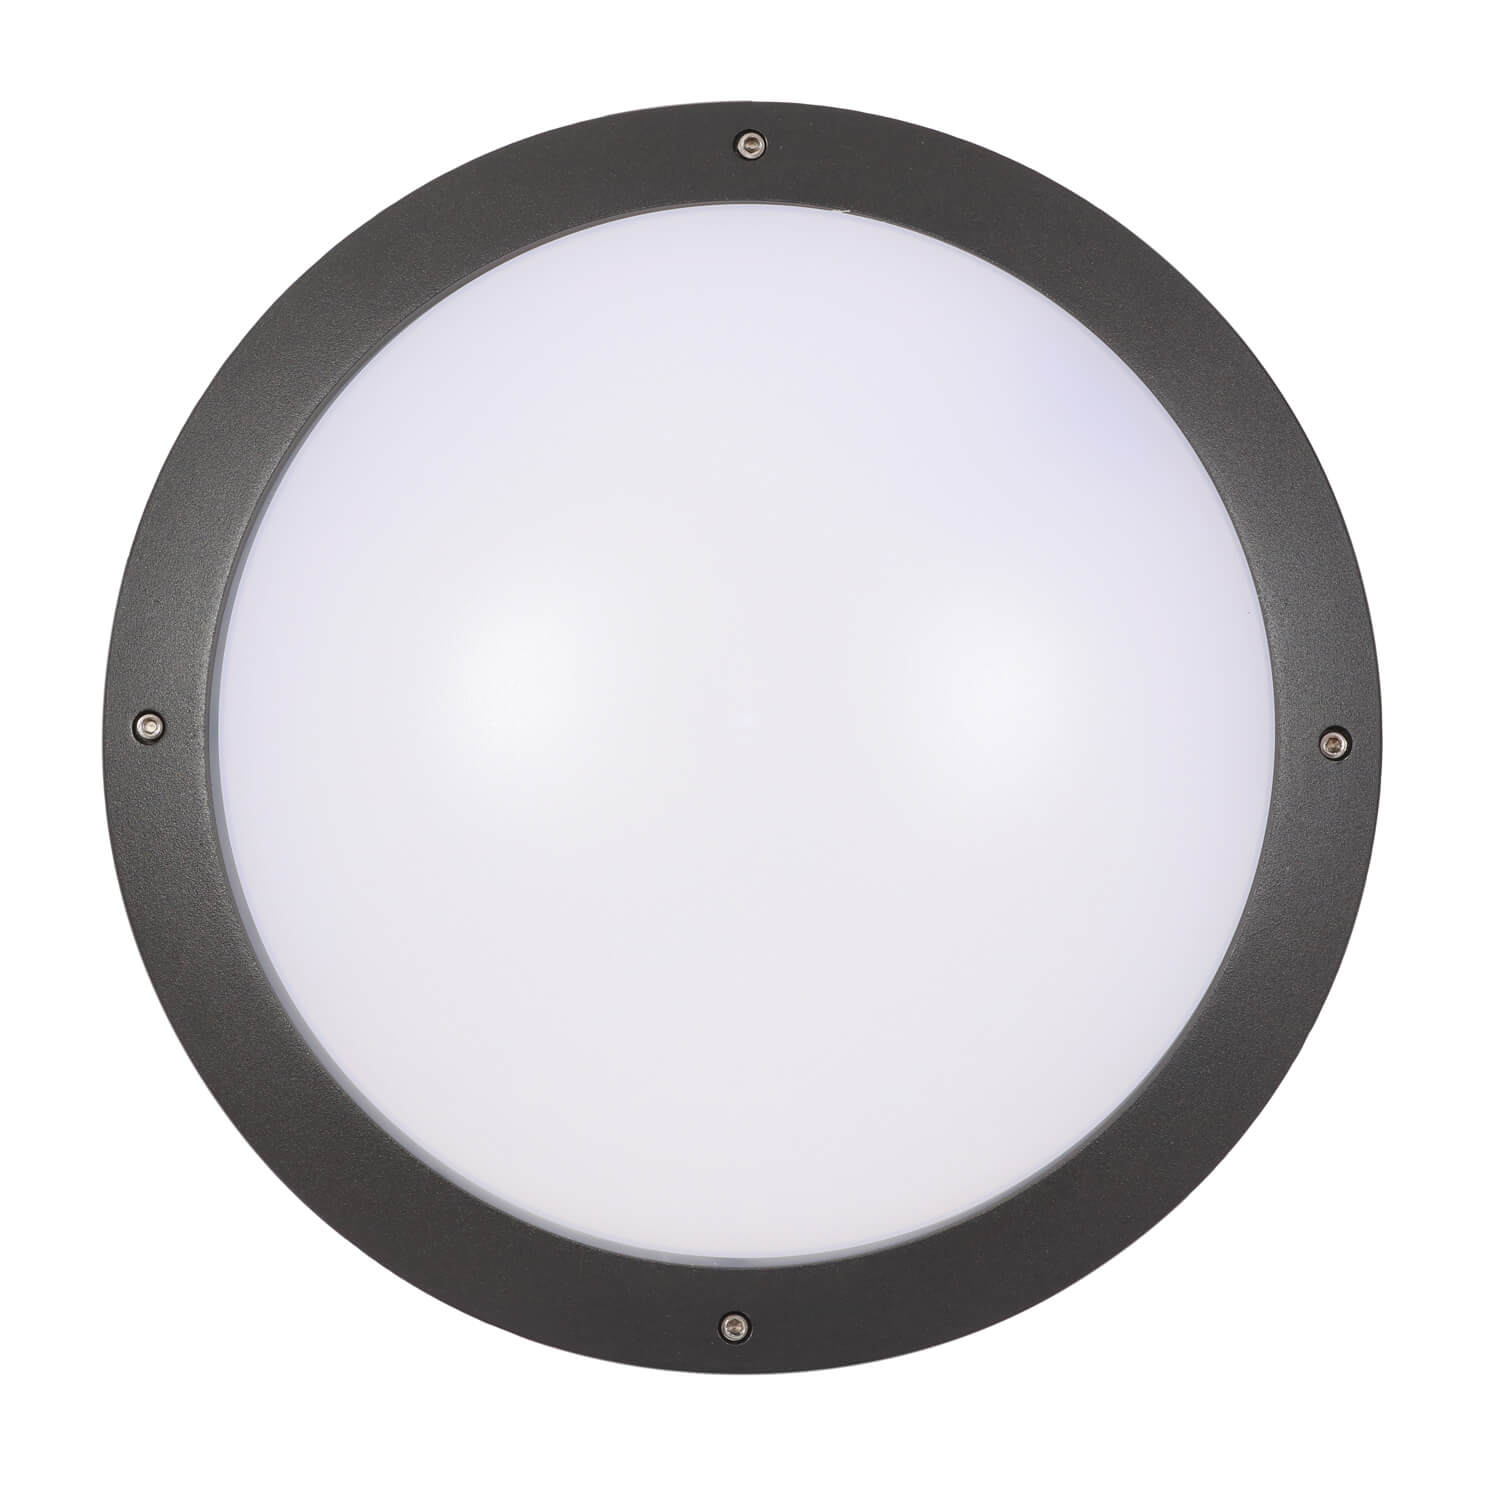
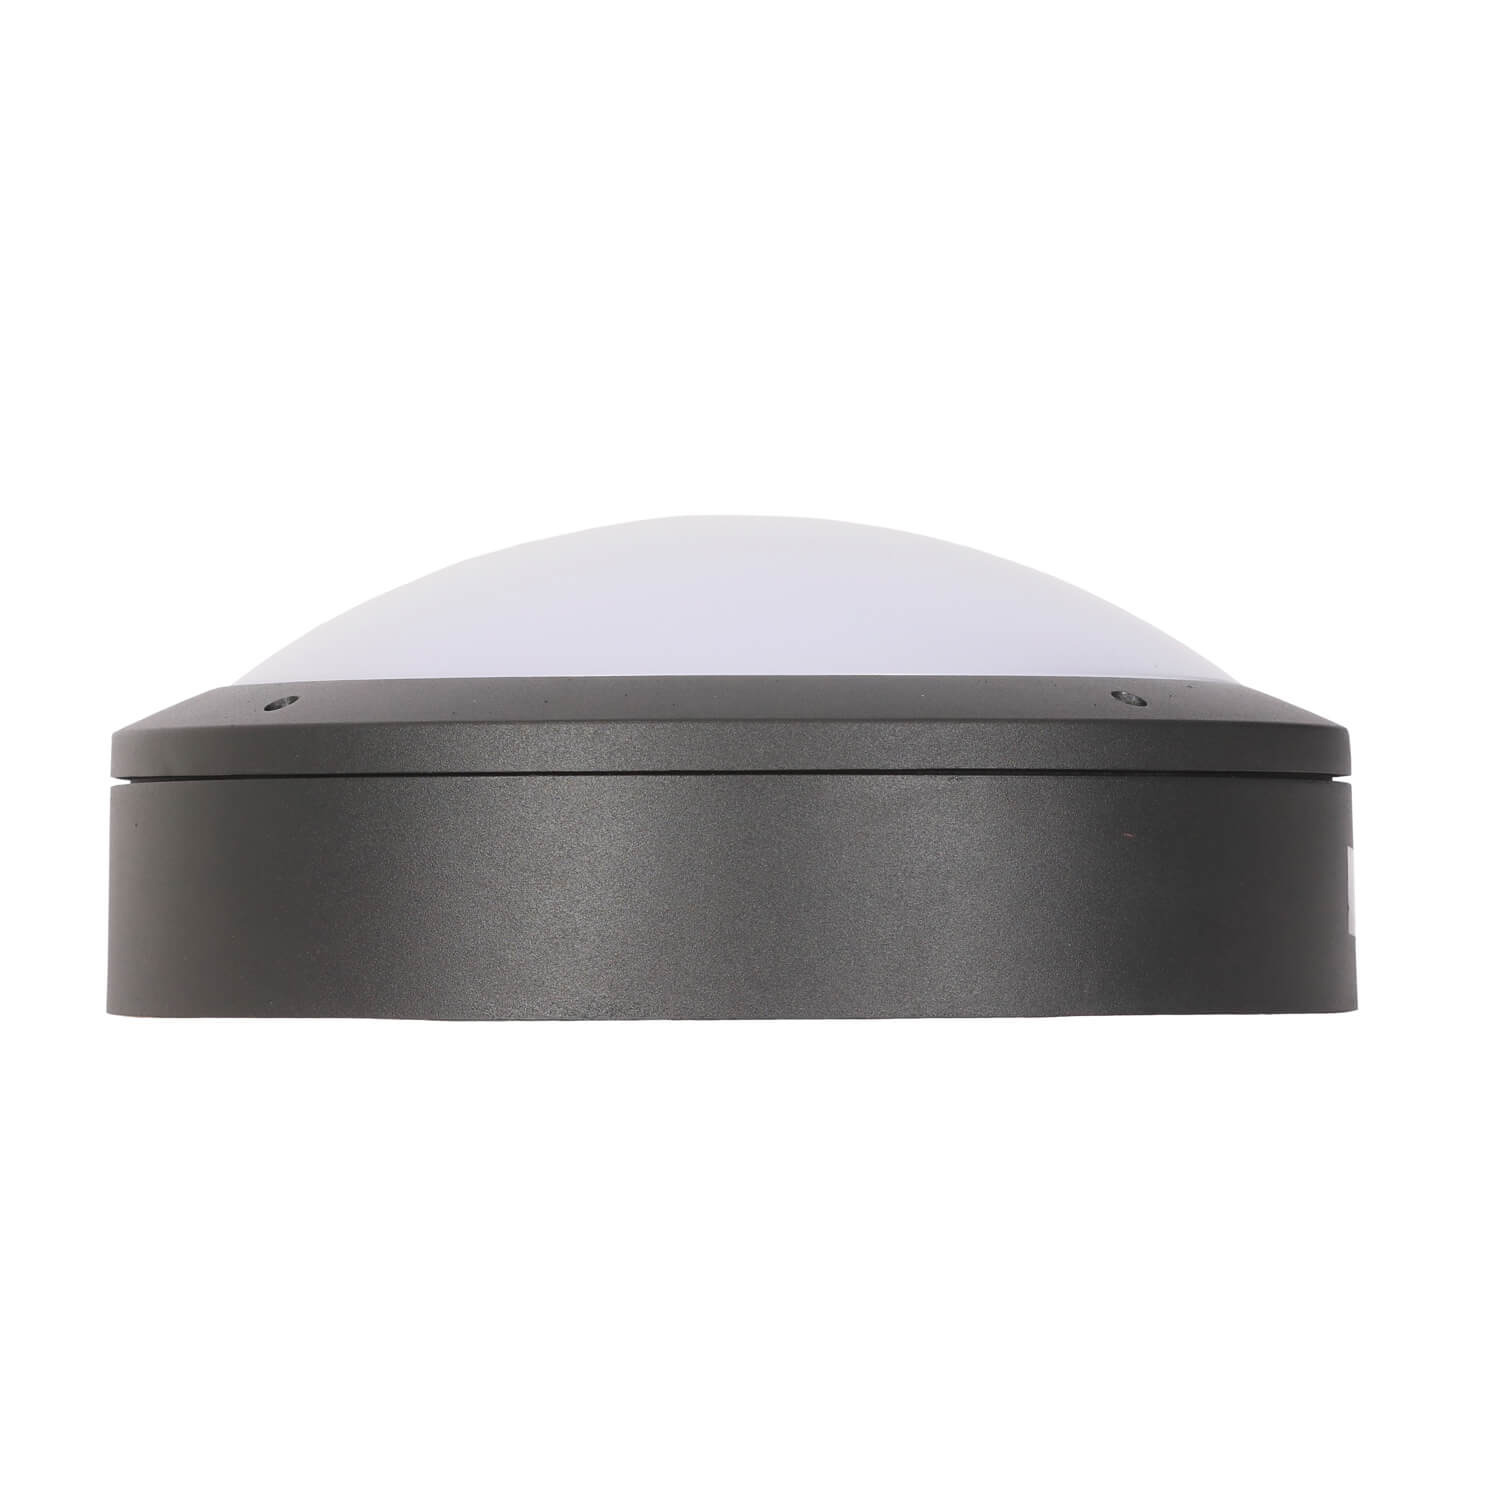
Bunkalite Luminaire
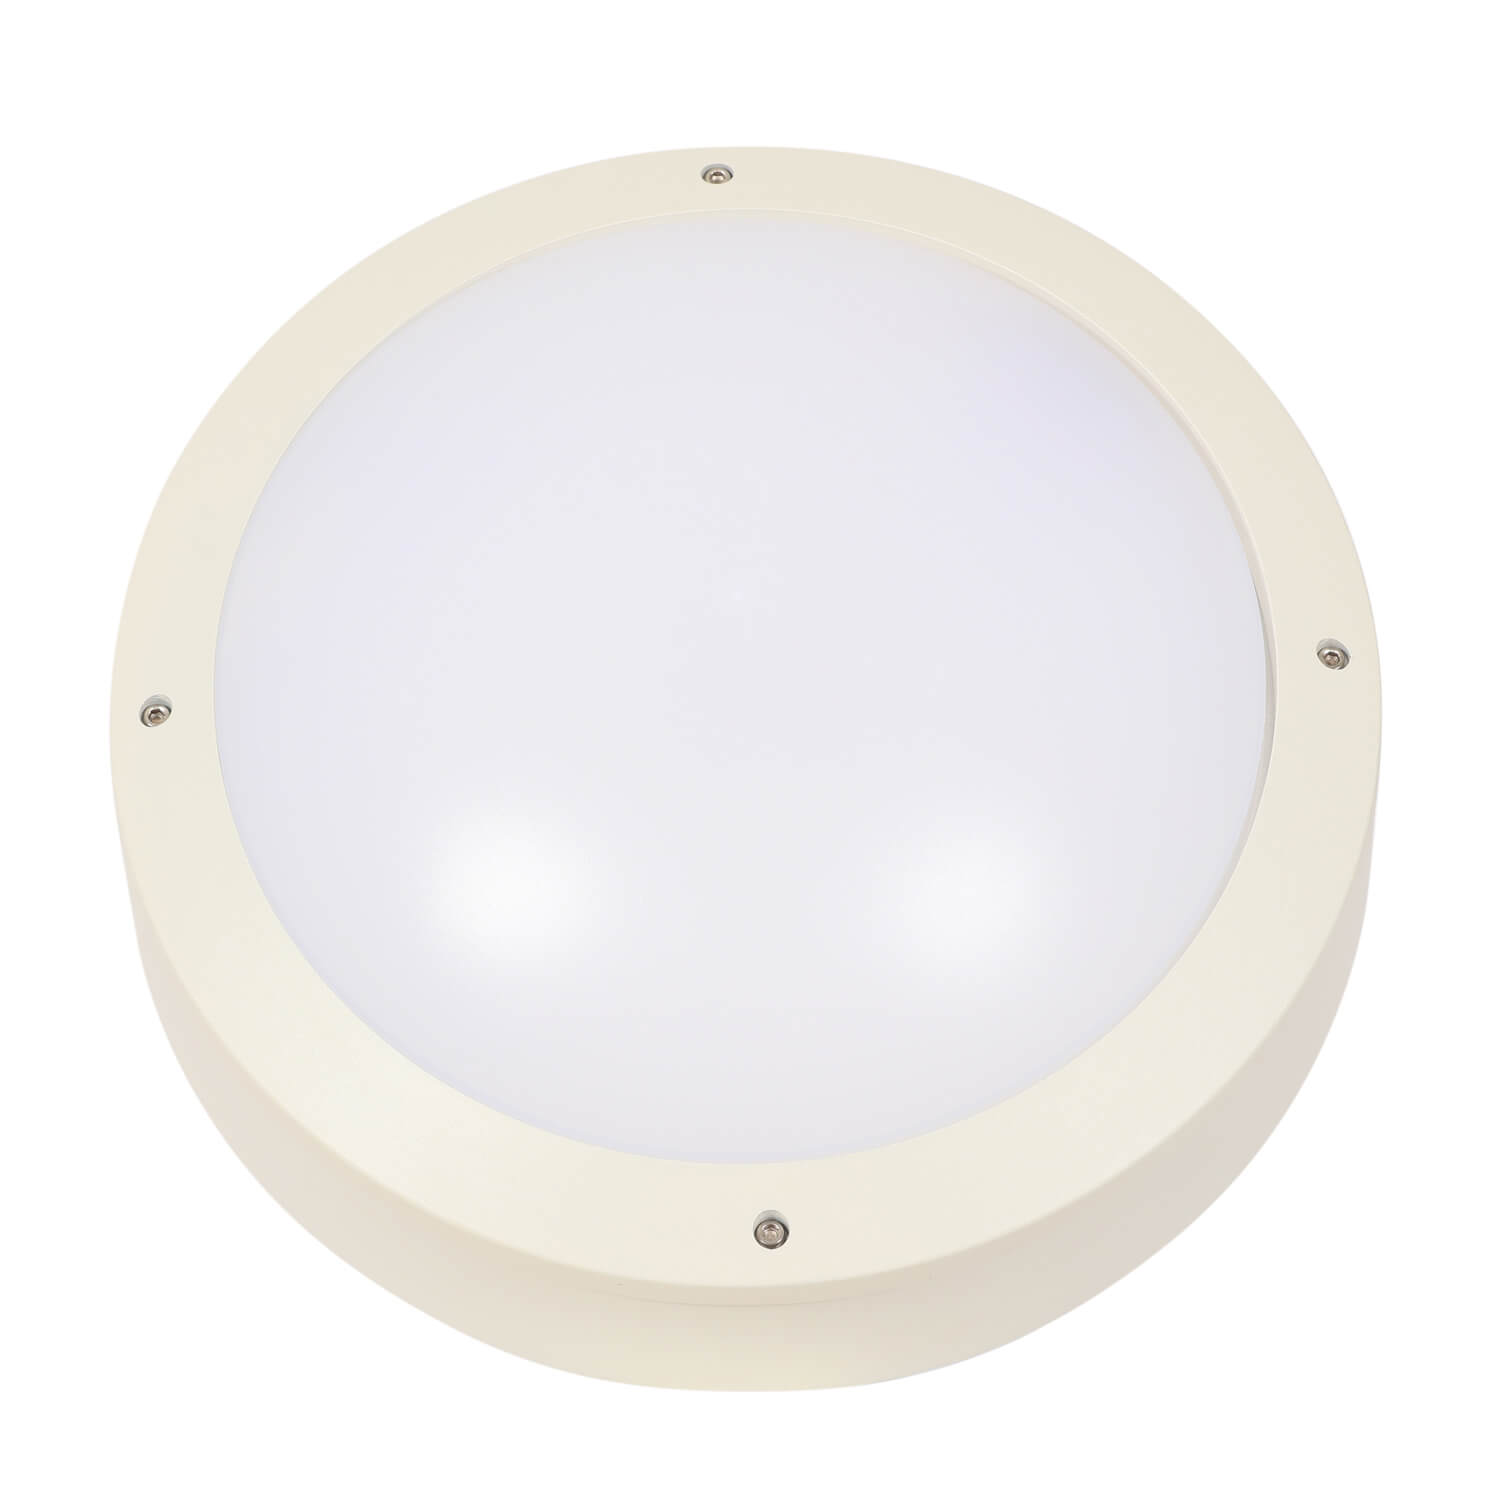
Bunkalite Luminaire
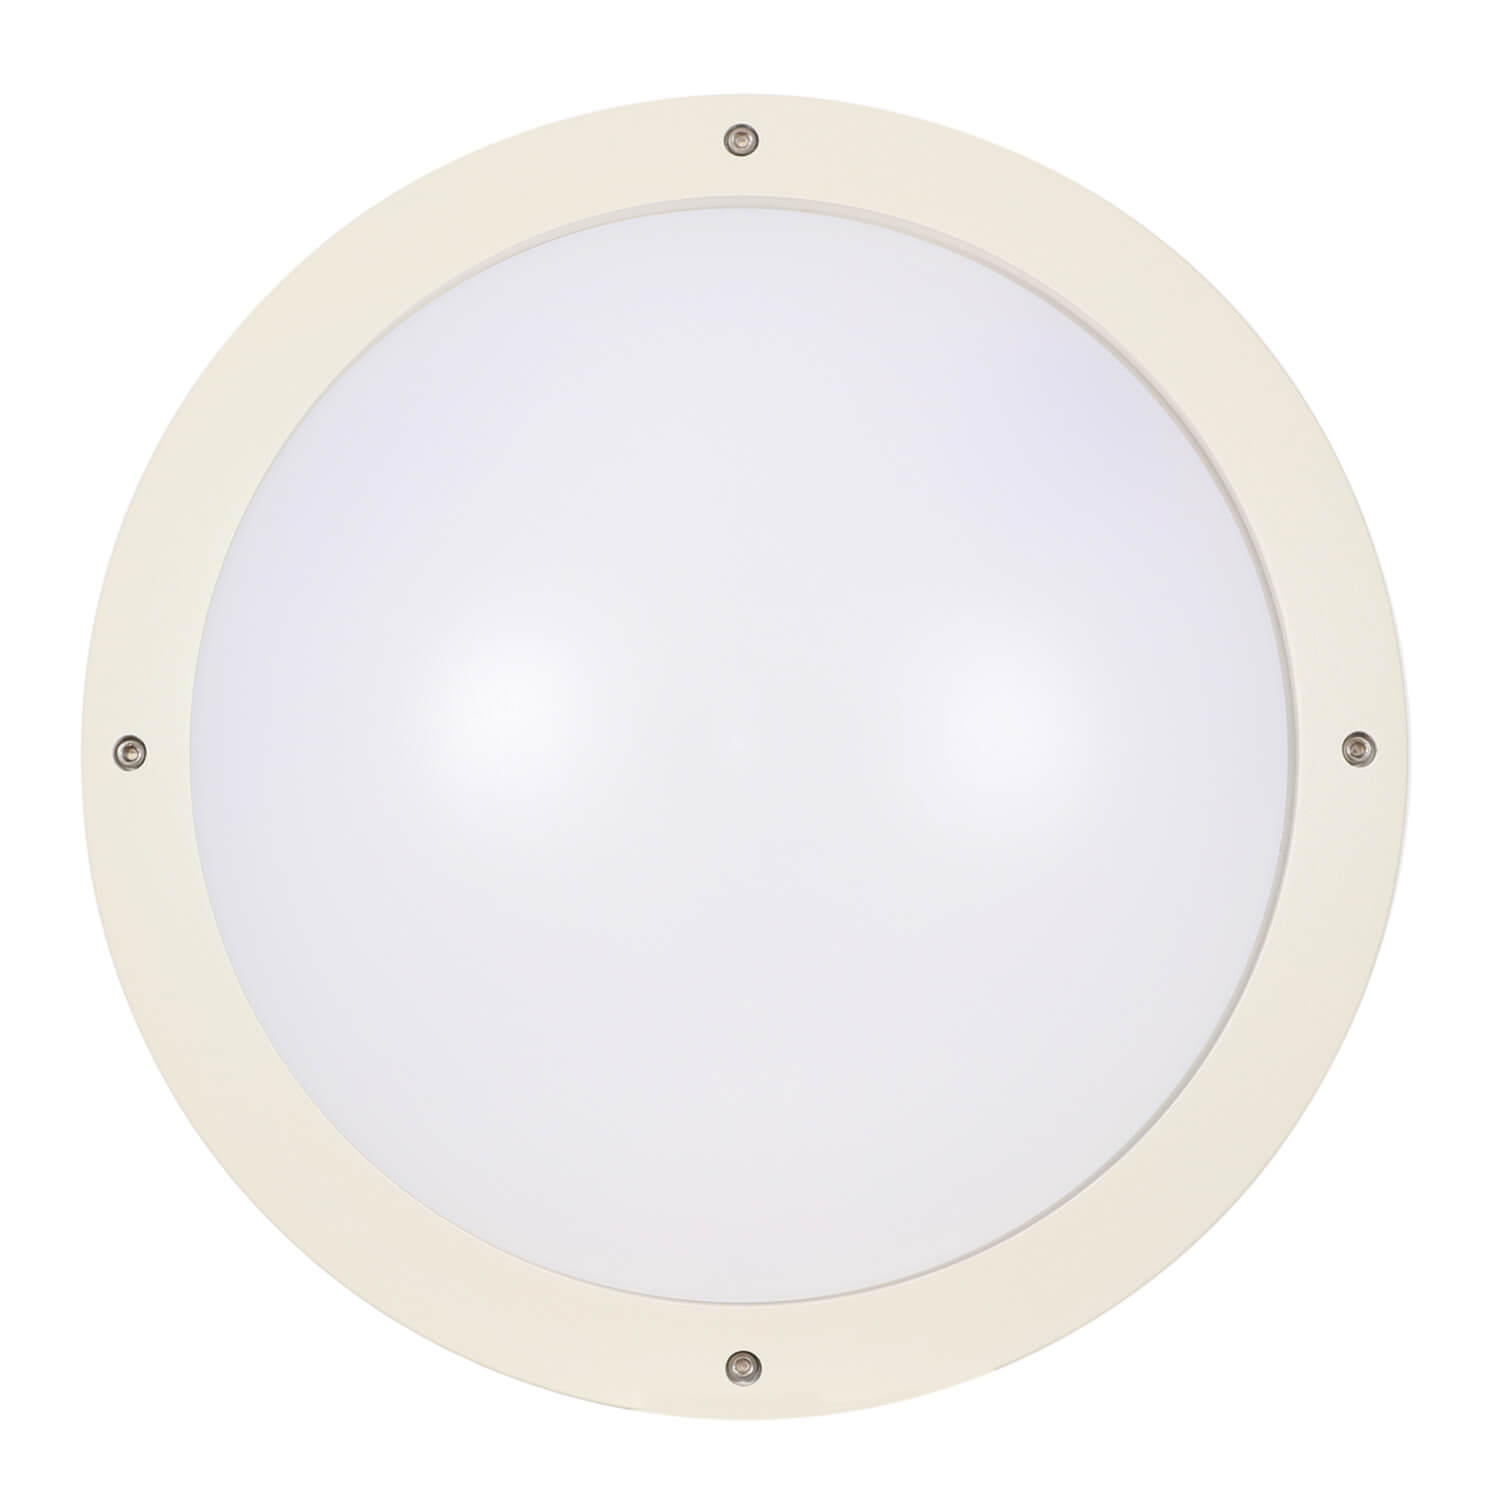
Bunkalite Luminaire
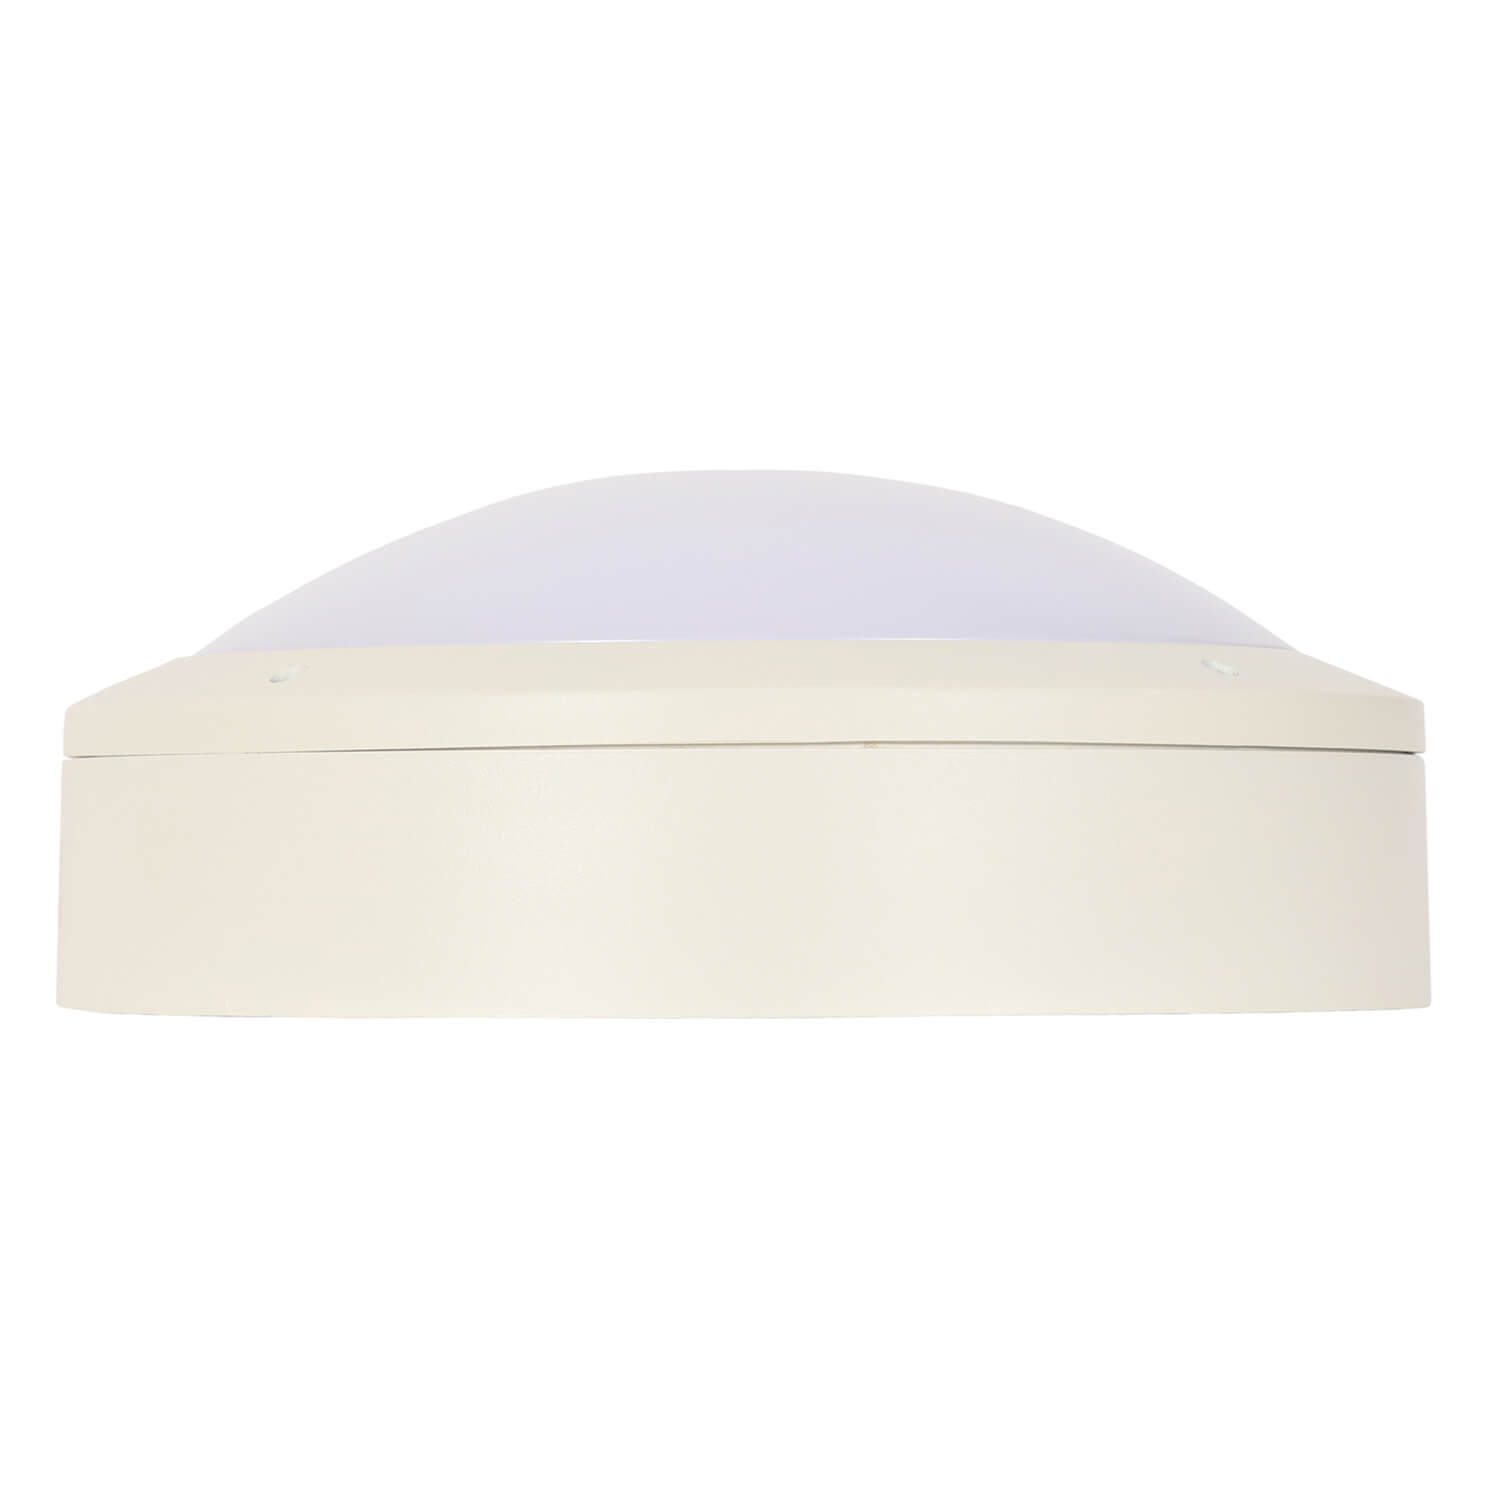
Bunkalite Luminaire
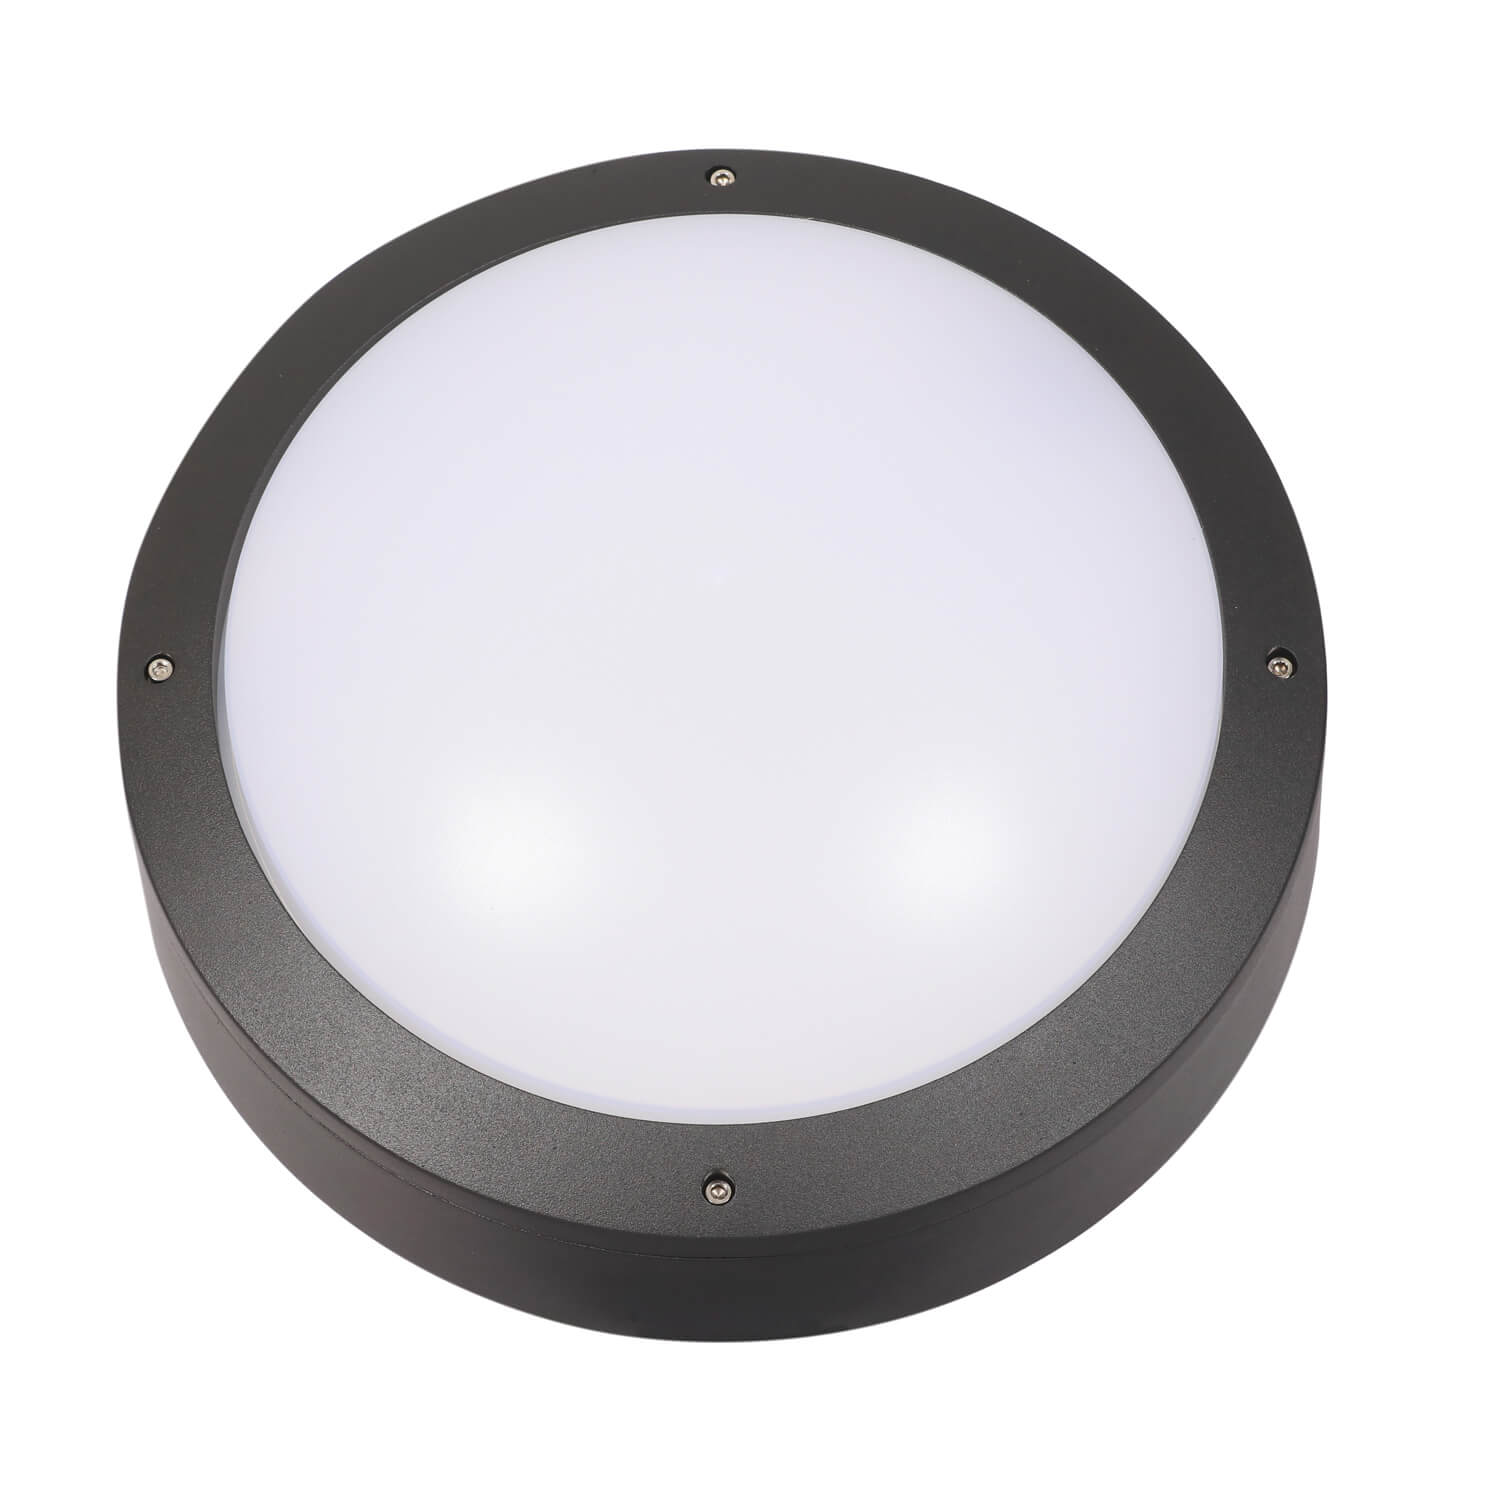
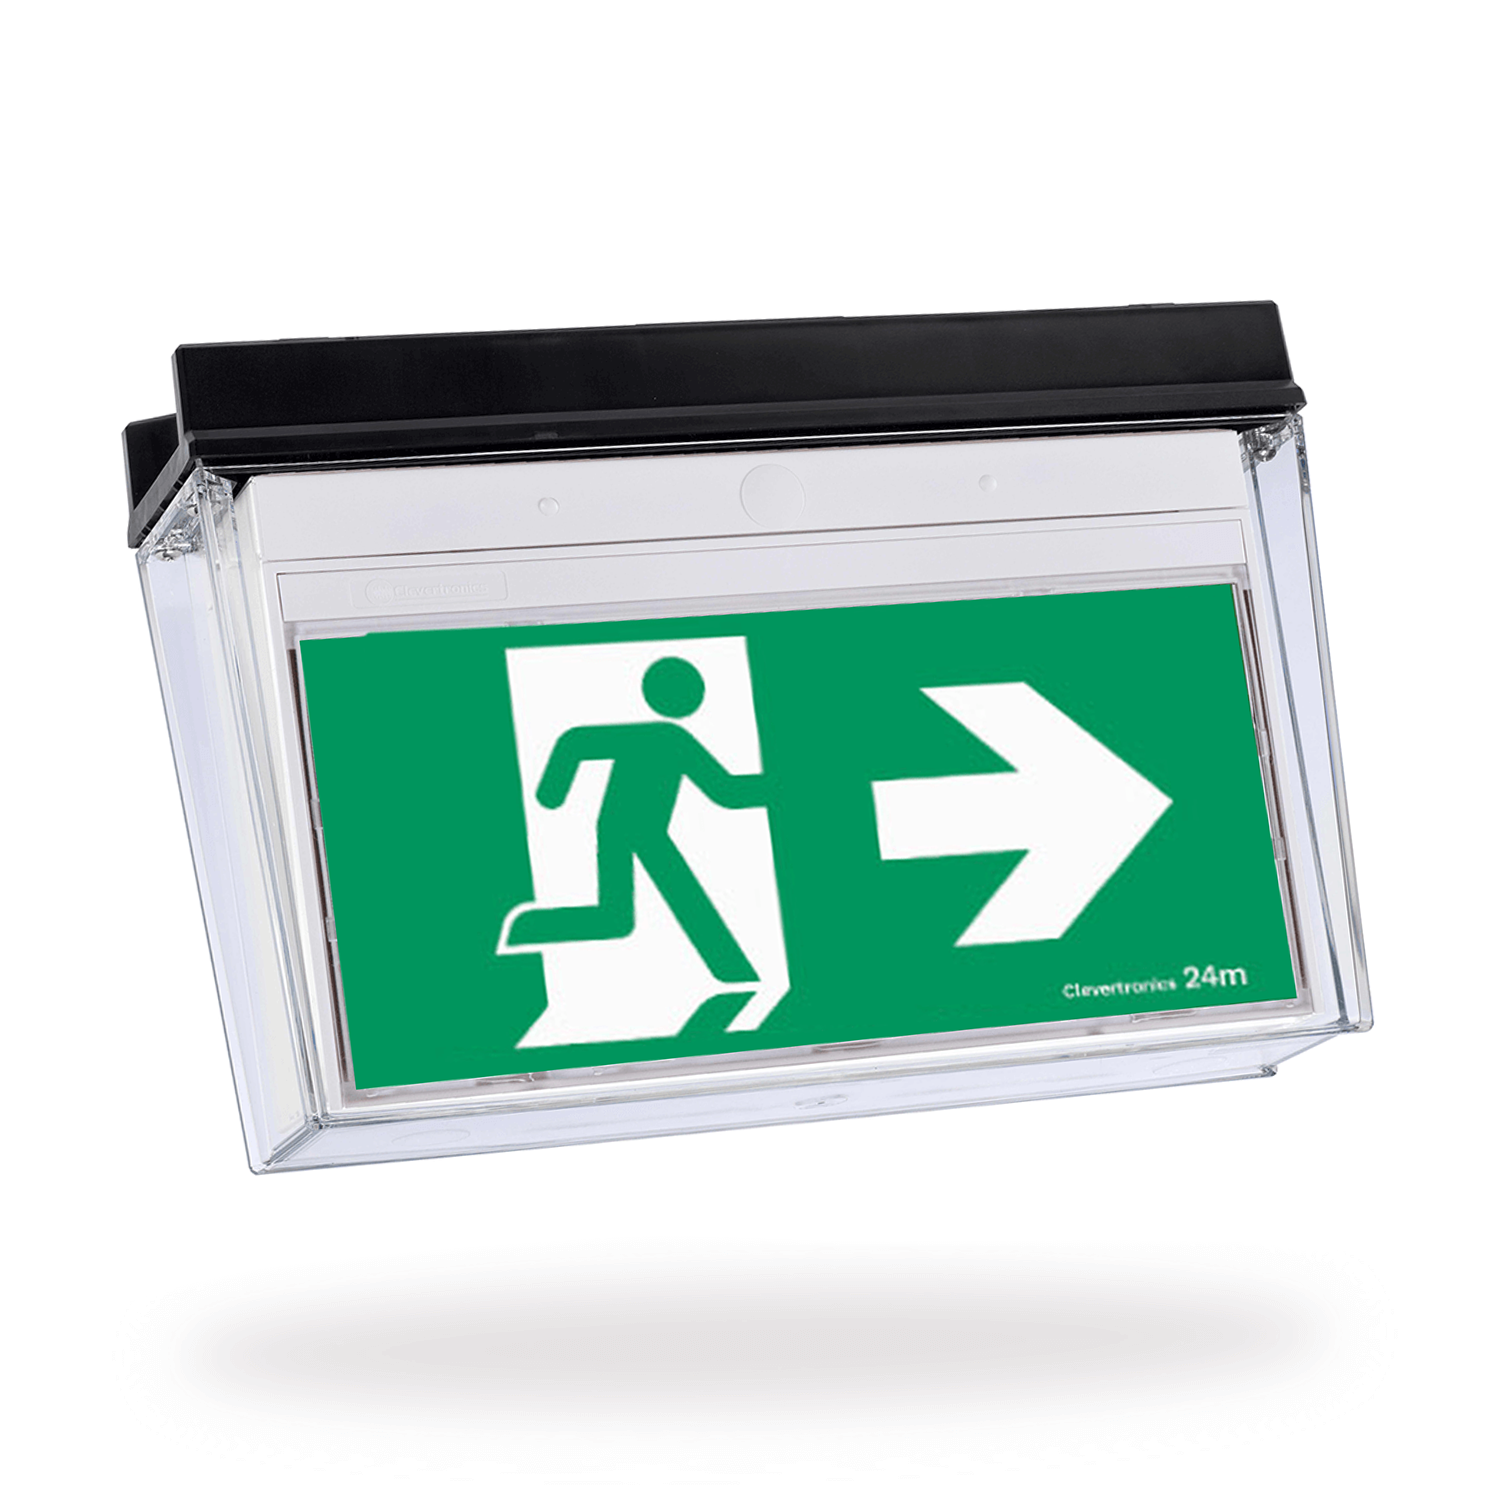
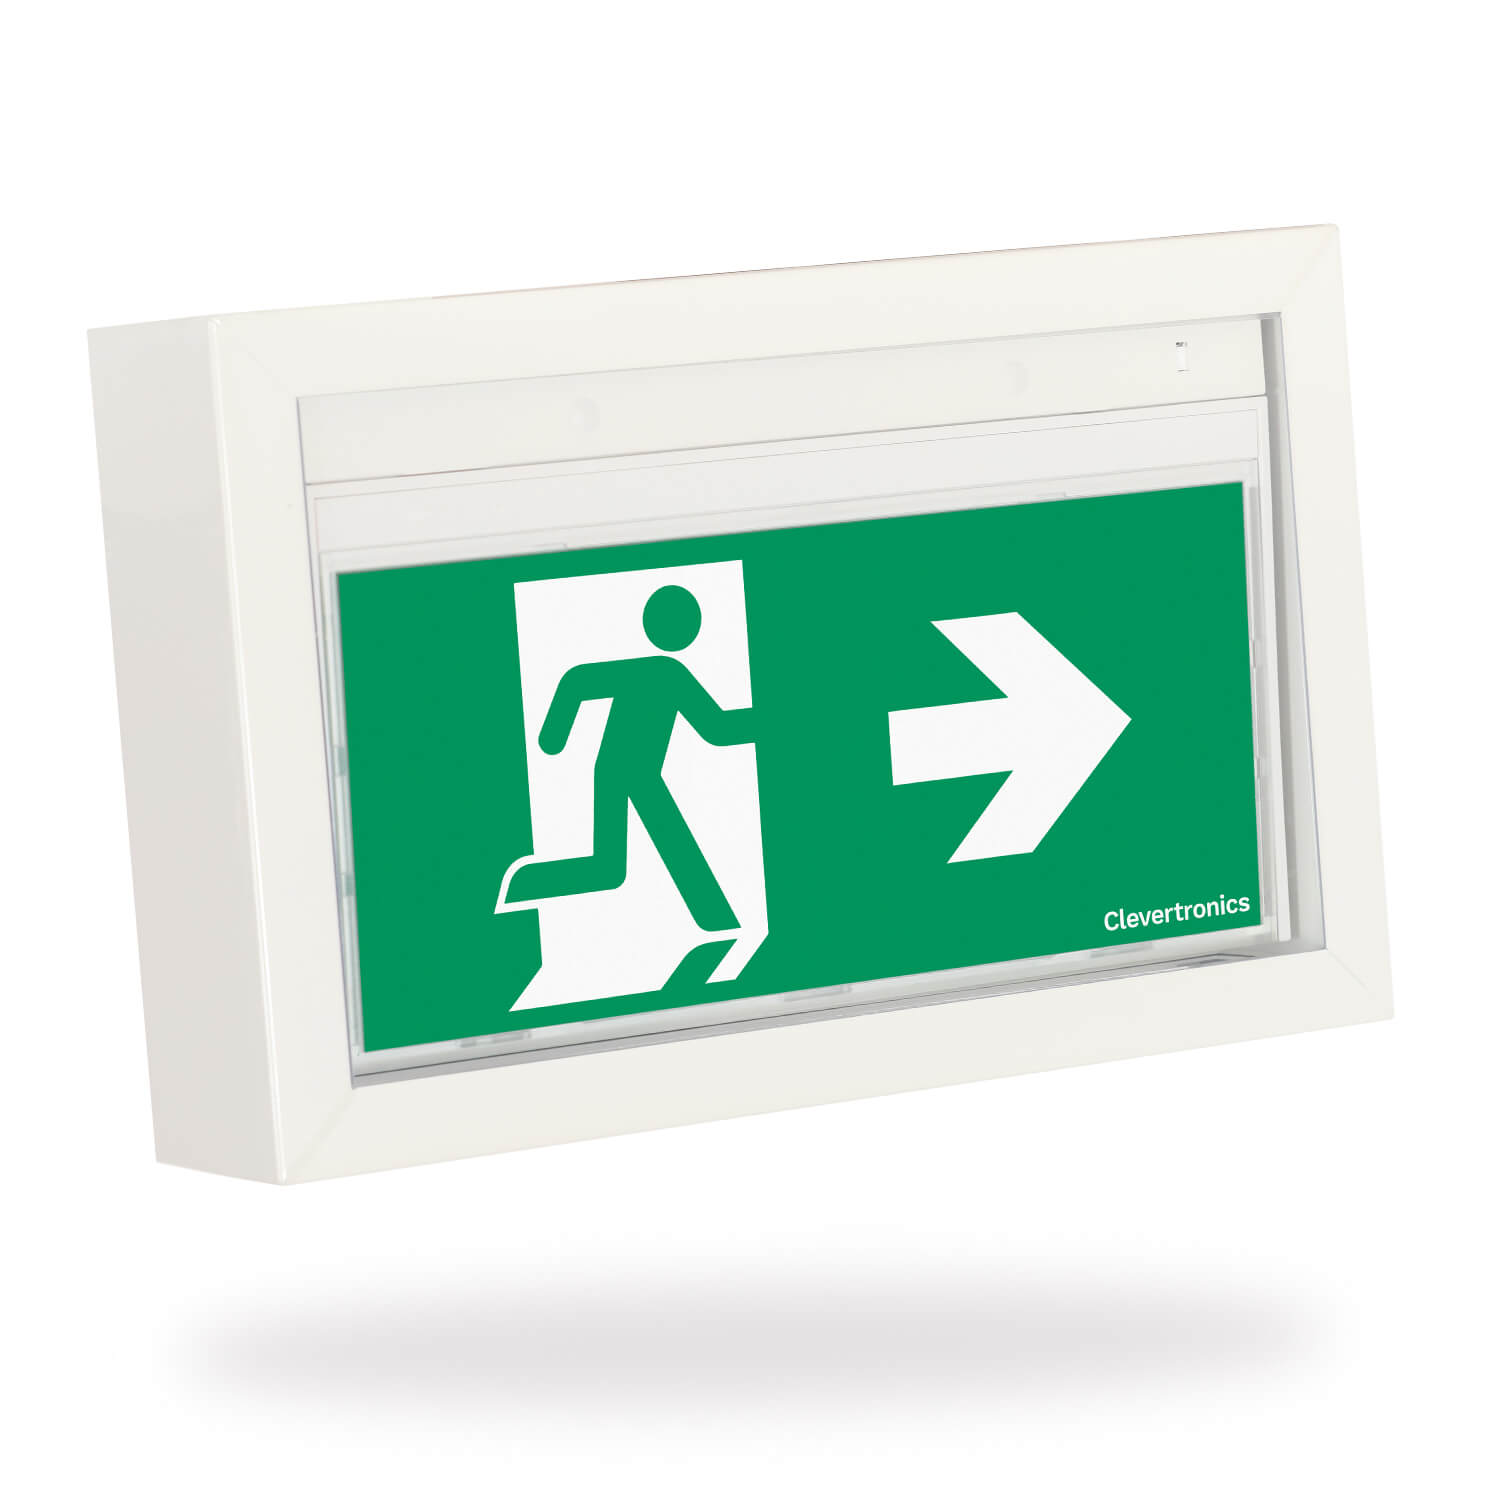
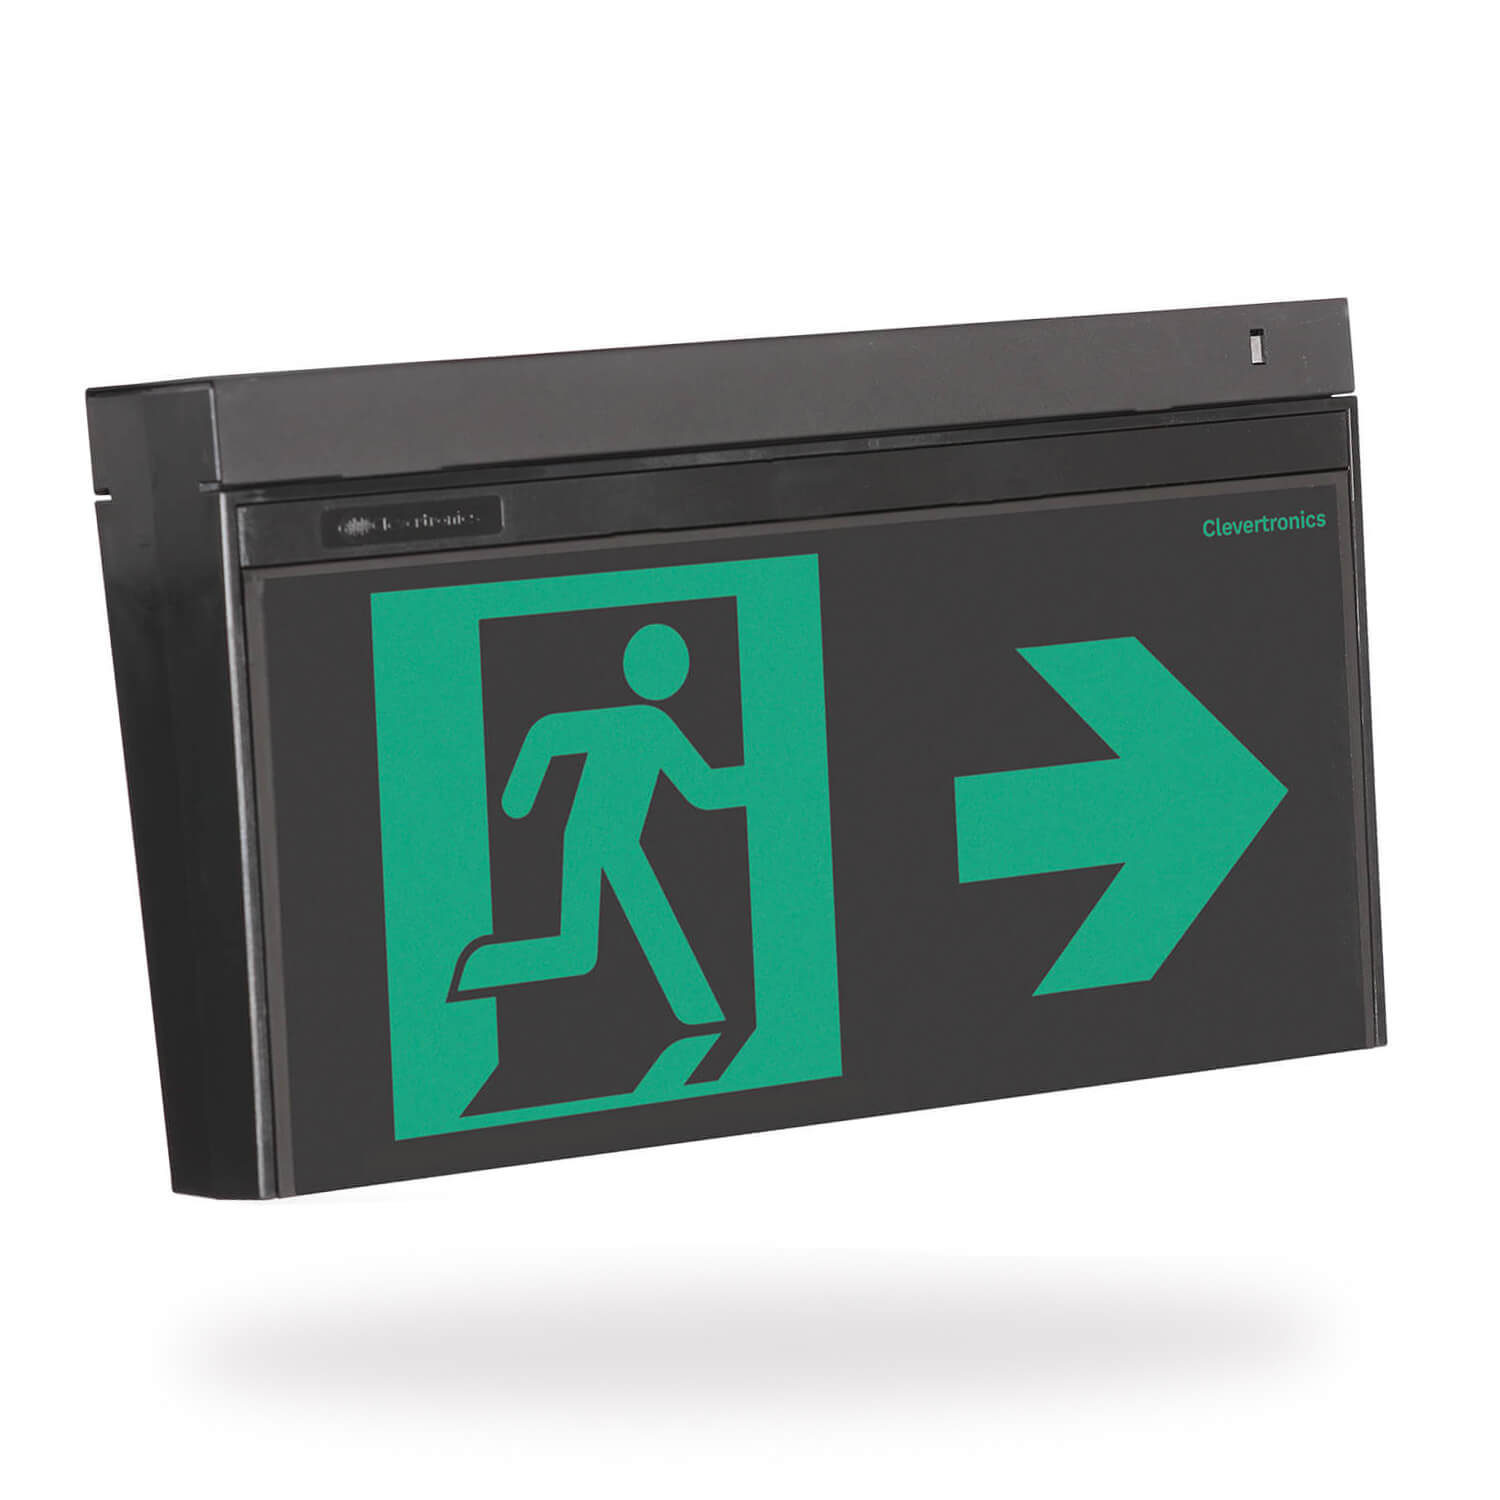
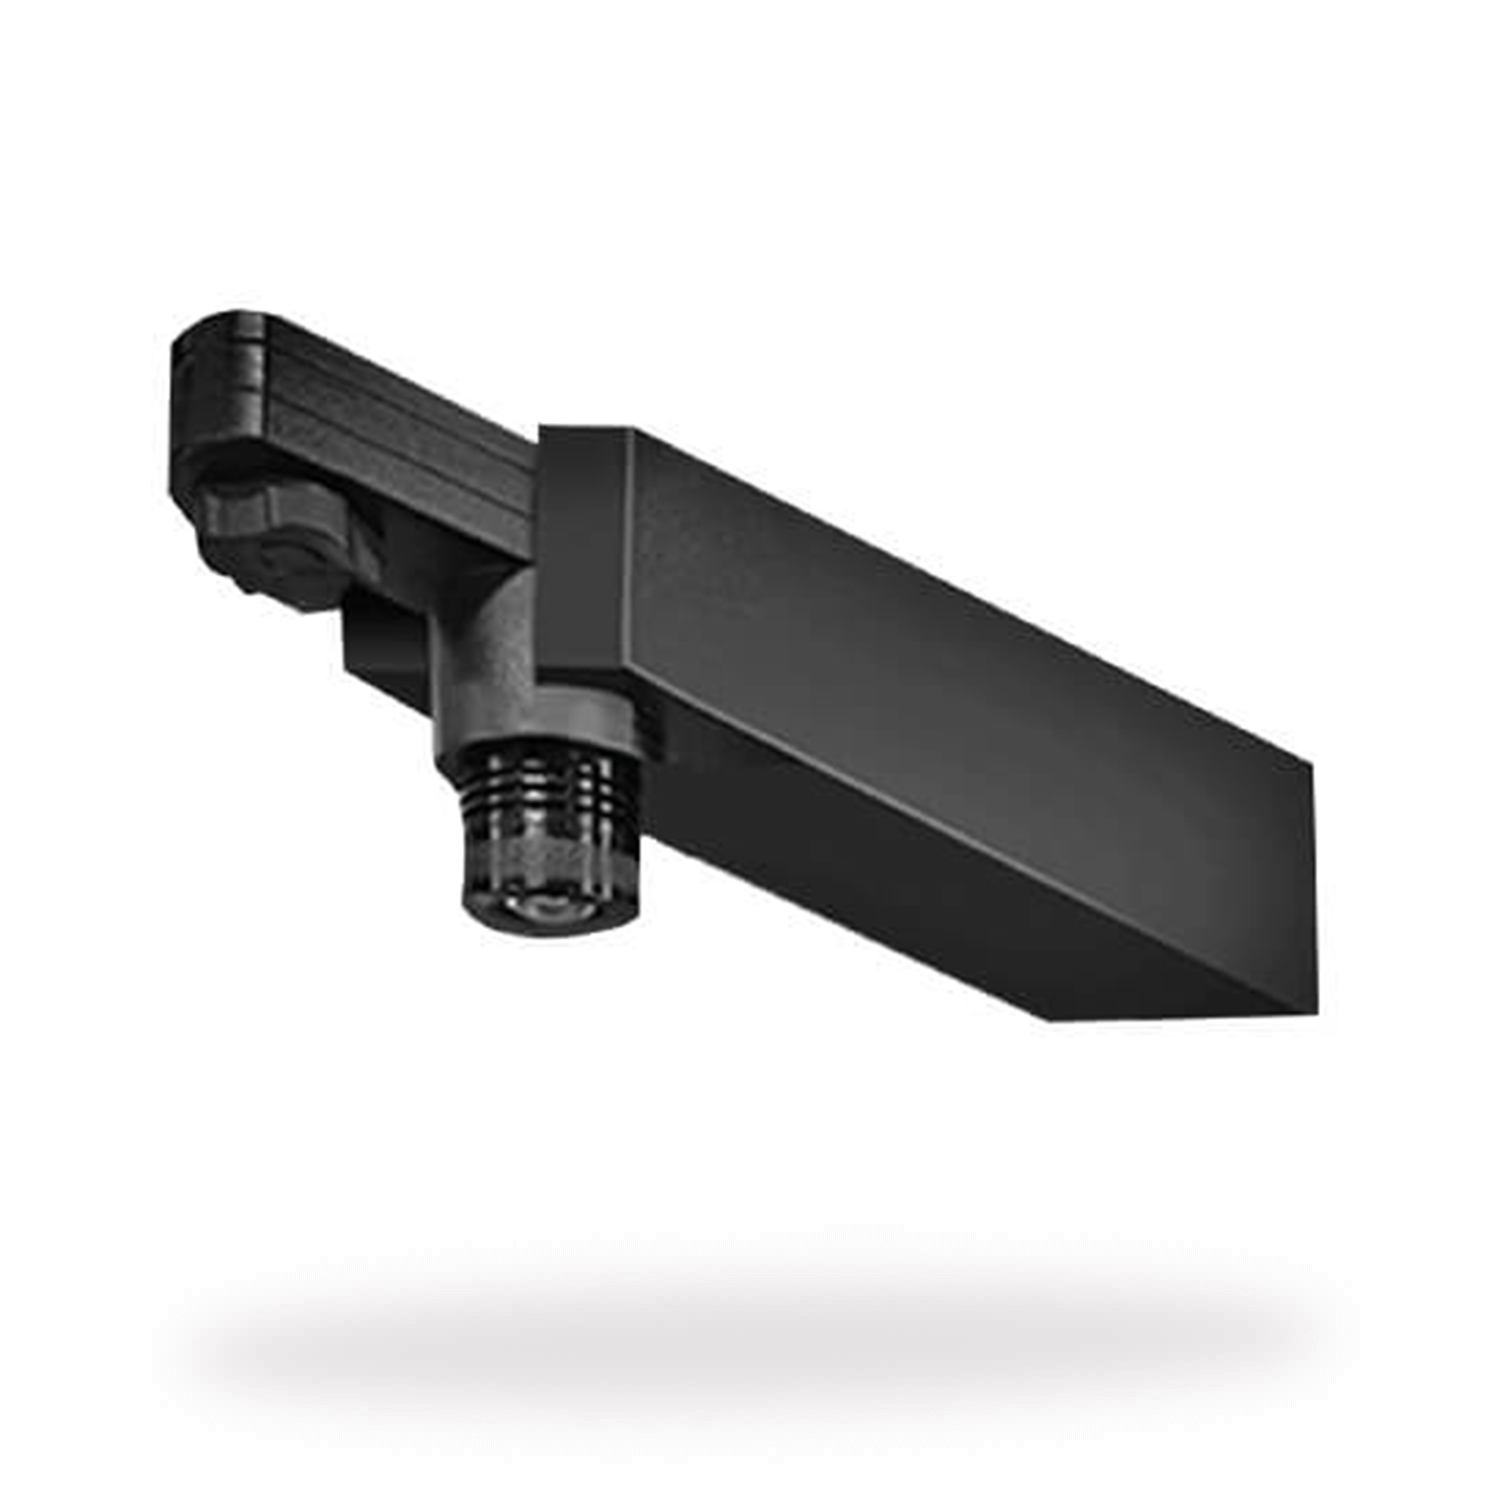
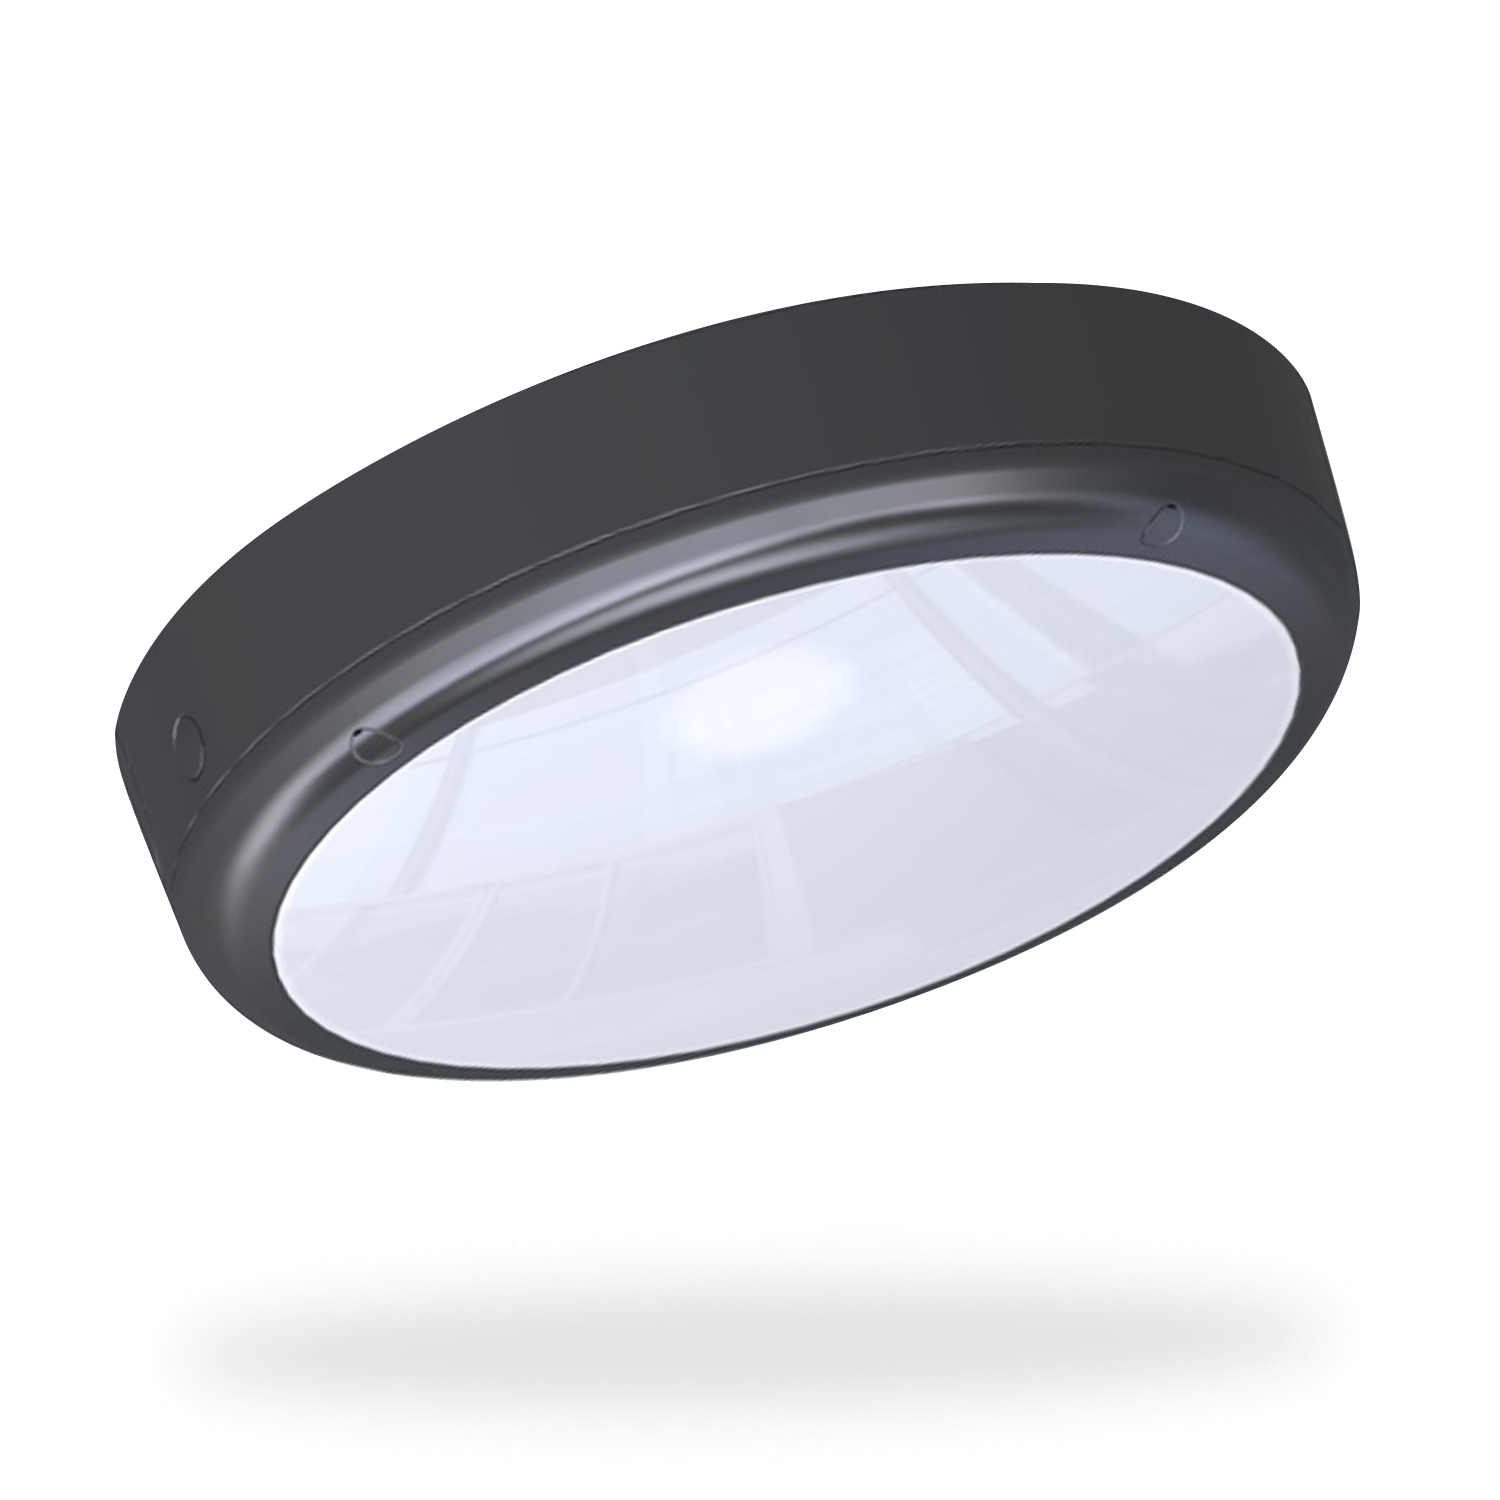
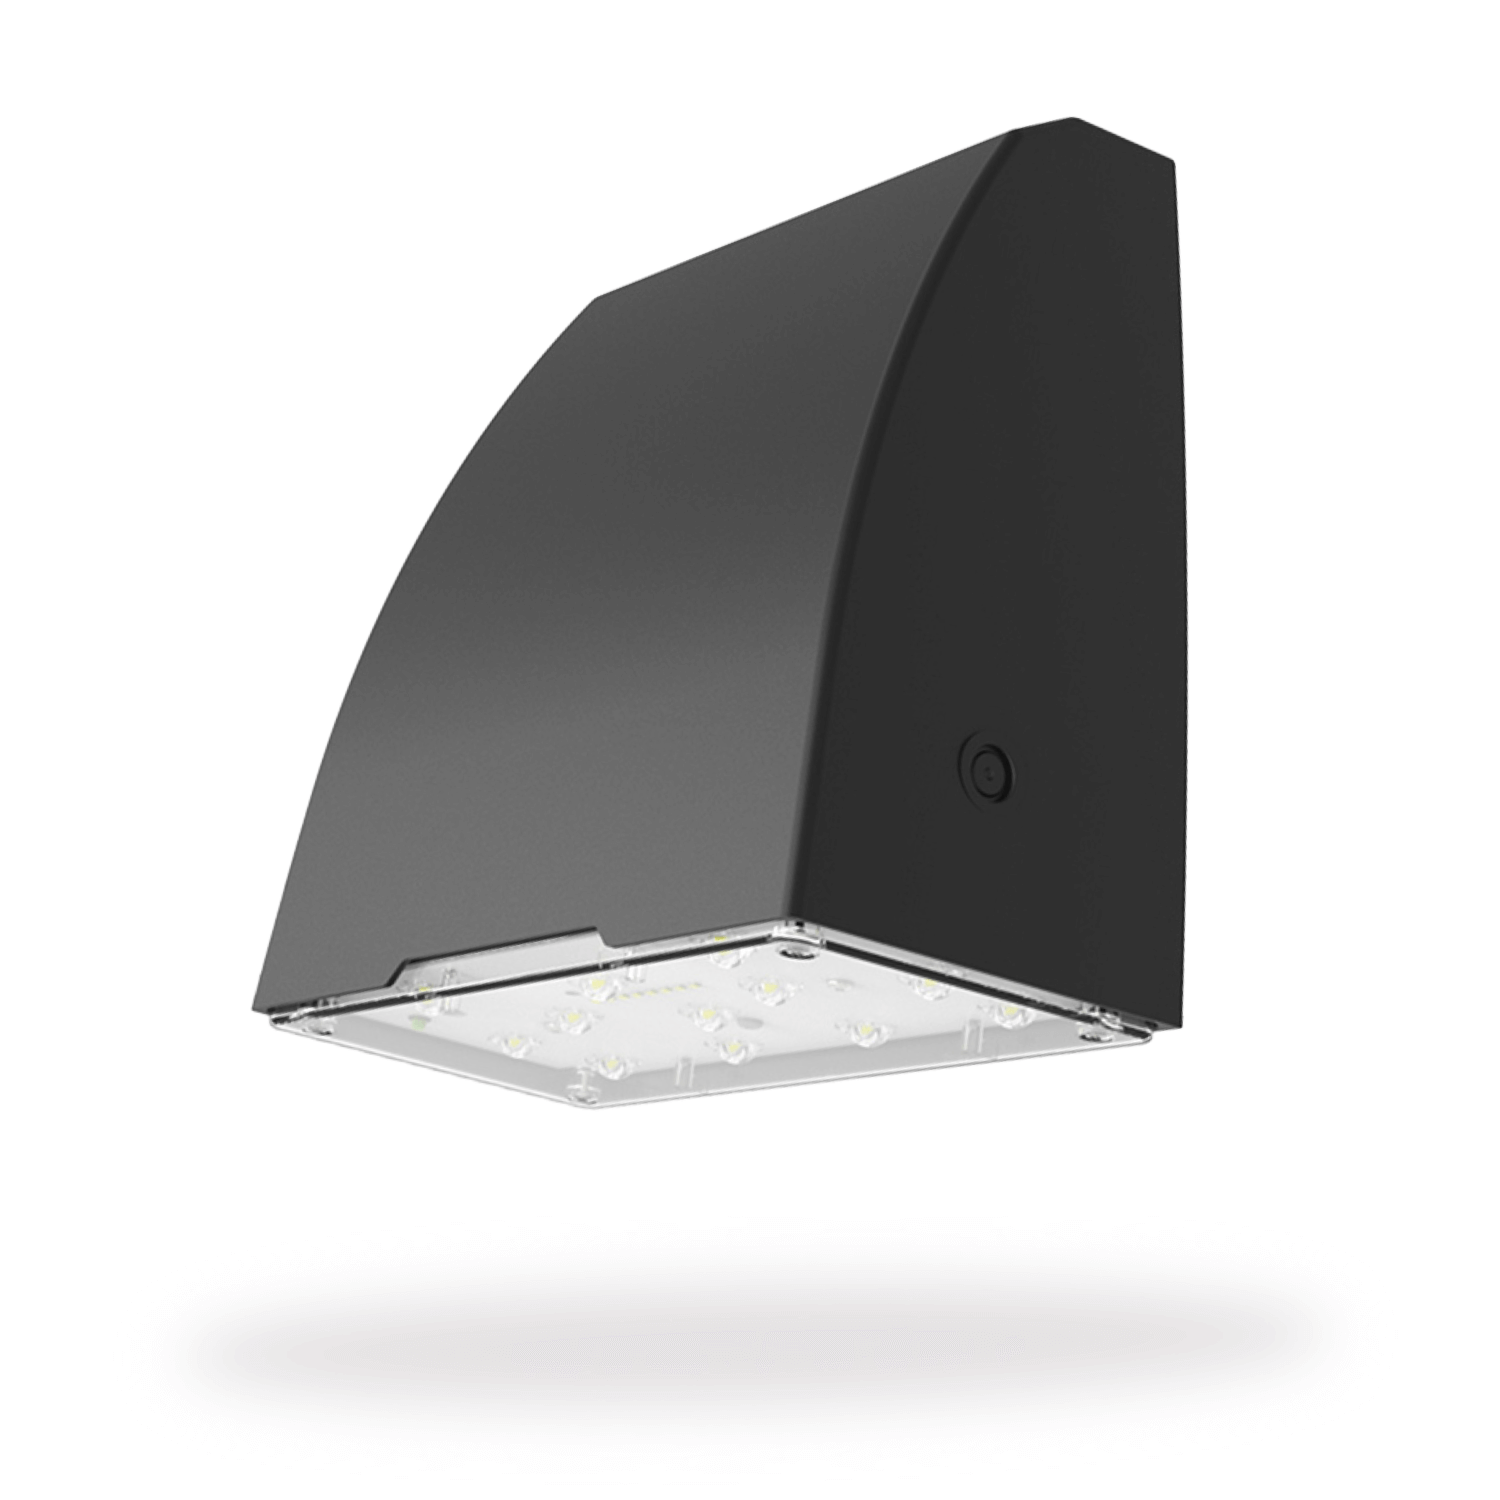
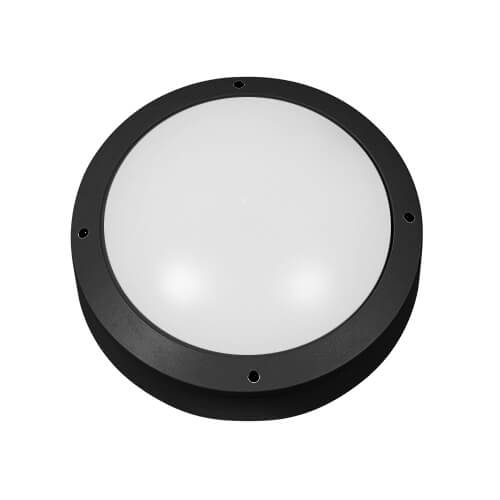
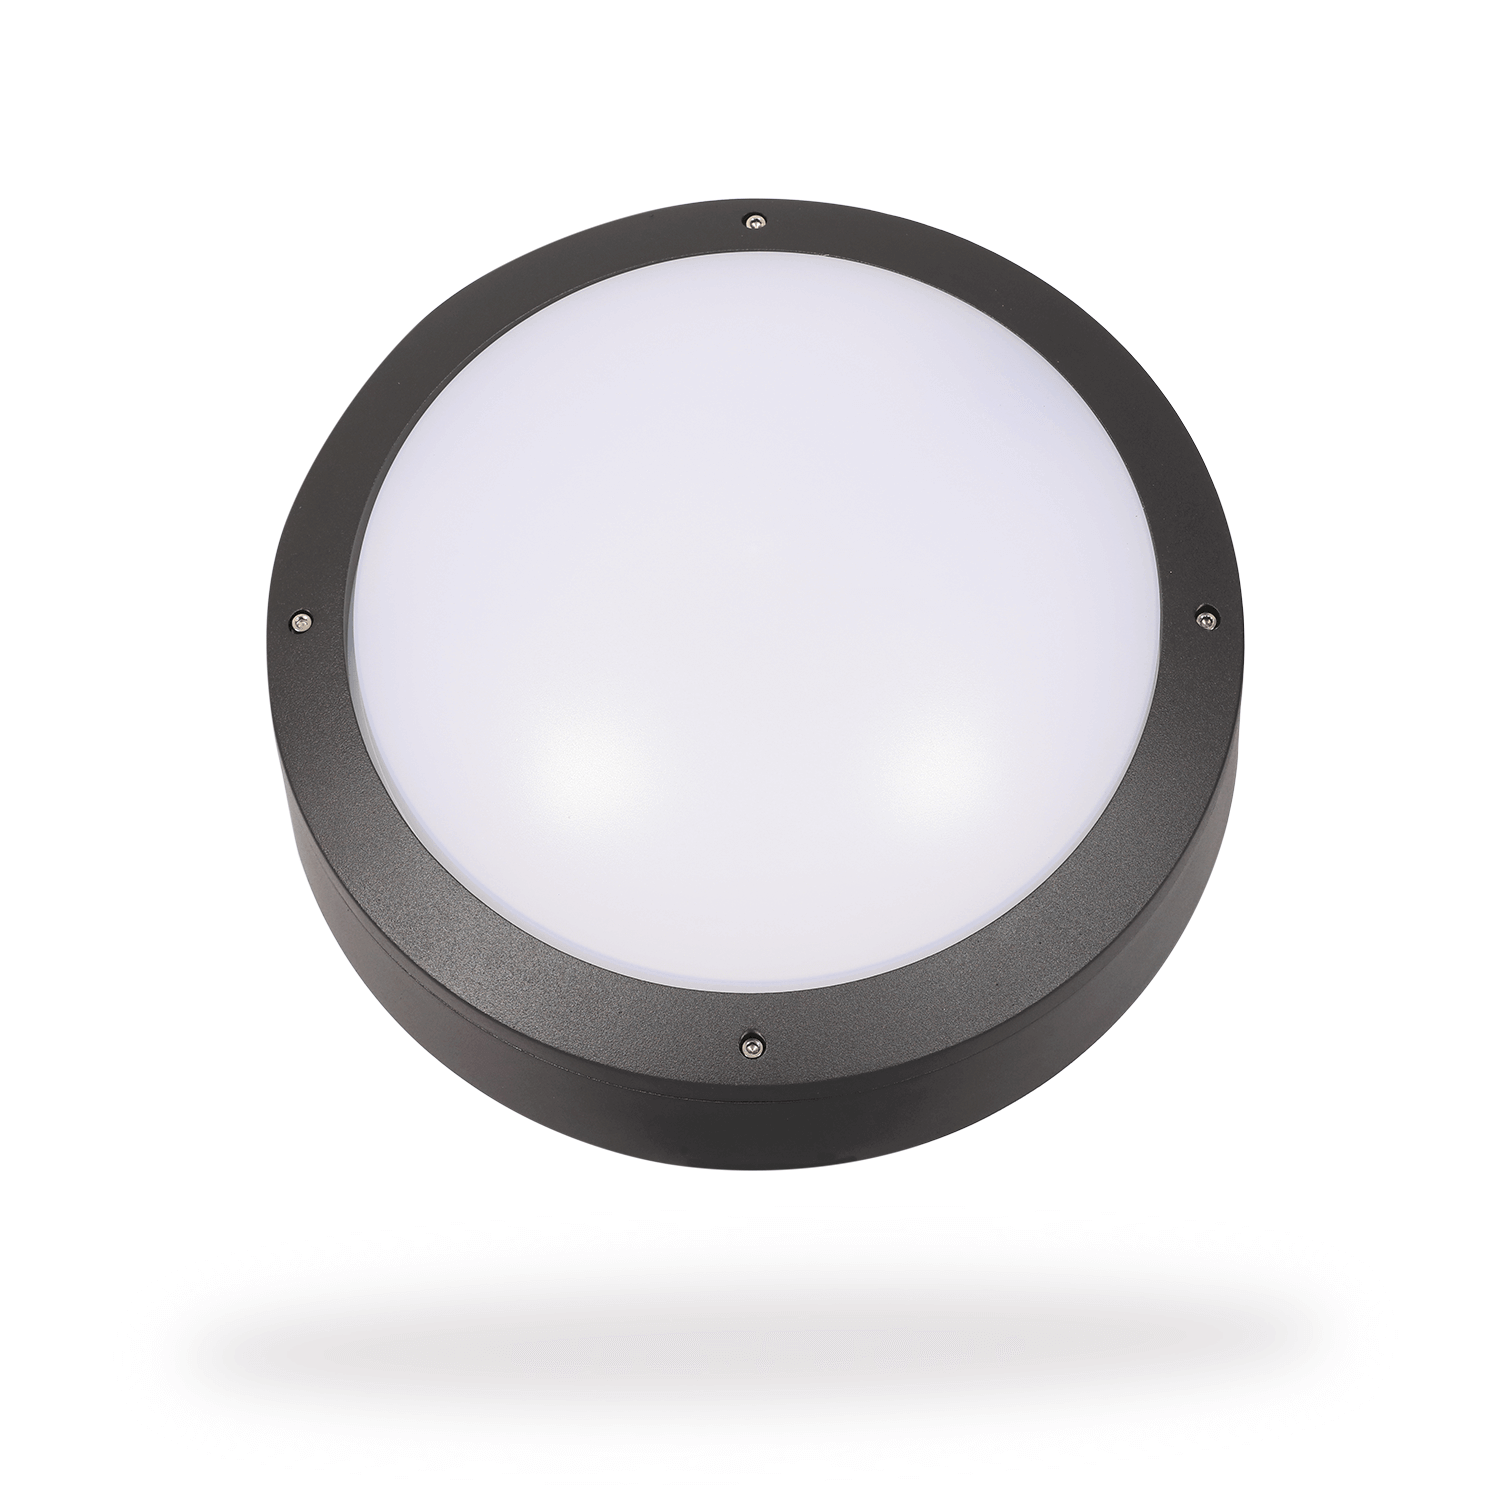
Bunkalite Luminaire Black
Bunkalite Luminaire Black
Bunkalite Luminaire Black
Imaged added to CleverSpec
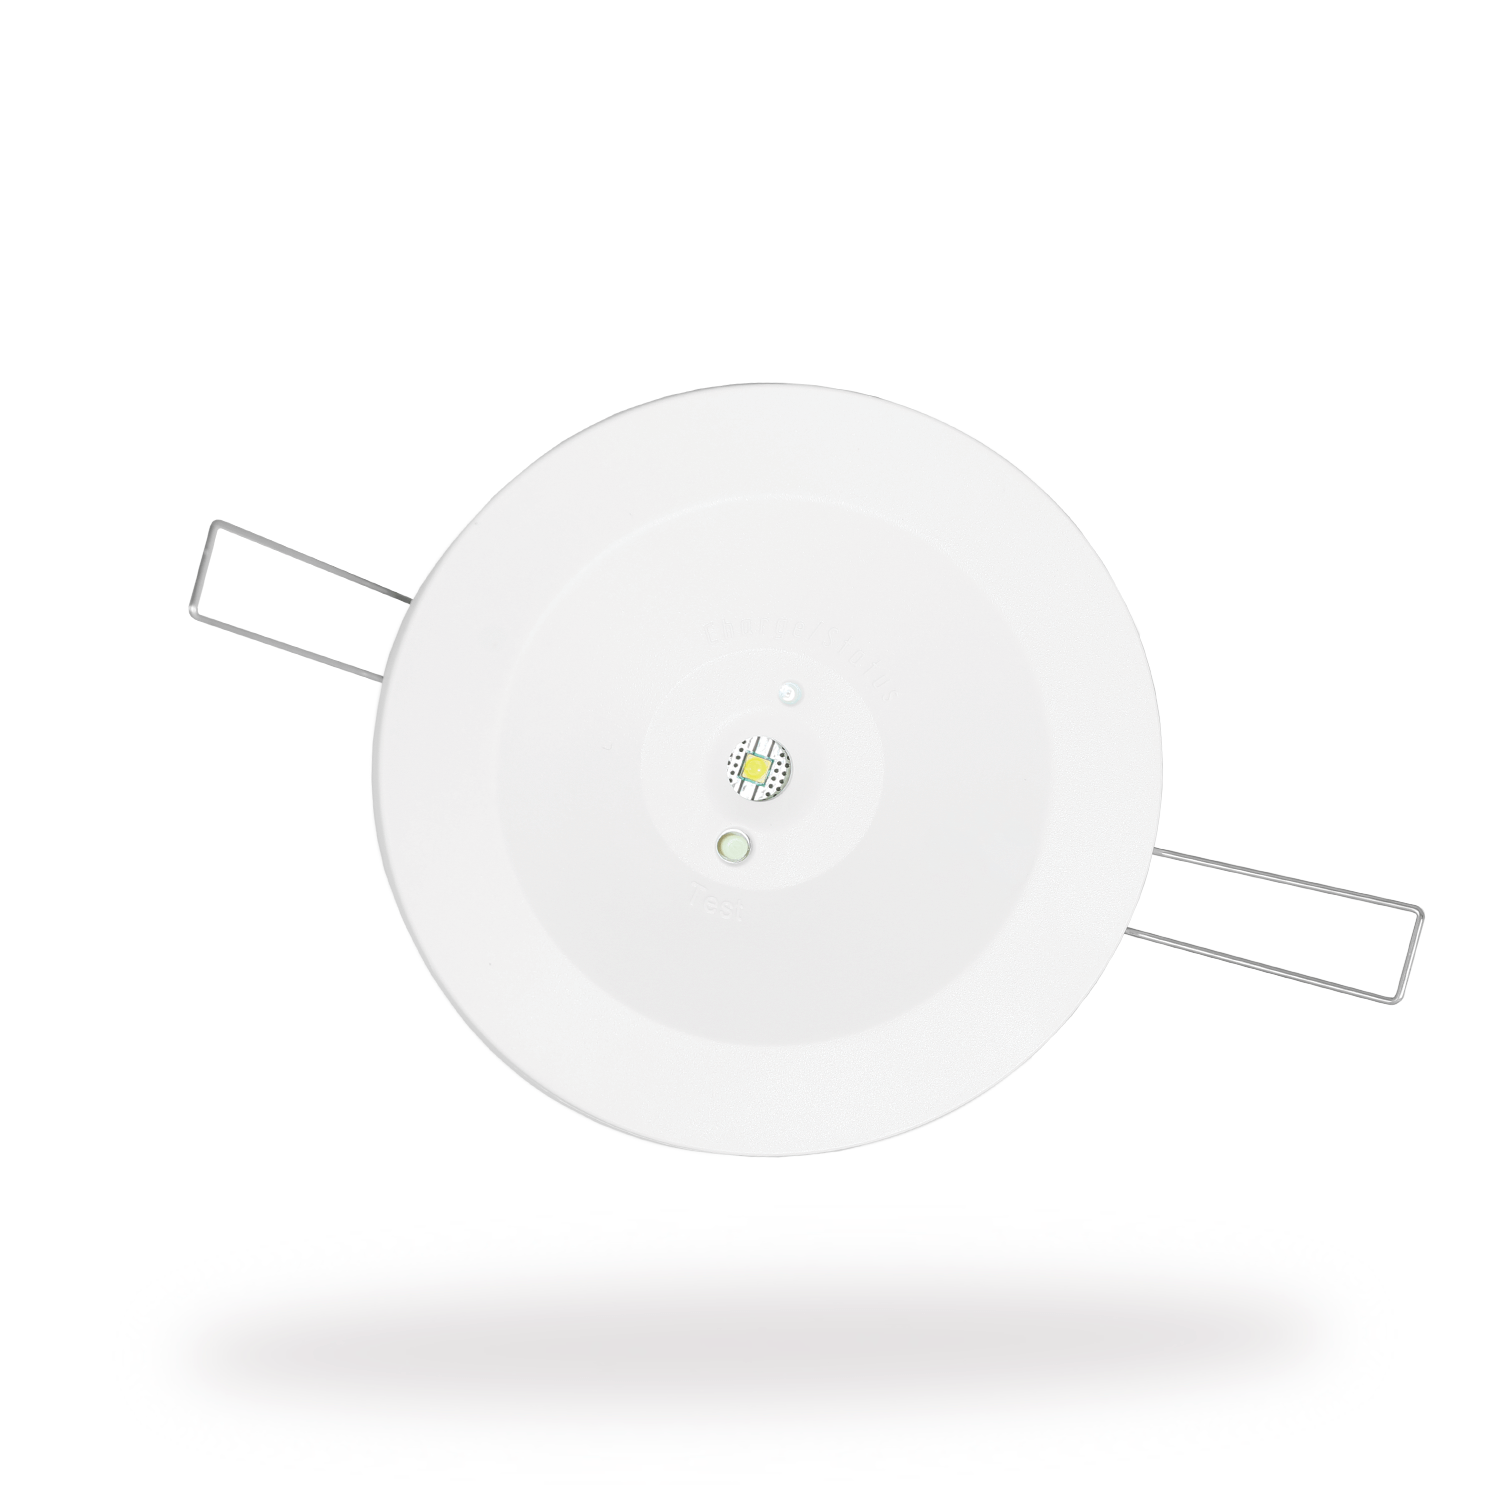
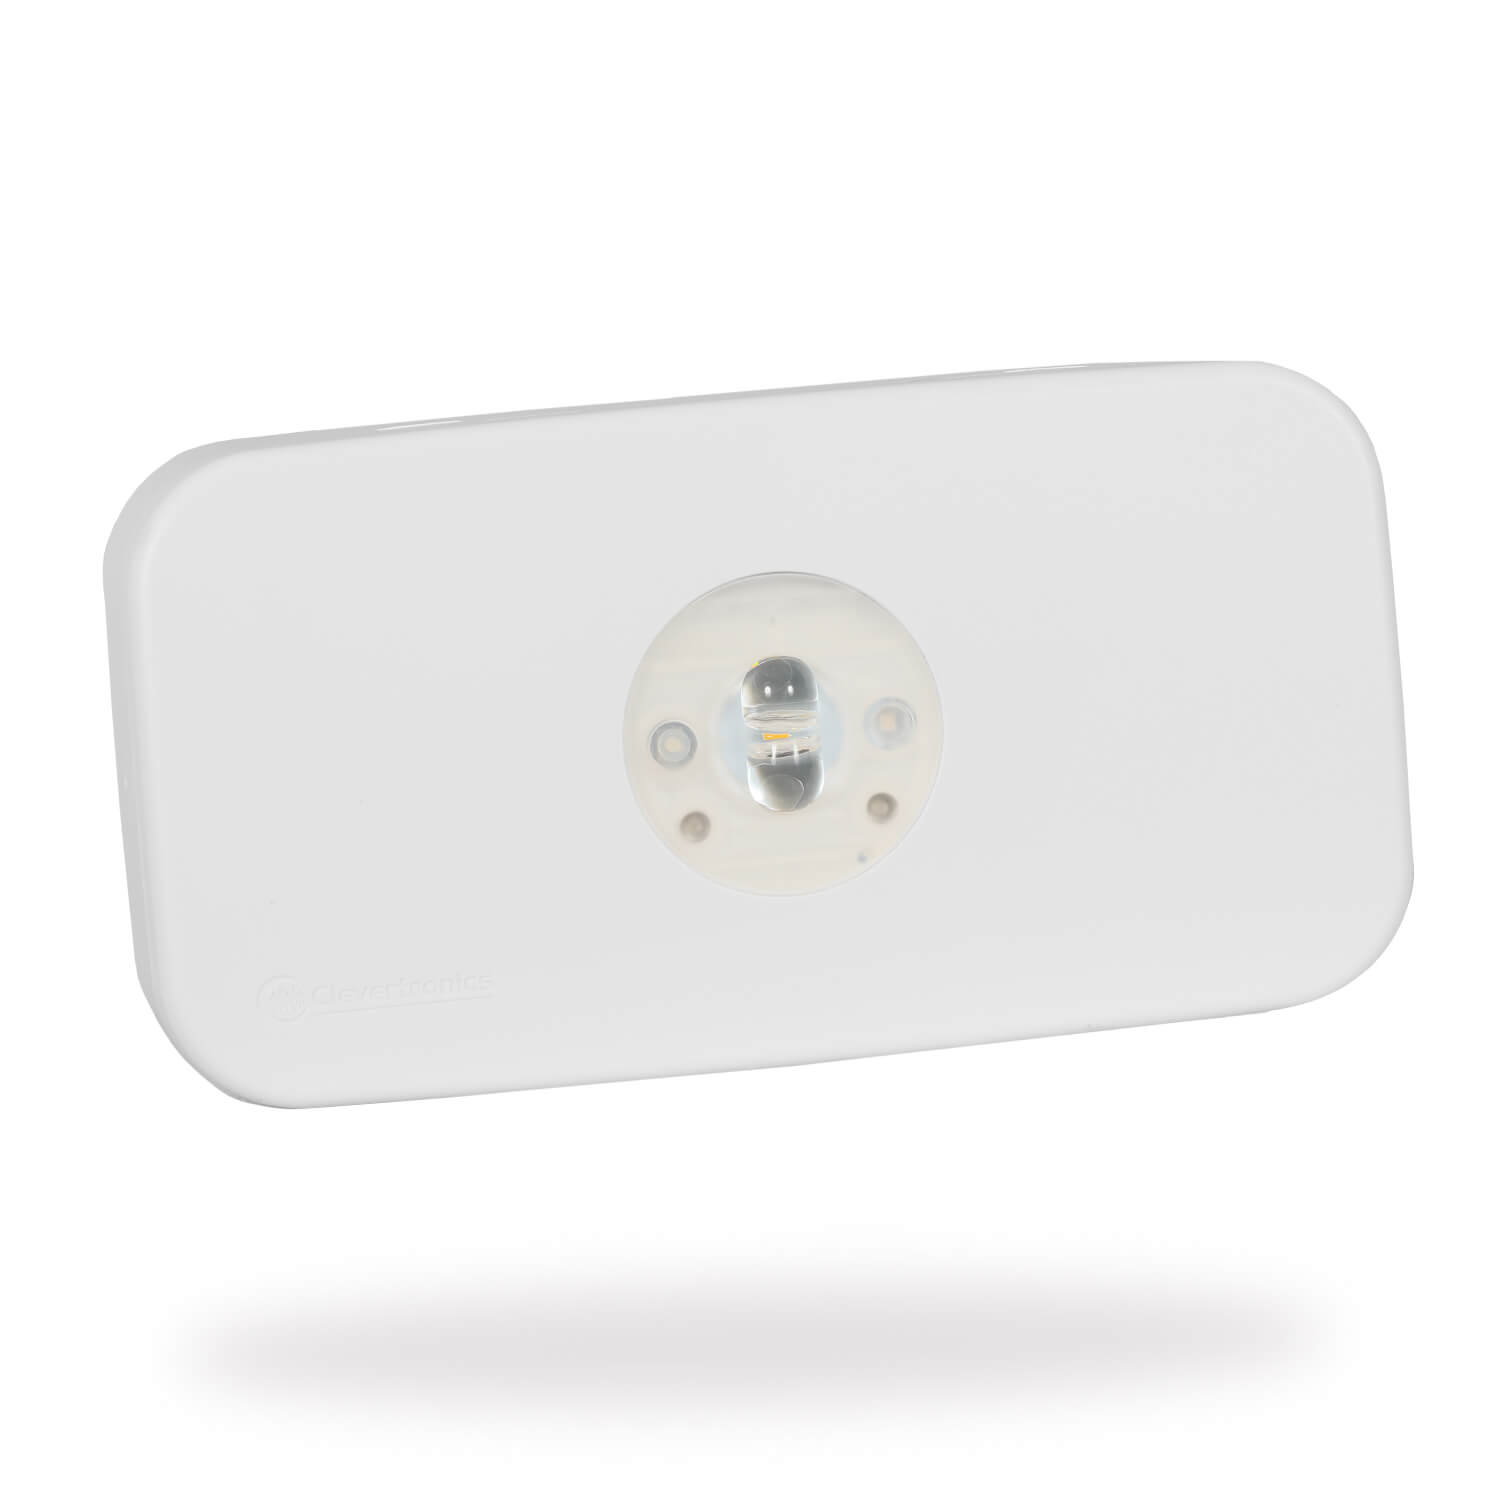
Argonaut Bunkalite Pro
Pro Robust & Weatherproof Circular Emergency Light
Argonaut Bunkalite Pro is a tough, wide‑area emergency luminaire engineered for harsh industrial and outdoor environments including tunnels, plant rooms, car parks and service corridors. Its rugged construction ensures high durability, while the LED system provides consistent, broad illumination.
Upgraded with L10 Nanophosphate battery technology, the Bunkalite Pro offers exceptional lifetime performance, reduced maintenance cycles and the assurance of a 10‑year warranty — ideal for facilities requiring dependable, heavy‑duty emergency lighting.
Compliance
-

BS EN 60598-2-22
Range & Testing Compatibility
-

CLP Premium Lithium
-

Zoneworks Hive
-

Clevertest Plus
-

DALI
Overview
Need technical documentation?
Go to technical documentation
Product Specifications
Luminaire Classification Table
| CLP | X | 2 | AD | 180 |
|---|---|---|---|---|
| Argonaut Bunkalite Pro Emergency Luminaire | ||||
| CLP | X | 2 | AD | 180 |
|
|
||||
| CLP | X | 2 | AD | 180 |
|---|---|---|---|---|
| Argonaut Bunkalite Pro Emergency Luminaire with automatic testing | ||||
| CLP | X | 2 | AD | 180 |
|
|
||||
Spacing Table
| Escape Route | Spacing Diagram | Range | 2.1m | 2.4m | 2.7m | ||||||||||
|---|---|---|---|---|---|---|---|---|---|---|---|---|---|---|---|
| 1 LUX SPACING TABLE AND WALL MOUNTING HEIGHTS | |||||||||||||||
| Escape Route | Spacing Diagram | Range | 2.1m | 2.4m | 2.7m | ||||||||||
|
|
|
|
|
|
||||||||||
Spacing Table
| Ceiling mounting | Spacing Diagram | Range | 2.7m | 3m | 4m | 5m | ||||||||||||
|---|---|---|---|---|---|---|---|---|---|---|---|---|---|---|---|---|---|---|
| 1 LUX SPACING TABLE AND CEILING MOUNTING HEIGHTS | ||||||||||||||||||
| Ceiling mounting | Spacing Diagram | Range | 2.7m | 3m | 4m | 5m | ||||||||||||
|
|
|
|
|
|
|
||||||||||||
Spacing Table
| Ceiling Mounting | Spacing Diagram | Range | 2.7m | 3m | 4m | 5m | ||||||||||||||||||||||
|---|---|---|---|---|---|---|---|---|---|---|---|---|---|---|---|---|---|---|---|---|---|---|---|---|---|---|---|---|
| 0.5 Lux Spacing Table and Mounting Heights | ||||||||||||||||||||||||||||
| Ceiling Mounting | Spacing Diagram | Range | 2.7m | 3m | 4m | 5m | ||||||||||||||||||||||
|
|
|
|
|
|
|
||||||||||||||||||||||
Technical Documentation
Need multiple product documentation?
Goto technical resource search
Clevertronics Product

Request Document
We currently do not have this document, please fill out the request form below and one of our technicians will generate the file for you

Choose an emergency lighting solution
| Range Comparison |  |
||||
|---|---|---|---|---|---|
|
|
|
|||
|
|
|
|||
|
|
|
|||
|
|
|

| Option Comparison |  |
 |
|||
|---|---|---|---|---|---|
|
|
|
|||
|
|
|
|||
|
|
|